

Customer Service / Service à la clientèle : 1-866-206-0888
C
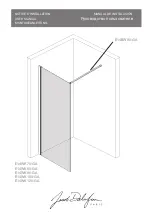
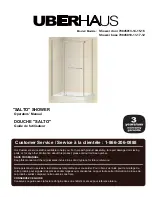
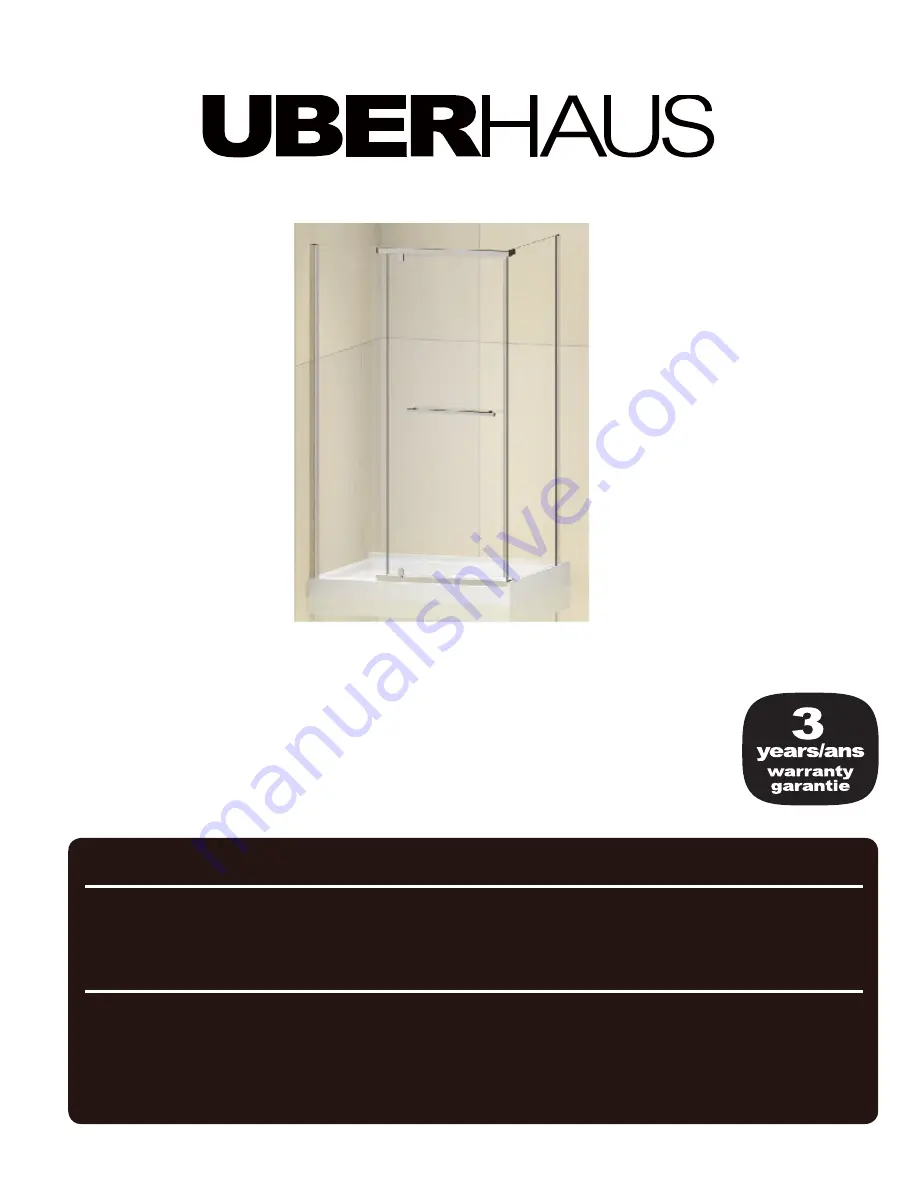
"SALTO" SHOWER
Operators’ Manual
DOUCHE "SALTO"
Guide de l'utilisateur
Model / Modèle :
Shower door 70845013-14-15-16
Shower base 70845010-11-17-12
Our Customer service staff is available to help you. For help with product assembly, to report damaged or missing
parts, or for any other information about this product, please call our toll-free number.
SAVE THIS MANUAL
Keep this manual and the original sales invoice in a safe, dry place for future reference.
Notre personnel du service à la clientèle est disponible pour vous aider. Pour obtenir de l’aide pour le montage de
votre produit, pour signaler des pièces endommagées ou manquantes, ou pour toute autre information à propos de
ce produit, veuillez composer notre numéro sans frais.
CONSERVEZ CE GUIDE
Conservez ce guide avec la facture d'origine dans un endroit sûr et sec pour référence future.