


AeroCut nano+ SERVICE MANUAL
40
③
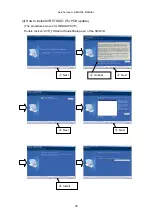
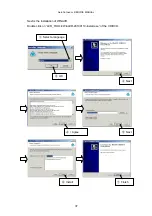
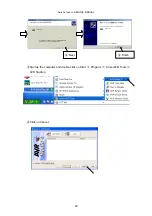
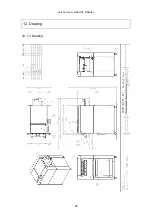
Start up the computer and double click on (GTWIN).
④
Click on Open Existing File. Select the folder in which you saved our screen data,
select a file with a file extension of IOP.
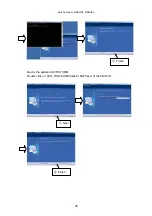
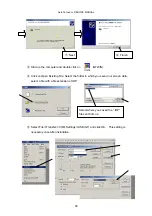
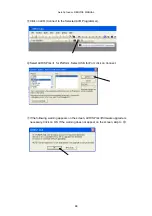
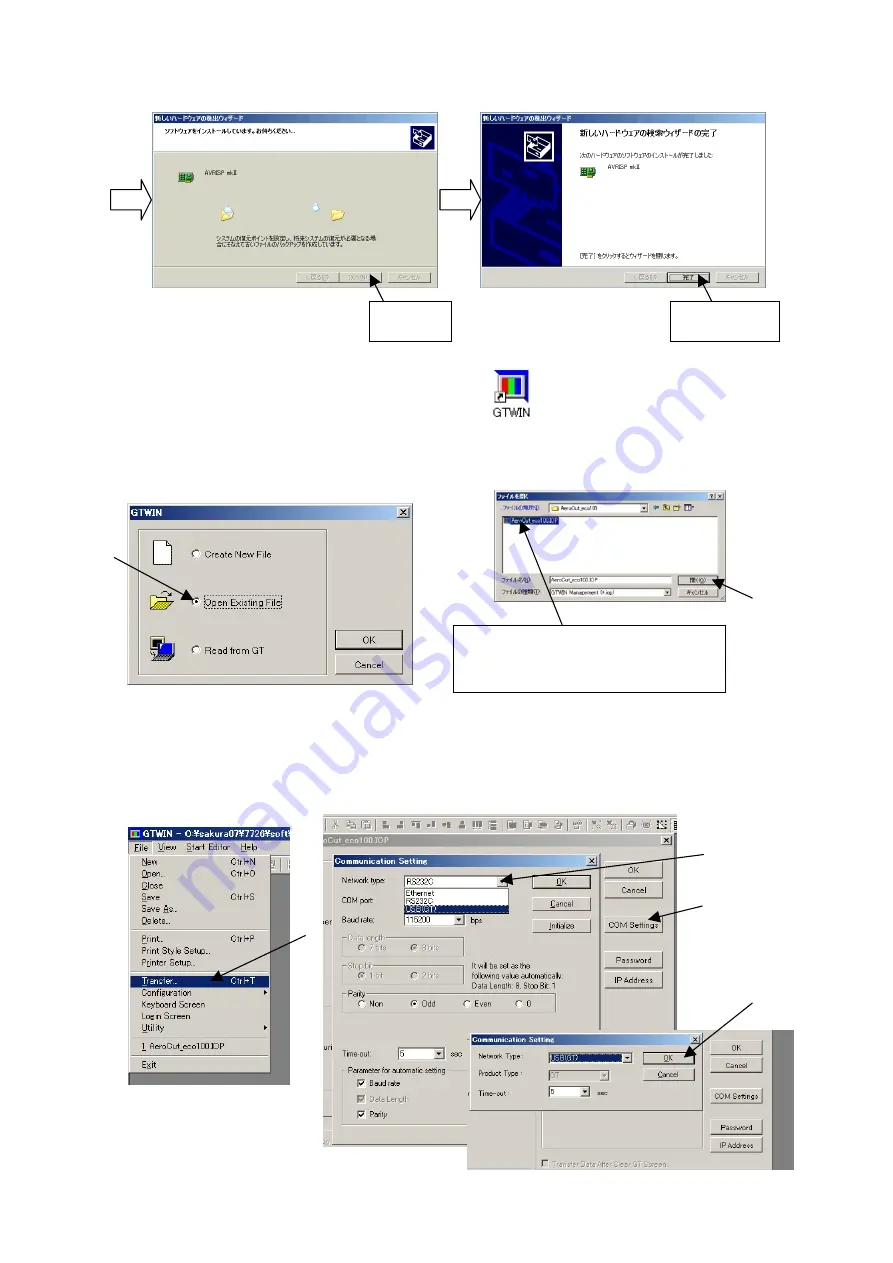
⑤
Select File
⇒
Transfer
⇒
COM Settings
⇒
USB(GT) and click OK. This setting is
necessary once after installation.
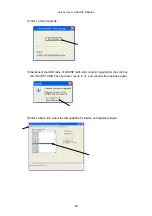
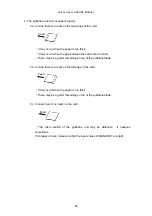
⑦
Next
⑧
Finish
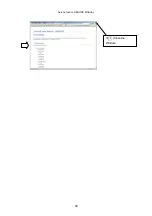
Select where you saved the “.IOP”
file sent from us.
Summary of Contents for AeroCut nano+
Page 1: ...SERVICE MANUAL UCHIDA YOKO CO LTD TOKYO JAPAN V2 00 ...
Page 16: ...AeroCut nano SERVICE MANUAL 16 5 2 Slitter ...
Page 38: ...AeroCut nano SERVICE MANUAL 38 Close the Window ...
Page 55: ...AeroCut nano SERVICE MANUAL 55 12 Drawing 12 1 Drawing ...
Page 56: ...AeroCut nano SERVICE MANUAL 56 ...
Page 57: ...AeroCut nano SERVICE MANUAL 57 12 2 Board Details a PCB CPU board ...
Page 61: ...AeroCut nano SERVICE MANUAL 61 UCHIDA YOKO CO LTD TOKYO JAPAN ...


