

Summary of Contents for VOYAGER U845Wifi
Page 1: ...U42W...
Page 24: ......
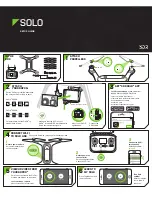
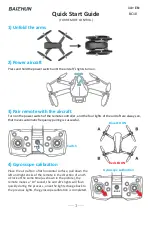
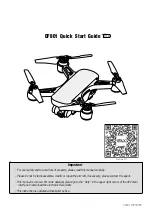
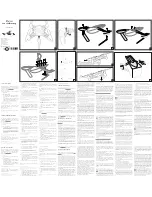
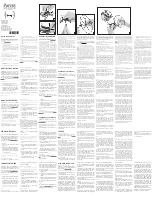
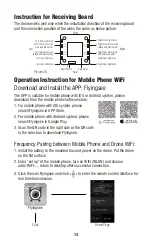
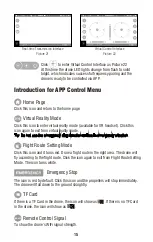
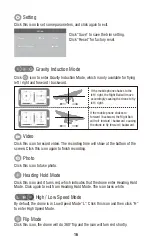
The UDI R/C VOYAGER U845Wifi comes with a comprehensive Operation Manual to guide users in navigating its advanced features. Available for free download on our website, this manual provides step-by-step instructions, allowing you to make the most of your U845Wifi experience. Explore its capabilities and download the manual at 88.208.23.73:8080.
Page 1: ...U42W...
Page 24: ......