6
7
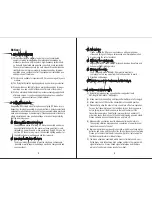
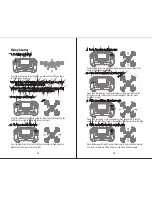
3. Plug the camera cable to the camera port and plug the camera gimbal
cable to the camera gimbal port.
Camera Port
Camera Gimbal Port
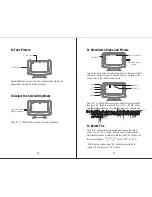
1. Charging Instruction for Battery
Flying Preparation
Drone Battery
Transmitter Battery
2. Battery Charging Instruction
* When charging the drone battery, the USB indicator light is red and
turns to green when fully charged.
* When charging the transmitter battery, the USB indicator light is red
and turns to green when fully charged.
* The charging time of the drone battery is about 150 minutes, while the
charging time of the transmitter battery is about 70 minutes.
* If the transmitter battery is low when flying, the transmitter will beep
constantly to remind you to land the drone imediately to replace the
battery, or the drone may out of control.
* If the drone battery is low when flying, the drone body lights flash and
the transmitter will beep constantly to remind you to land the drone as
soon as possible, or the drone may crash suddenly for low battery.
* Never put the battery with metal product to avoid short circle.
* Stop using the battery if the battery swell up, damaged or seriously
heating etc.
* Put the battery and charger on the ground and keep away from
inflammable when charging to avoid accident.
OFF
ON
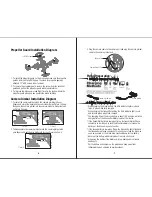
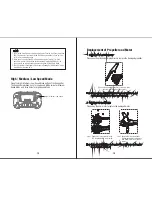
Propeller Guard Installation Diagram
1.7*6PB Screws
Camera Gimbal Installation Diagram
1. To install the propeller guard, to the drone and make sure the propeller
guard’s pillar can fully fill the gap. Then lock the propeller guard by
attached 1.7*6PB screws (short screws).
2. To remove the propeller guard, remove the screw from the propeller
guard and pull out the propeller guard with moderate force.
3. To improve the drone power and flight time, fly the drone without the
propeller guard when you can operate the drone skillfully.
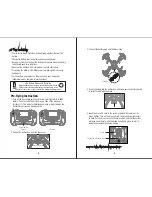
1. To install the camera gimbal, pinch the camera gimbal with your
fingers and aim at the buckle on the camera holder as Picture 1 shown,
then push the camera gimbal into the camera holder in moderate force
as Picture 2 shown.
2. To disassemble the camera gimbal, pinch the camera gimbal with
your fingers and pull it out in moderate force as Picture 3 shown.
Picture 1
Pictuer 3
Picture 2
Camera Gimbal
Camera Holder
Camera Gimbal
Camera Holder


