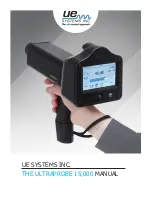
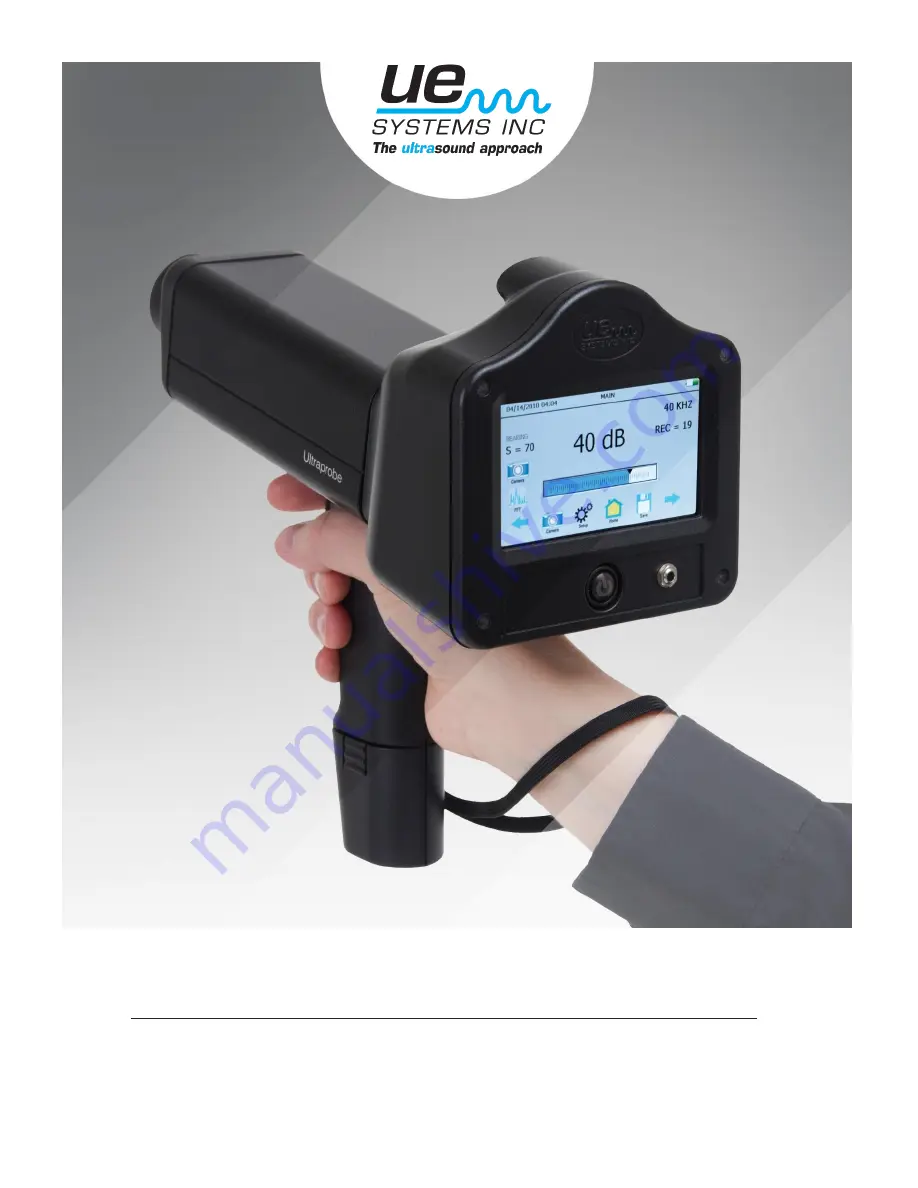
background image


UE SYSTEMS INC. 

THE ULTRAPROBE 15,000 

MANUAL


Summary of Contents for ULTRAPROBE 15000

Page 1: ...1 UE SYSTEMS INC THE ULTRAPROBE 15 000 MANUAL ...

Page 2: ...ousing Key Features On Off Suspend button Turn Off Suspend SD Card Trigger Switch Touch Screen Display Spectral Analysis Screen FFT Camera IR Thermometer Laser Pointer Battery Test Module Receptacle Standard Accessories Headset WTG 1 Warble Tone Generator Rubber Focusing Probe Stethoscope Extension Kit Battery BCH 15 Battery Charger Battery Charger Pod 5 5 5 6 6 6 6 7 7 7 7 7 7 7 8 8 8 8 9 9 9 9 9...

Page 3: ...traprobe 15 000 Home Screen Main Screen dB Setup Screen dB Temp Route Remove SD Card Valve ABCD Screen Setup Mode Preferences Info Reset Upgrade Applications Exit Viewing and Selecting Icons Using Screens Using Main Screen Using dB Temp Screen Using Temp Emissivity Screen Using Valve Steam Screen Using Spectra FFT Screens Storing a Record Recording a Sound Entering Test Data View Record Viewing So...

Page 4: ...ck Recharge Jack Charging Pod Trisonic Scanning Module Method of Airborne Detection Headset Rubber Focusing Probe Long Range Module Stethoscope Module Stethoscope Extension Kit RAM MT Magnetic Transducer Charging The UP15000 Warble Tone Generator Charging The Warble Tone Generator Helpful Hints Auto Shutdown Battery Feature 25 25 26 26 26 26 27 27 27 28 28 28 28 28 29 29 29 30 30 30 31 31 31 32 34...

Page 5: ...ons As with any new instrument it is important to review this manual before using the it for inspections ULTRAPROBE 15 000 KIT Pistol Grip Housing WTG 1 Warble Tone RAS RAM Magnetic Transducer Cable Battery Pod Headphones Stetoscope Module 0 Rubber Focusing Probe Long Range Module with Laser Sight Stethoscope Extension Kit Battery Recharger ...

Page 6: ...intensifies the signal so that minute ultrasonic emissions can be detected STETHOSCOPE CONTACT MODULE This is the module with the metal rod This rod is utilized as a waveguide in that it is sensitive to ultrasound that is generated internally such as within a pipe bearing housing or steam trap Once stimulated by ultrasound it transfers the signal to a piezoelectric transducer located directly in t...

Page 7: ...mometer Laser pointer Battery and Test Module Receptacle ON OFF BUTTON This is located on the back of the instrument under the Display Panel Press it firmly to turn the instrument ON NOTE Be sure the SD card is inserted in the Ultraprobe 15 000 before turning on To turn the instrument off Press the On Off button Touch the Off Box on the display screen To place the instrument in suspend In place of...

Page 8: ...e removing the SD card TRIGGER SWITCH The trigger has multiple functions While performing a test pull the trigger in Holding the trigger in allows the instrument to actively scan the subject test equipment To hold a reading for storage or review release the trigger The instrument will no longer actively adjust to changes in data being received The trigger is also used to turn on the laser pointer ...

Page 9: ...n LASER POINTER This non contact thermometer will measure the temperature of a test point It can be used in the Temp screen and in the dB Temp screen To activate the laser Enter the setup mode Select the Oper tab and look for Trigger Features Touch the Trigger Features box Using the arrows move up or down until Trig Laser ON OFF is shown Touch the box to select and exit BATTERY Slide the battery i...

Page 10: ...ficult to produce pressure or draw a vacuum will flood an area with ultrasound which will flow through a usually large leak area By scanning with the TrisonicTM Scanning Module empty containers such as bulkheads or hatches can be instantly checked for leakage RUBBER FOCUSING PROBE The Rubber Focusing Probe is a cone shaped rubber shield It is used to block out stray ultrasound and to assist in nar...

Page 11: ...raprobe Batteries Lithium Ion only This pod will charge the standard batteries that come with the Ultraprobe 15 000 while removed from the metered pistol housing OPTIONAL ACCESSORIES CFM 15 The Close Focus scanning module is used for close proximity low level leak detection in pressure and vacuum systems UWC 15 The UWC 15 Ultrasonic Waveform Concentrator substantially increases the detection dista...

Page 12: ... areas UFMTG 1991 The UFMTG 1991 is a multi directional warble tone generator It has a high power output with a circular transmission pattern of 360 degrees BCH WTG Optional 220 VAC 50 Hz chargers for all Warble Tone Generators The line input is 220 VAC 50Hz and the charging time is about 8 hours HTS 15 Holster set for the UP15 000 ...

Page 13: ...al Analysis screen function Set up instrument functions Valve Steam test display Temperature display no dB Opens Camera for photos Use to View image and take the photo View uploaded route Adjust Emissivity View a specific historical record Input additional test data to record Store test data Exit screen Strobe Remove SD Card Bluetooth ...

Page 14: ...p or Valve to another return to the Home Screen dB Main Screen This will display the test decibel and the test frequency Setup This Icon will enter the setup screen where the user can configure the instrument to meet plant specific test requirements dB Temperature This test screen displays decibel frequency and temperature Route View the test route The route is displayed in sequential order Each r...

Page 15: ...screen In some instances it will be necessary to use the UP DOWN arrows on the right side of the screen to display choices Setup Icons are as follows NOTE When changing preferences or settings touch the OK icon to save the changes Touch Exit to exit without saving changes PREFERENCES Under Preferences are the following sub fields a Inspector ID There are three empty fields that can be used to iden...

Page 16: ...ncomfortably high and the sensitivity level must remain in a high level To make this comfortable for the user the volume of the headphones can be adjusted for 100 of volume to as low as 0 of volume i Turn Off Time The Turn off time can be set to 5 10 or 15 minutes Or it can be disabled In disable when the instrument is turned on it will stay on until either it is turned off set in suspend or the b...

Page 17: ...the UP15000 b Set Date time Set the time and date as appropriate for a specific area in which the instrument is used c Calibration Due This is set at the factory and reset every time the Ultraprobe is sent back after calibration RESET Under Reset are the following sub fields a Restore Lists Options are Yes or No All test information is set as a list in Ultratrend DMS the standard operating softwar...

Page 18: ...n select the Input Data Icon on the main data collection page to select any of the following if they have been selected Test Results Temperature Application Pressure Pipe Diameter Type etc EXIT Touch this icon to return to the Home page VIEWING AND SELECTING ICONS Icons may be viewed on any of the following display screens Main dB and Temperature Valve and Temperature Only two icons at a time may ...

Page 19: ...w There are two control arrows on the right to be used to adjust or change the sensitivity frequency record number and emissivity a To change the Frequency touch the kHz frequency when a highlight appears around the selected area then use the UP DOWN arrows to adjust b To change the Sensitivity touch the sensitivity value when a highlight appears around the selected area then use the UP DOWN arrow...

Page 20: ...rol There are two control arrows on the right to be used to adjust sensitivity and frequency To freeze a temperature reading while continuing to test for decibel level a Touch the bottom of the display screen and use the LEFT RIGHT arrows until the Temp on off icon is shown b Touch the icon to turn off temperature sensing c When done locate the Temp on off icon and touch it again to turn the tempe...

Page 21: ...ome screen after selecting Valve in the setup application mode to use To enter the decibel values of test points A B C and D a Touch a valve test point A be sure the instrument is in active test mode Freeze the reading on the screen by releasing the trigger touch the blank A lines and the dB reading will populate that section b Touch valve test point B be sure the instrument is in active test mode...

Page 22: ...o capture an image of the screen touch the third icon from the left This image can be used in reports Record To record sound sample touch this Round Red icon If in the MANUAL record mode press the REC icon To stop in the Manual mode press STOP If the instrument has been set for a preset recording time in the Setup Mode then just touch and release the record icon Exit Touch this icon to exit to a p...

Page 23: ...ead CPM Cycles Per Minute Log Scale Average Linear Scale Detect Peak Exit on Save WAV After a sound sample has been recorded and saved the Instrument will exit and return to the previously selected Operating Screens When finished adjusting the settings or to exit back to the Spectra Screen select Done STORING A RECORD a Release the trigger to freeze the desired reading b Locate the Store Record ic...

Page 24: ...e Route icon by touching the bottom of the display screen b Touch the Route icon c Sorting Route Criteria Using the SORT button every time it is pressed it will rotate the sort Sort options are Record Low Status High Status OK Status or Not Updated d Reviewing a Photo If a Y is shown in the Photo column Camera icon the user can view the image by touching the Y If multiple images are stored touchin...

Page 25: ...ta superimposed on it There will also be a second duplicate photo without the data superimposed Either one can be used for reports f To save press the Save icon A pop up box will appear asking Save Picture To save the photo touch Yes Press No if is not to be saved Touch the Exit icon to return to previous screen without saving the image The user can start again to capture the desired photo STROBE ...

Page 26: ... reading pull the trigger and hold it For example when scanning a leak or electric emission pull the trigger in and scan the test area until you want to freeze the reading for storage or review At that moment release the trigger To store the dB frozen on the screen select the Save icon The trigger can also be used to turn on the Laser Pointer NOTE The Laser Pointer will work only if it has been se...

Page 27: ...e recharger is designed to plug into a standard electrical receptacle CHARGING POD Keep a backup battery fully charged using the Charging Pod This is a battery recharge docking station for charging Ultraprobe Batteries Lithium Ion This pod will charge the standard batteries that come with the Ultraprobe 15 000 while removed from the metered pistol housing ...

Page 28: ...int If there is too much ultrasound in the area reduce the sensitivity place the RUBBER FOCUSING PROBE described below over the scanning module and proceed Every time the sound level rises to a point where it is difficult to follow reduce the sensitivity again and again until you are able to follow the test sound to its loudest point HEADSET The DHC2 HH headphones are designed to be worn with hard...

Page 29: ...es it may be necessary to utilize the STETHOSCOPE MODULE with the sensitivity level at or near maximum Occasionally when in this situation stray ultrasound may interfere with clear reception and be confusing If this occurs place the RUBBER FOCUSING PROBE over the Stethoscope probe to insulate against the stray ultrasound STETHOSCOPE EXTENSION KIT Remove the Stethoscope Module from the Metered Pist...

Page 30: ...idation This is a procedure that should be incorporated BEFORE performing any test with the Ultraprobe It provides assurance that the instrument is working properly to provide repeatable reliable results for any inspections This is a procedure that is recommended for any Predictive Maintenance instrument used If performed regularly it will promote accuracy and test reliability throughout the PdM p...

Page 31: ...o become familiar with the basic inspection methods to ensure repeatable reliable results AUTO SHUTDOWN BATTERY FEATURE The Ultraprobe 15 000 is equipped with an auto shutdown feature when the battery energy is depleted A message in the Display Panel will read RECHARGE BATTERY and the instrument will go into a sleep mode The instrument will automatically store all records onto the SD card at shutd...

Page 32: ...ct Europe Output 1mW Wavelength 640nm Class II Laser Product 400 storage locations Lithium ION Rechargeable 32 F to 122 F 0 C to 50 C Calibrated heterodyned output decibel dB frequency SD card Trisonic Scanning Module Stethoscope Module Long Range Module and RMT Deluxe noise attenuating headphones for hard hat use dB Frequency Battery Status and 16 Segment Bar Graph Detects 005 127 mm diameter lea...

Page 33: ...1115 0303776 0315199 1206586 1297576 1881263 2562758 2689339 4416145 4823600 5955670 6122966 6339961 6341518 6415645 6655214 6707762 6804992 2010 UE Systems Inc Made in USA UE 15 0110 UE Systems is committed to continual product improvement therefore specifications are subject to change without notice Warranty details are available by request ...

Page 34: ...e lever Move this change lever to the middle of the lock in a way that allows it to hook behind the change notch drawing 1 Set your personal combination turning the dials to the desired combination i e birthday phone etc Move the change lever back to the normal position drawing 2 To lock rotate one or more dials To open set to your personal combination INTERNATIONAL PATENTS PENDING YOUR PERSONAL C...

Page 35: ... chart or use the one below A For the Scanning Module insert it into the front end of the instrument 2 Select 40 kHz as the test frequency and note 40 in the Frequency box for the Scanning Module in the Sensitivity Validation Chart 3 Plug in the Headphones and adjust the ear pieces so that they are open and place them on the test table 4 Select the longest of the Stethoscope extension probe rods 5...

Page 36: ...ng the center of the Tone Generator Transducer on the right 12 Adjust the sensitivity until the intensity bar graph is at mid line and displays the decibel level 13 Note and record the decibel reading in the dB box of the Sensitivity Validation chart B For the Contact Stethoscope Module insert the Module into the Front End of the Instrument 1 Select 40 kHz as the test frequency and note 40 in the ...

Page 37: ...ILL SHORT OUT THE BATTERY OF THE WTG 8 Adjust the sensitivity until intensity bar graph is at mid line 9 Note and record the decibel in the dB box of the Sensitivity Validation chart For all tests When performing a Sensitivity Validation Test review the data in the Sensitivity Validation chart and repeat the test using the same rod module frequency and Warble Tone Generator volume setting Look for...

Page 38: ...38 Need further support Want information regarding products or training CONTACT UE Systems Inc 14 Hayes Street Elmsford NY 10523 USA T 914 592 1220 E info uesystems com W www uesystems com ...

Reviews: