Q
uick
S
tart
G
uide
.
7
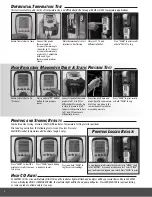
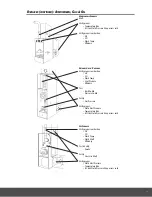
Rotate test selector to Exch
Test. Call for heat on the
system. Observe and wait
for O2 readings to stabilize.
Prior to the blower turning
on, and after readings have
stabilized, press the SEND
button. This will store the
Pre-Blower test segment.
After the blower turns on
press PUMP to start the Post-
Blower test.
The meter will wait 30 sec-
onds and then record the
Post-Blower values for CO, O2
and Excess Air. Test results
will automatically be stored
to exchange reports. Report
includes both Pre and Post
Blower test segments.
To view test results rotate test
selector to “MENU” go to the
“REPORT” screen and select
EXCH. Select “VIEW” and
scroll to desired log. Press
“SEND” to print.
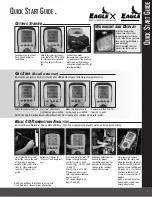
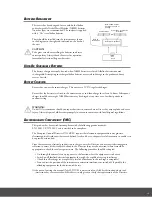
Rotate test selector to
“MENU”
scroll
“
s
“
UP or
“
t
“
DOWN to
SCREEN.
Press “SEND”.
Scroll
“
s
“
UP or
“
t
“
DOWN
to select the LINE you wish to
change
.
Press “SEND”.
(
LINE 1 shown)
Scroll
“
s
“
UP or
“
t
“
DOWN
to select the function you
wish to display
.
Press
“SEND”.
(
Pressure shown)
Rotate selector to “AUX”
to view. Pressure is now
shown in line 1 along with
T1, T2 and Differential/
delta T.
Scroll
“
s
“
UP or
“
t
“
DOWN
to
AUX.
Press “SEND”.
h
EAt
E
XChAnGEr
t
Est
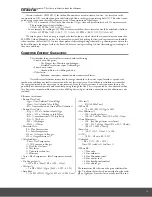
There are many methods to test heat exchanger integrity. One of these is to observe the Excess Air, O2 and CO readings both before and after the
blower turns on. If the heat exchanger is sealed your O2 and CO readings should remain fairly stable. A breach in the heat exchanger may allow fresh air to
be forced into the flue after the blower turns on due to a pressure increase in the plenum. The result may be a rise in the measured O2 in the stack gas and an
increase in the Excess Air . In some sealed systems the fresh air drawn in through the breach may reduce the combustion air available leading to an increase in
the CO reading. If either of these situations are present it is probable that there is a problem with the Heat Exchanger which may require additional testing and
inspection .
NOTE: Many cracks are invisible to borescopes or the naked eye, and only open or separate from pressure or temperature changes during operations.
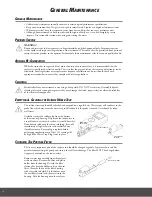
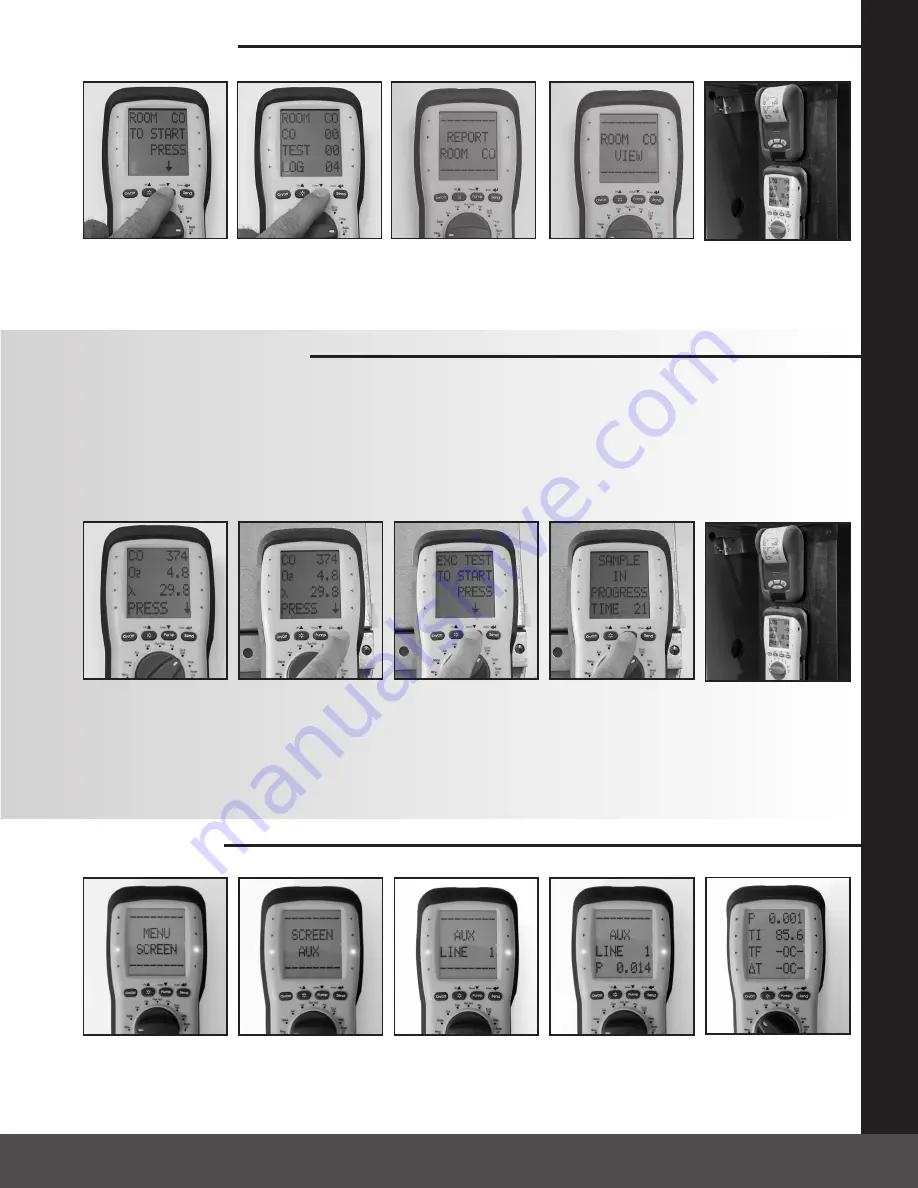
No probes or hose connec-
tions required for this test.
Place handset in the area to
be tested. Rotate test selector
to Room CO
Press the PUMP button to start
the test. CO readings will be
logged every 2 minute for a 30
minute time span
To view results rotate test
selector to “MENU” and
select “REPORT” Scroll to
“ROOM CO” and press
“SEND”.
Press “SEND” to VIEW
results.
CO r
OOm
t
Est
AUX s
EttinG
Press “SEND” again to print.
Great for checking for ambient CO and back drafting situations.
Programmable Auxiliary screen allows for Tech selectable test parameters to be chosen.

