background image

All product specifications are subject to change without notice

- 6 -

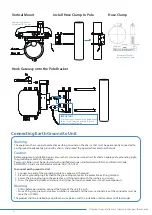
Connecting Earth Ground to Unit

Warning

The equipment has a separate protective earthing terminal on the chassis that must be permanently connected to 

earth ground to adequately ground the chassis and protect the operator from electrical hazards.

The product shall be installed by a qualified service person and the installation shall conform to all local codes.

Caution

Before equipment installation begins, ensure that a service personnel has attached an appropriate grounding lug to 

the grounding cable that you supply.

Power installation must be performed with qualified electrician and followed with National Electrical Code, 

ANSI/NFPA 70 and Canadian Electrical Code, Part I, CSA C22.1.

Warning

       At first before powered on, connect the frame of the unit to earth.

       For earthing wire, green-and-yellow insulation is required and the cross-sectional area of the conductor must be 

       more than 10 AWG.


1

   Connect one end of the grounding cable to a proper earth ground.


2

   Place the grounding lug attached to the grounding cable over the protective earthing terminal.


3

   Secure the grounding lug to the protective earthing terminal with the washers and screws.


4

   Dress the grounding cable and ensure that it does not touch or block access to other components.

To connect earth ground to Unit

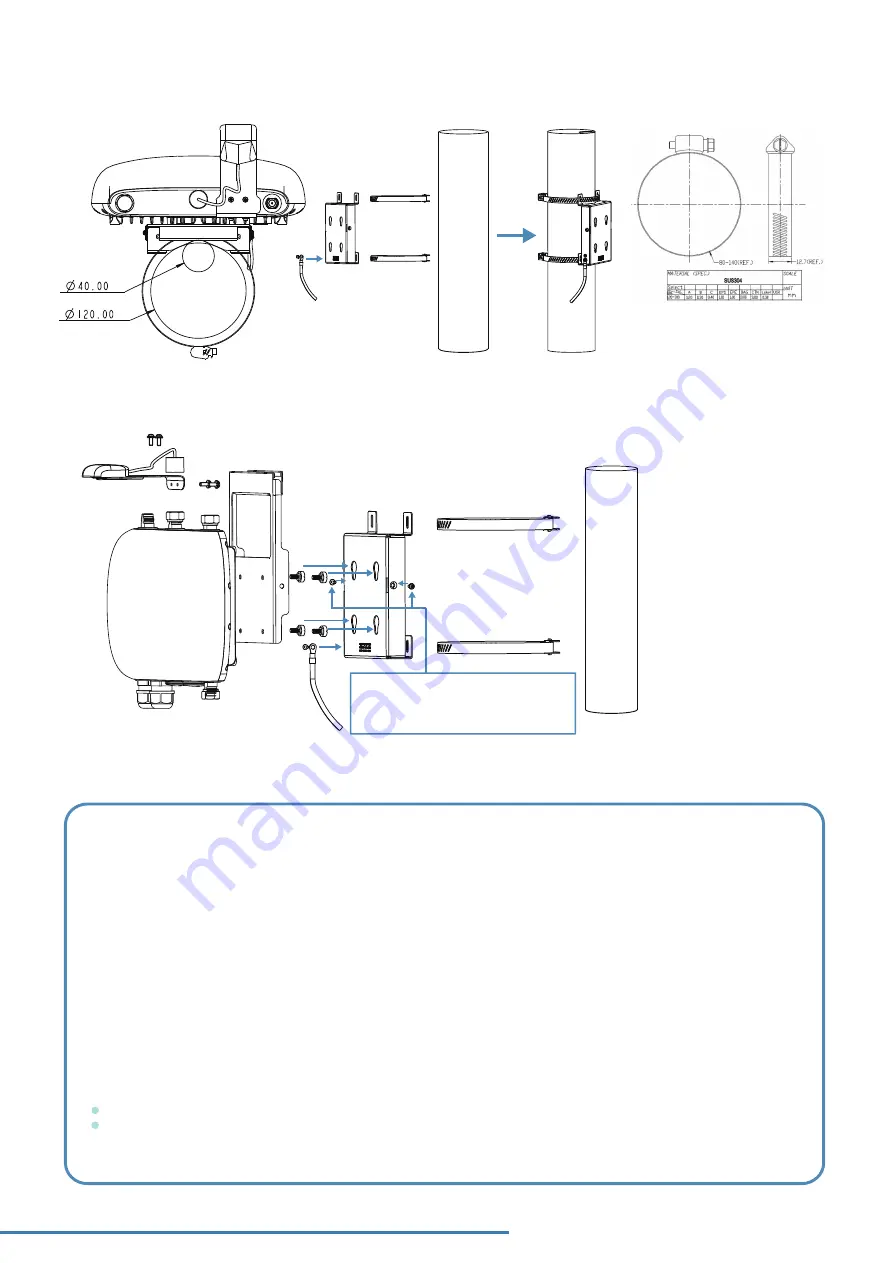
Hook Gateway onto the Pole Bracket

After hooking gateway onto the pole bracket, 

these 2 screws must be installed to secure 

gateway’s vertical direction.

IMPORTANT

Maximum 55Kg.cm 

torque for hose clamp

Vertical Mount

Minimum OD 40 mm

Maximum OD 120 mm

Install Hose Clamp to Pole

Hose Clamp

Summary of Contents for Outdoor R1 Series

Page 1: ...unting Install Surge Protection Cable Install 8 dBi LoRa Antenna to Pole Install 11 57 VDC Port Cable Install SIM Card 2 Preparing the Installation Connectors and Interfaces All product specifications...

Page 2: ...tional 1 x DC Input Cable Gland optional 1 x DC Input Connector optional 1 x GPS Antenna 1 x Screw Kit 4pcs Items 1 x Outdoor LoRa Gateway with water protection cap on N Type connector ports Metal Cap...

Page 3: ...p to prevent water leaking into the device N Type Water Protection Caps are supplied with the gateway MUST not install or remove GPS LoRa or LTE Antenna when DC power is applied to the Gateway It may...

Page 4: ...3 Installation Install GPS Antenna The GPS Antenna can be installed to top of gateway housing directly and can be remove from pole together with gateway Install Rear Bracket to Gateway Install the Re...

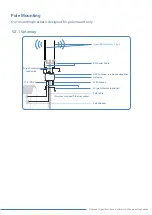
Page 5: ...5 Pole Mounting Our mounting bracket is designed for pole mount only V2 1 Gateway Gateway 11 57VDC LTE Antenna PoE Cable Must use shielded Ethernet cable PoE Adapter GPS Antenna recommended position R...

Page 6: ...adian Electrical Code Part I CSA C22 1 Warning At first before powered on connect the frame of the unit to earth For earthing wire green and yellow insulation is required and the cross sectional area...

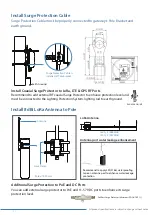
Page 7: ...earth ground Additional Surge Protection to PoE and DC Ports You can add external surge protector to PoE and 11 57 VDC ports to enhance its surge protection level Install Surge Protection Cable Instal...

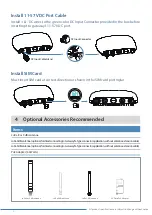
Page 8: ...Ra3dBiantenna optional fordirectconnectingtoGatewayN Typeconnectorapplication withoutantennaextensioncable PoE Adapter 60 Watts LoRa 0 dBi antenna 60Watts PoE Adapter LoRa 3 dBi antenna LoRa 8 or 9 dB...

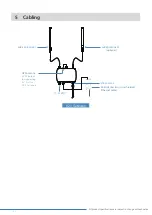
Page 9: ...subject to change without notice 9 5 Cabling LoRa Antenna 1 LoRa Antenna 2 optional LTE Antenna PoE Adapter must use shielded Ethernet cable GPS Antenna 11 57 VDC 5 VDC output for supporting 5V Ac t...

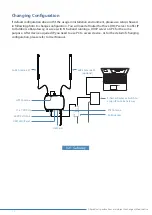
Page 10: ...t through the PoE connectivity On the device with LTE support LTE is configured as secondary WAN In the installation environment there is no extra configuration is needed if a DHCP server is available...

Page 11: ...that have DHCP server to offer IP to Outdoor LoRa Gateway or use a switch hub and running a DHCP server on PC for the same purpose After device acquired IP you need to use PC to access device As for t...

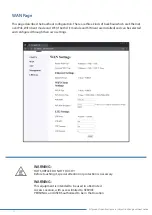
Page 12: ...ient mode and LTE if both LTE module and SIM card are installed and can be selected and configured through their own settings WARNING HOT SURFACE DO NOT TOUCH Before touching it special attention or p...

Page 13: ...of the following measures Reorient or relocate the receiving antenna Increase the separation between the equipment and receiver Connect the equipment into an outlet on a circuit different from that to...

Page 14: ...le knowledge The general user shall not attempt to install or change the setting 2 Installation location The product shall be installed at a location where the radiating antenna can be kept 40cm from...

Reviews: