background image

INSTRUCTIONS FOR USE                                                                                                                 MINICAST 

CONTENTS 

INTRODUCTION   


10 

SPECIFICATIONS  


11 

INSTALLATION AND SET-UP   


12 

DESCRIPTION OF THE CONTROL PANEL   

13-14 

MELTING AND INJECTION 


15 

CIRCUIT DIAGRAM 


16 


Summary of Contents for MINICAST

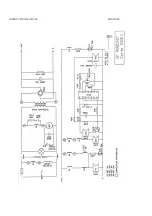
Page 1: ...INSTRUCTIONS FOR USE MINICAST 9 CONTENTS INTRODUCTION 10 SPECIFICATIONS 11 INSTALLATION AND SET UP 12 DESCRIPTION OF THE CONTROL PANEL 13 14 MELTING AND INJECTION 15 CIRCUIT DIAGRAM 16 ...

Page 2: ...sting machine This machine has been carefully designed manufactured and tested to give you complete satisfaction You will be making perfect castings effortlessly and risk free whatever alloy you use To make the best use of your MINICAST please read the operating instructions and advice contained in this manual attentively ...

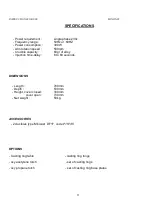
Page 3: ...rpm Crucible capacity 60gr of alloy Injection time delay 6 to 60 seconds DIMENSIONS Length 700mm Depth 530mm Height cover closed 330mm cover open 730mm Net weight 50kg ACCESSORIES 2 crucibles type Minicast DF1F code P15145 OPTIONS Casting ring table casting ring tongs oxy acetylene torch set of casting rings oxy propane torch set of casting ring base plates ...

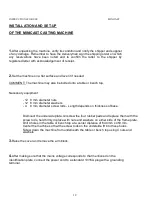
Page 4: ...iameter nuts 12 8 mm diameter washers 4 8 mm diameter screw rods Length depends on thickness of base Dismount the underside plate Unscrew the four rubber pads and replace them with the screw rods held firmly in place with nuts and washers on either side of the frame plate Drill 4 holes in the table or bench top at a center distance of 644 mm x 450 mm Center the machine so that the screw rods on th...

Page 5: ...INSTRUCTIONS FOR USE MINICAST 13 DESCRIPTION OF THE CONTROL PANEL 1 Power On Off key 2 Cycle start key 3 Door safety lock indicator 4 Injection time delay 5 Selector of arm acceleration 1 2 4 5 3 ...

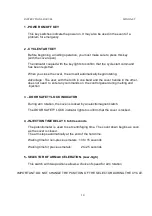
Page 6: ...to enter any commands on the control panel during melting and injection 3 DOOR SAFETY LOCK INDICATOR During arm rotation the cover is locked by an electromagnetic latch The DOOR SAFETY LOCK indicator lights to confirm that the cover is locked 4 INJECTION TIME DELAY 6 to 60 seconds The potentiometer is used to set centrifuging time The count down begins as soon as the cover is closed The arm stops ...

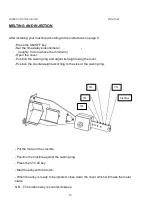
Page 7: ...e cover Position the casting ring and adjust its height using the lever Position the counterweight according to the size of the casting ring Put the metal in the crucible Position the crucible against the casting ring Press the CYCLE key Melt the alloy with the torch When the alloy is ready to be injected close down the cover which will make the motor starts N B The rotation way is counter clokwis...

Page 8: ...INSTRUCTIONS FOR USE MINICAST 16 ...

Reviews: