UGO BASILE - I
TALY
Page 14
Series 58000 Instruction Manual (Rev.1)
WARNING
:
it is advisable to insert a small cylinder (a fountain pen has the appropriate diame-
ter) into the cuff, to prevent a possible burst of of the membrane when the pressure
builds up during dry-run test..
Switch on
. Bear in mind that we have not the animal and therefore the pulse transducer does not
supply any signal.
IMPORTANT !
For a preliminary check, depress
F1
three times (
OPR
–
TES
–
AUT
), wait a cou-
ple of seconds and then pick-up the transducer, hold it between forefinger and
thumb and gently shake it. The resulting inertial forces mimic the tail pressure sig-
nal.
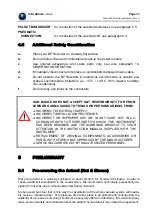
Note the central dot over the bottom caption of the display on which you will read
“
REPEAT TEST
”. In fact, the instrument is designed to operate with the animal
and its logic circuit “thinks” that something is wrong.
When you shake the transducer, the dot enlarges to form a dash whose length is proportional to
the amplitude of the signal. To check the pneumatic part of the business, depress from the main
menu
F1
(
OPR
) and
F3
(
CAL
) and then
START
, again
F1
. Read the attained pressure. Stop the
compression phase via
F2
(
STP
). At the end of the test, depress
F4
(
NUL
).
6
OPERATION
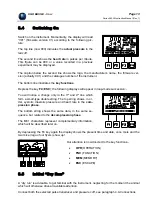
From the MAIN MENU, depress the
F1
(
OPR
) key. The
small-type double-string line, generally related to the key
functions, changes and you read:-
•
TES
(TEST) (see paragraph 6.1.5)
•
MOD
(MODE) (see paragraph 0)
•
CAL
(CALIBRATION) (see paragraph 8)
•
ESC
(ESCAPE)
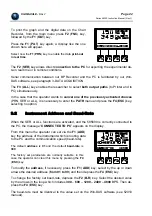
As shown in the display at this side, which illustrates the fresh function of the keys.
6.1
Mode Menu
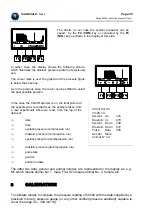
Depress
F2
. The display indication enables you to set the mode of operation you have selected.
6.1.1
Measurement Selection
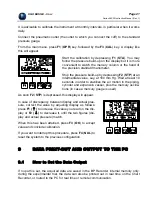
F1
(
MEA
) presets the instrument to record the systolic and diastolic pressure, taking note of the
used abbreviations.


