UGO BASILE - I
TALY
Page 21
Series 58000 Instruction Manual (Rev.1)
It is advisable to calibrate the instrument at monthly intervals, in particular when it works
daily.
Connect the pneumatic outlet (the outlet to which you connect the cuff) to the standard
pressure gauge.
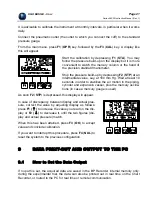
From the main menu, press
F1
(
OPR
) key, followed by the
F3
(
CAL
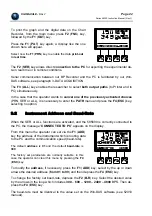
) key. A display like
this will appear.
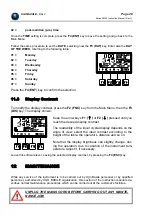
Start the calibration by depressing
F1
(
STA
). You may
follow the pressure build-up on the display but it is more
convenient to watch the mercury column or the hand of
the precision standard manometer.
Stop the pressure build-up by depressing
F2
(
STP
) at an
intermediate value, say, at 100 mm Hg. Wait at least 10
seconds in order to stabilize the air motion in the piping,
cylinder and expansion vessel, plus the mercury oscilla-
tions (in case a mercury gauge is used).
As soon
F2
(
STP
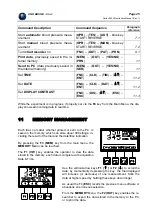
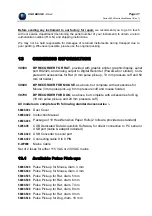
) is depressed, this display will appear.
In case of discrepancy between display and actual pres-
sure, correct the value by adjusting display as follows:
press
F1
(
↑
)
to increase the value you read on the dis-
play or
F2
(
↓
)
to decrease it, until the two figures (dis-
play and actual pressure) match.
When this has been attained, press
F3
(
OK
) to accept
value and conclude calibration.
If you want to interrupt this procedure, press
F4
(
NUL
) to
reset the system to the previous configuration.
9
DATA PRINT-OUT AND OUTPUT TO THE PC
9.1
How to Set the Data Output
If no path is set, the acquired data are saved in the BP Recorder internal memory only:
during the experimental trial, the data can also be printed out in real time on the Chart
Recorder, or routed to the PC for real time or remote communication.


