CX2172/4
T
ABLE OF CONTENTS
26
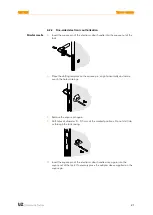
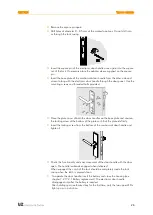
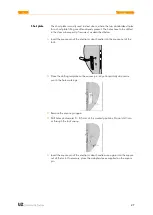
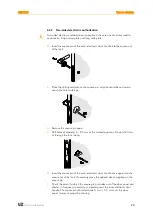
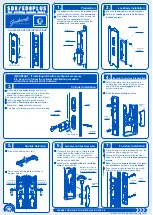
Remove the square pin again.
Drill holes of diameter 8 - 8.5 mm at the marked positions. Do not drill into
or through the lock casing.
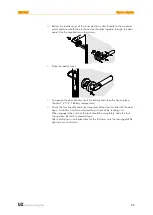
Insert the square pin of the electronic door handle once again into the square
nut of the lock. If necessary place the adapter sleeve supplied on the square
pin.
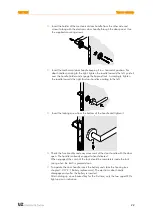
Insert the base plate of the mechanical door handle from the other side and
screw it along with the electronic door handle through the door panel. Use the
mounting screws and threaded bolts provided.
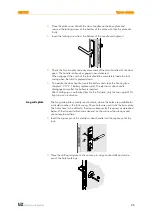
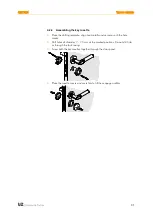
Place the plate cover of both the door handles on the base plate and unscrew
the locking screw at the bottom of the plate such that the plate sits firmly.
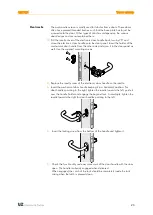
Insert the locking screw from the bottom of the mechanical door handle and
tighten it.
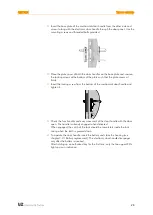
Check the functionality and easy movement of the door handle with the door
open. The handle is already engaged when delivered.
When engaged, the catch of the lock should be completely inside the lock
casing when the latch is pressed down.
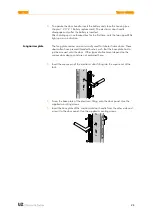
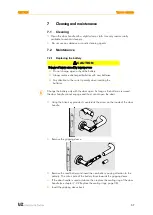
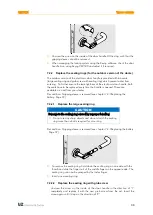
To operate the door handle, insert the battery and close the housing (see
chapter 7.2.17.2.1 Battery replacement). The electronic door handle
disengages only after the battery is inserted.
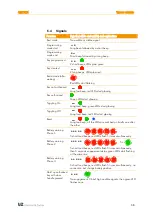
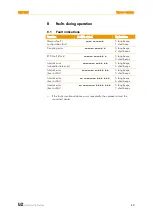
After holding up an authorized key for the first time, only the two upper LEDs
light up as an indication.


