Mounting the Router to the 10mm Table Inserts
27
NOTE: THIS MAY VERY DEPENDING
ON ROUTER MODEL
NOTE: ITS IS GOOD PRACTISE TO
CENTRE PUNCH THE POSITION
BEFORE DRILLING AS THIS WILL
GUIDE THE DRILL!
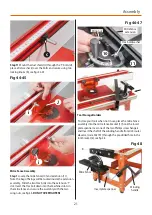
Fig 03
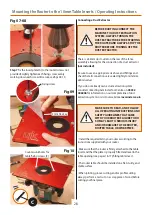
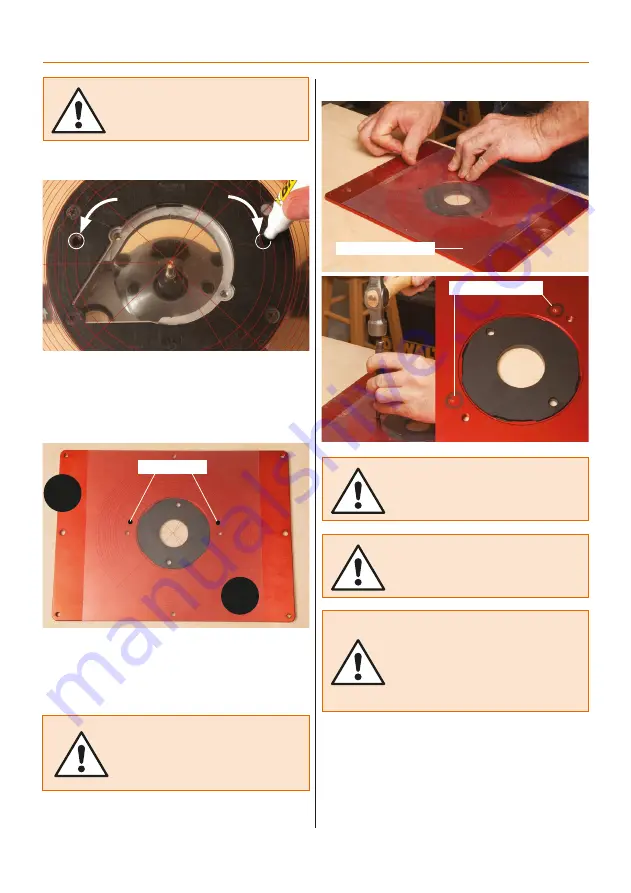
Step 4 Turn over the insert plate (A) (with the logo face
down), place the template (B) on top of the insert plate
and centre the template as shown, see fig 4
Fig 04
Marked holes
A
B
Step 5 Secure the template (B) in position using Sellotape,
see fig 05. Using a centre punch mark the position of the
holes on the insert plate (A), see fig 06. Remove the
emplate and place safely aside.
NOTE: TO MAKE SURE THE HOLES
ARE ACCURATE WE RECOMMEND
YOU USE A DRILL PRESS!
WARNING! MAKE SURE THE INSERT
PLATE IS SECURELY CLAMPED DOWN
TO THE DRILL TABLE!
REMEMBER THAT THE COUNTER-
SINK MUST BE DEEP ENOUGH FOR
THE SCREW HEAD TO BE FLUSH OR
SLIGHTLY SUB-SURFACE, SO THAT
THE TIMBER IS NOT IMPEDED WHEN
IT IS MOVED OVER THE SURFACE.
Fig 05-06
Centre punch holes
Secure the template
Continues Over...


