-12-
5. Assembly:
•
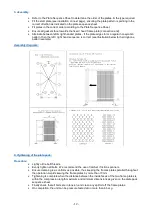
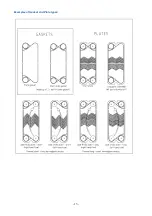
Refer to the Plate Sequence Sheet to determine the order of the plates, & the type required.
•
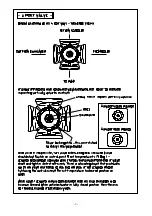
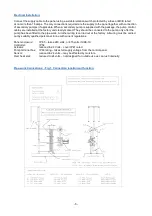
Fit the start plate (see illustration on next page), ensuring the plate pattern is pointing in the
correct direction as indicated on the plate sequence sheet.
•
Fit plates in the correct order according to the Plate Sequence Sheet.
•
Ensure all gaskets face towards the fixed / head frame plate (connection end).
•
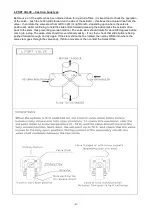
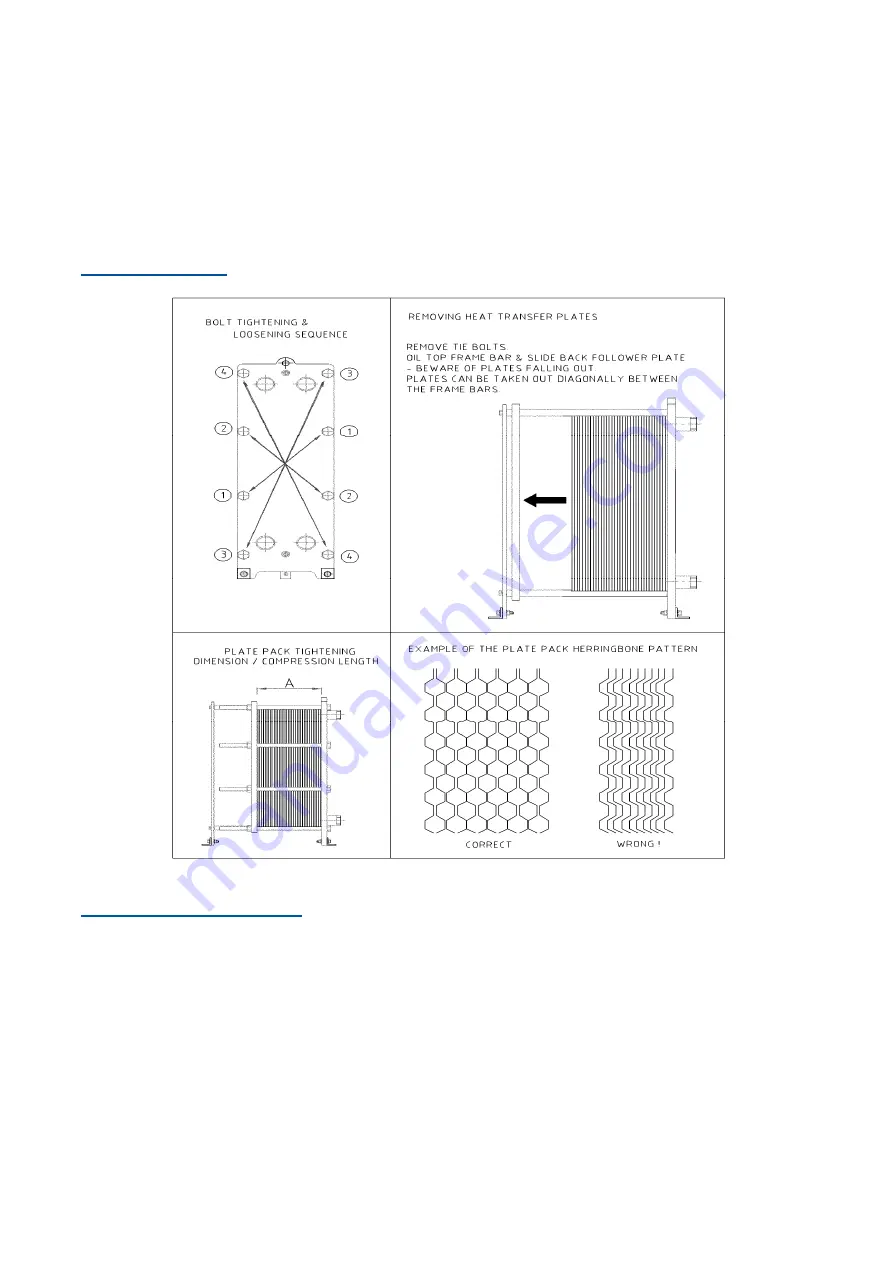
Alternate between left & right handed plates - if the plate edges form a regular honeycomb
pattern, then the left / right hand sequence is correct (see illustration below for herringbone
pattern example)
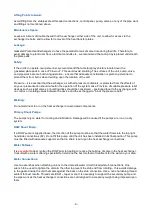
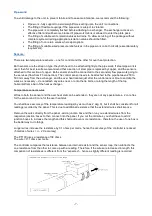
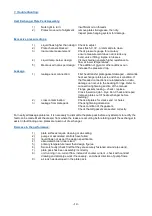
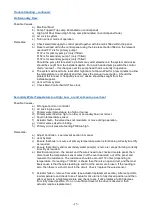
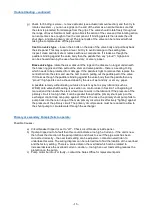
Assembly diagrams:
6: Tightening of the plate pack:
Procedure:
•
Lightly oil tie bolt threads.
•
Evenly tighten all bolts. We recommend the use of ratchet / friction spanners.
•
Ensure clamping is as uniform as possible, thus keeping the frames plates parallel throughout
the operation. Avoid skewing the frame plates by more than 10mm
•
Tightening is complete when the distance between the inside faces of the two frame plates is
within the compression length maximum and minimum dimensions as given on the plate pack
sequence sheet.
•
Finally check that all bolts are in tension, and clean any spilt oil off the frame plates.
•
On completion, the unit can be pressure tested at no more than 6 bar g.


