34
Ulead COOL 3D 3.0
To animate position and color:
1
Insert an object in a blank project (with
a black background). At frame 1, set the
object color to be black.
2
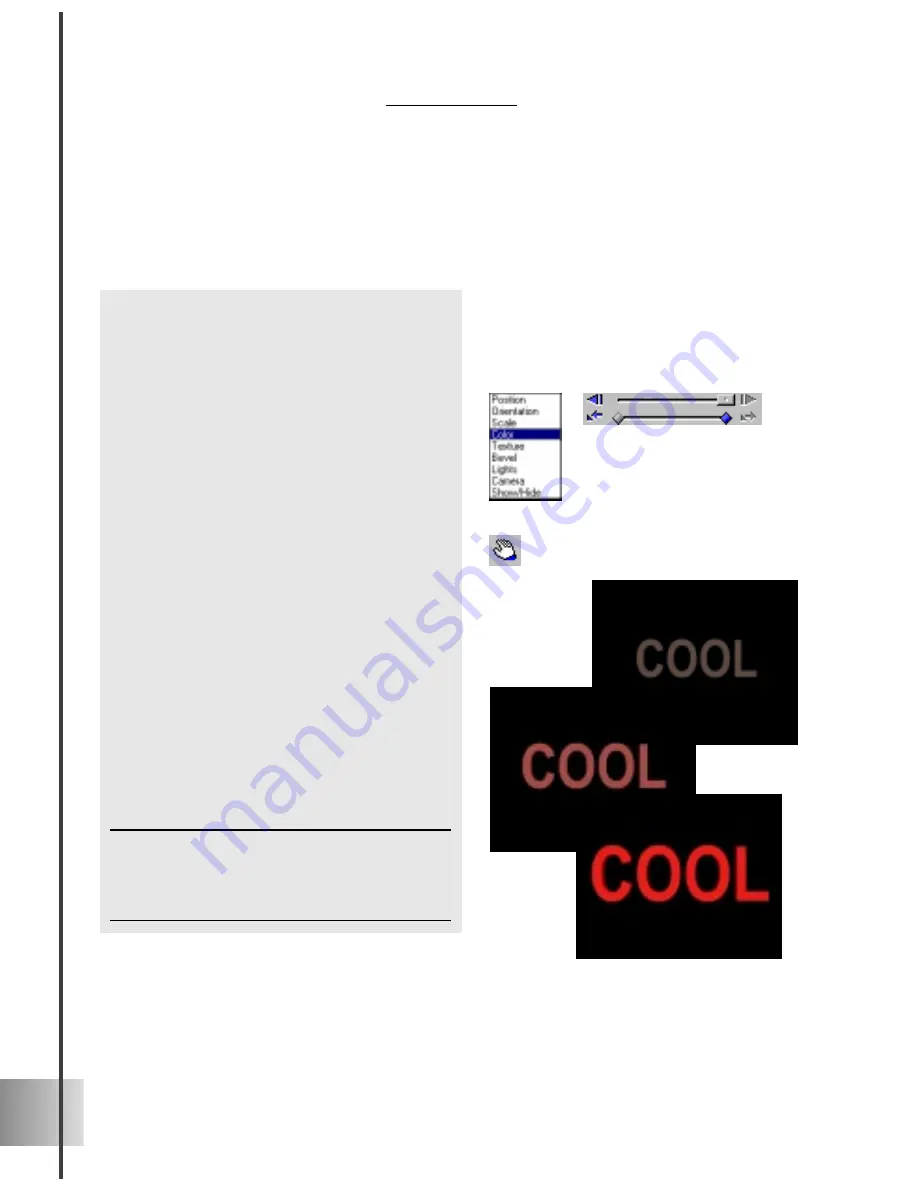
On the Properties Menu, select Color.
Then, on the Timeline Control, add a
key frame at the last frame of the
animation. Set the color to red.
3
Click Play on the Animation Toolbar to
preview the color animation.
4
Click the Move button on the Standard
Toolbar. The Properties Menu changes
to display Position. The timeline that
appears pertains only to Position.
5
On the Position timeline, select the first
key frame, then on the Location Toolbar,
enter 200 for the Z coordinate.
6
Add a key frame at the end of the
Position timeline, and then enter -200
for the Z coordinate.
7
Preview the animation. The object
should emerge from the background
color and come straight towards you.
Note: If you want to change the color or position for
specific key frames, make sure you select the
relevant property in the Properties Menu first before
you edit the key frames and their attributes.
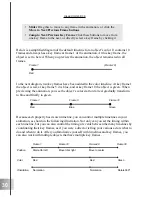
Animating with multiple timelines
Inevitably, you will want to animate more than one aspect of your object. This means that
you must work with multiple timelines. When you are working with multiple timelines,
keep your eye on the Properties Menu - this will tell you which timeline you are currently
editing. This example shows you how to make a basic animations with two timelines.
Summary of Contents for COOL 3D 3.0
Page 1: ... title ...


