17
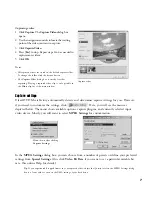
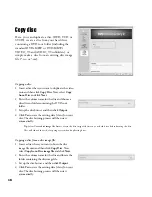
Directing to a disc:
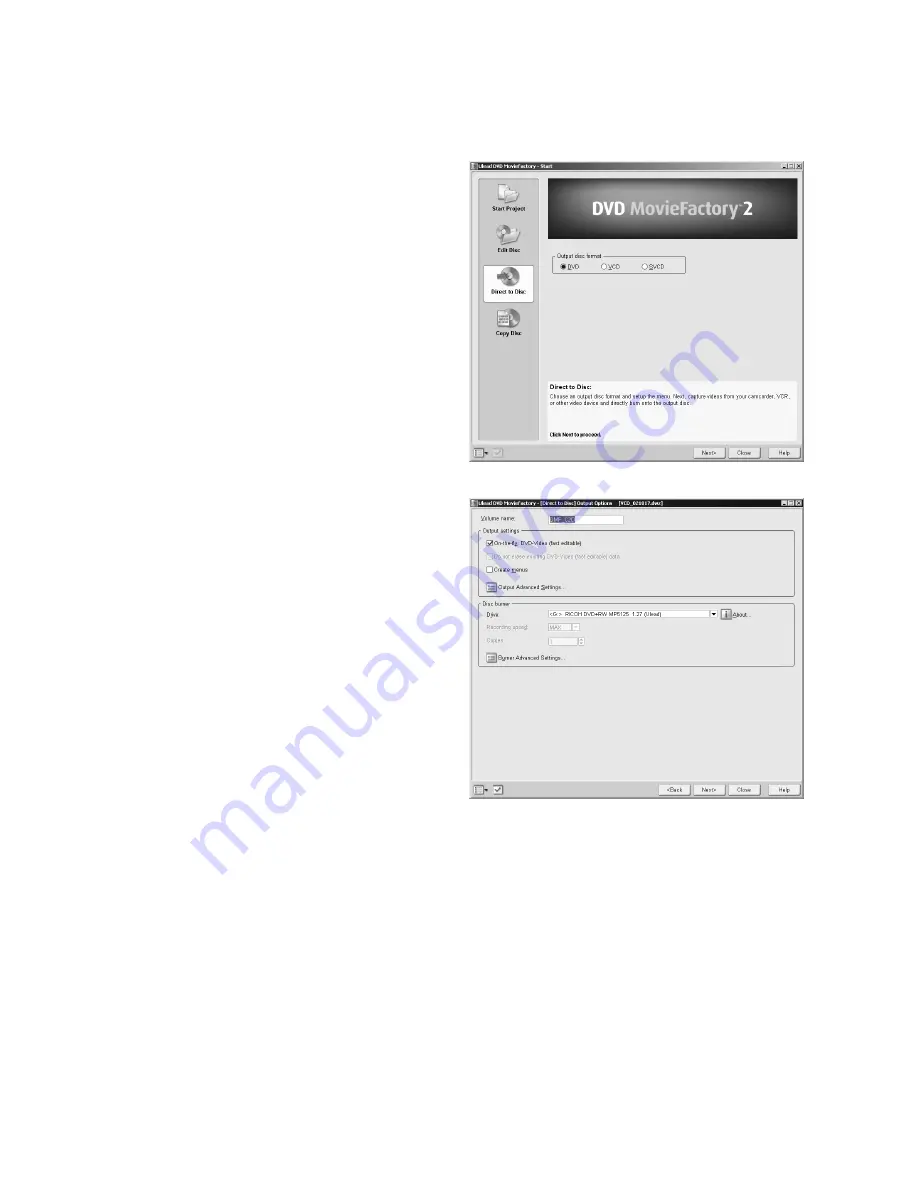
1 Insert a disc where you want to burn the video
onto and then click
Direct to Disc
.
2 Select the output disc format you want then click
Next
. You will then be guided to the
Output
Options
step.
Note
: If you only have a CD burner, you should select either
VCD or SVCD as your output disc format.
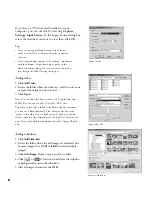
3 Depending on the type of media you have in your
burner (e.g. DVD+R/RW), you will have different
options available in the Output Options step.
Determine the options you want then click
Next
.
Notes
:
• The
On-the-fly
option (if available) allows you to directly
record your video to your disc without creating any data on
your hard drive.
• Select
Do not erase existing DVD-Video (fast editable)
data
if you do not want to overwrite existing data on the
disc.
• Select
Create menus
to create a selection menu for the
video that you will capture onto the disc.
• If you have a +RW media in your burner, there are options
in the Burner Advanced Settings dialog box that you can
use such as
Format DVD+RW
(recommended when
using the DVD+RW disc for the first time) and
Quick
eject
(speeds up finalization process but may create
compatibility problems with some DVD players).
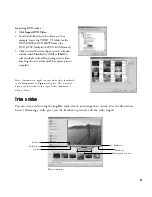
4 Now you are in the
Capture
step. Turn on your
video device and use the navigation controls to
locate the starting point of the video to capture.
Once you’re done, click
Capture & Burn
.
Tips
:
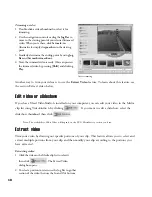
• If you are having problems using Direct to Disc, you may need to reconfigure some of the program settings. Click
Capture Settings to adjust the settings.
• If the video you captured doesn’t have audio, the reason may be that the recording input device has not been properly
set up. You can check this in
Control Panel: Sounds and Multimedia - Audio tab
. In the Sound Recording section,
click
Volume
then in the
Recording Control
dialog box, drag the volume slider of the appropriate device (usually
Line-in) to increase the recording volume.

