7
Capture video
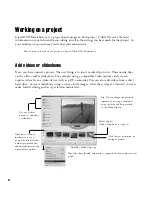
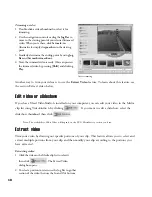
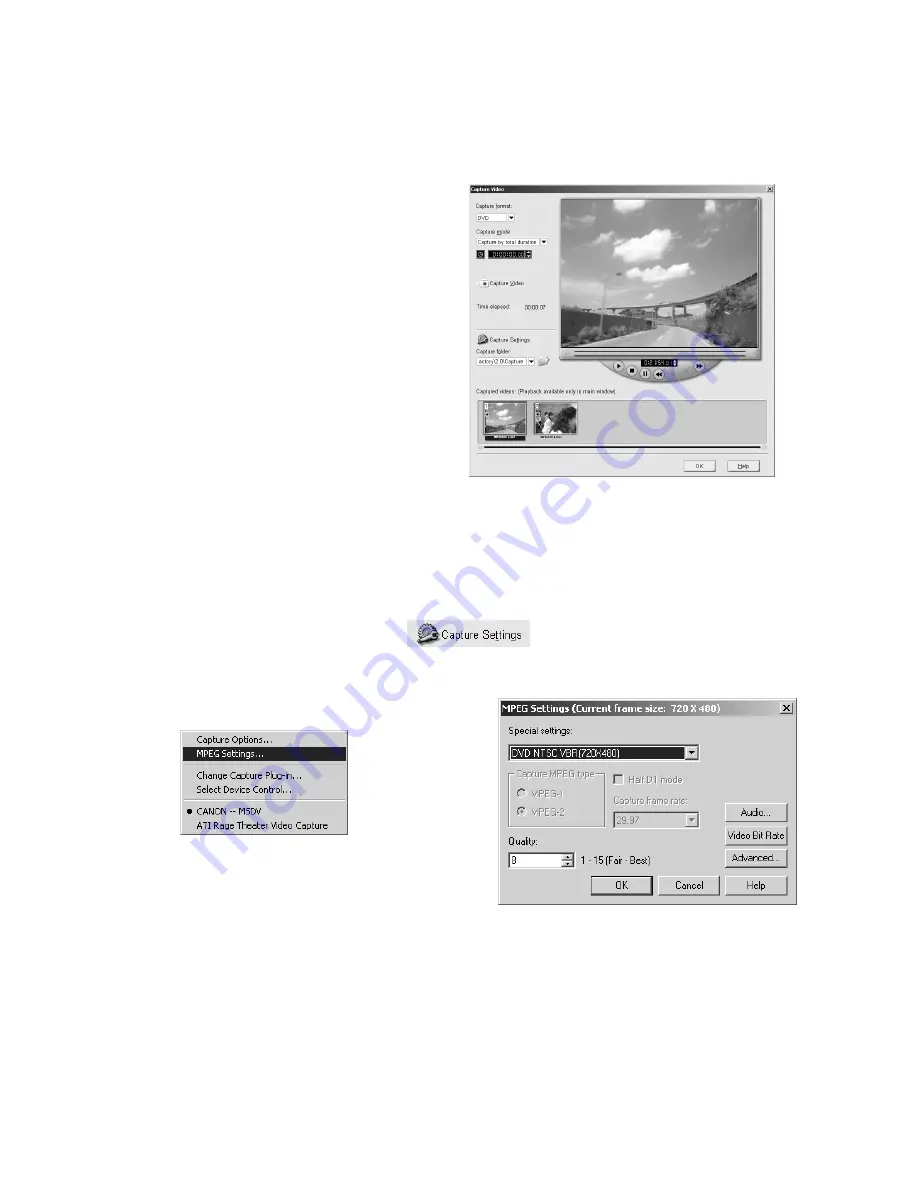
Capturing videos:
1 Click
Capture
. The
Capture Video
dialog box
opens.
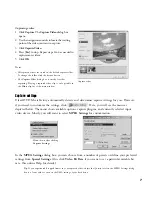
2 Use the navigation controls to locate the starting
point of the video you want to capture.
3 Click
Capture Video
.
4 Press
[Esc]
to stop. Repeat steps 2 to 4 as needed to
capture more videos.
5 Click
OK
.
Notes
:
• All captured videos are stored in the default capture folder.
To change the folder, click the browse button.
• The
Capture Video
dialog box is strictly for video
capturing. Playing a captured video clip is only possible in
the Media clip list of the main window.
Capture settings
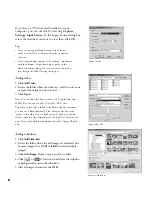
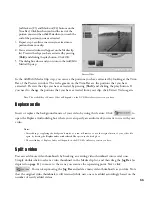
Ulead DVD MovieFactory automatically detects and determines capture settings for you. However,
if you need to customize the settings, click
. Here, you will see the menu as
depicted below. The menu shows available options, capture plug-ins, and currently selected input
video device. Mostly, you will want to select
MPEG Settings
for customization.
Menu shown after clicking
Capture Settings
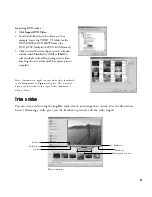
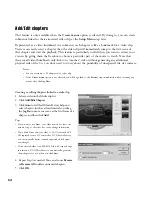
In the
MPEG Settings
dialog box, you can choose from a number of presets or define your preferred
settings from
Special Settings
. Also, click
Video Bit Rate
if you want to set a particular variable bit
rate. (See online Help for details.)
Tip
: If you experienced dropped frames in your captured video, adjust the
Quality level in the MPEG Settings dialog
box to a lower value or turn on the DMA setting of your hard drive.


