CHAPTER 2: CAPTURING VIDEO 227
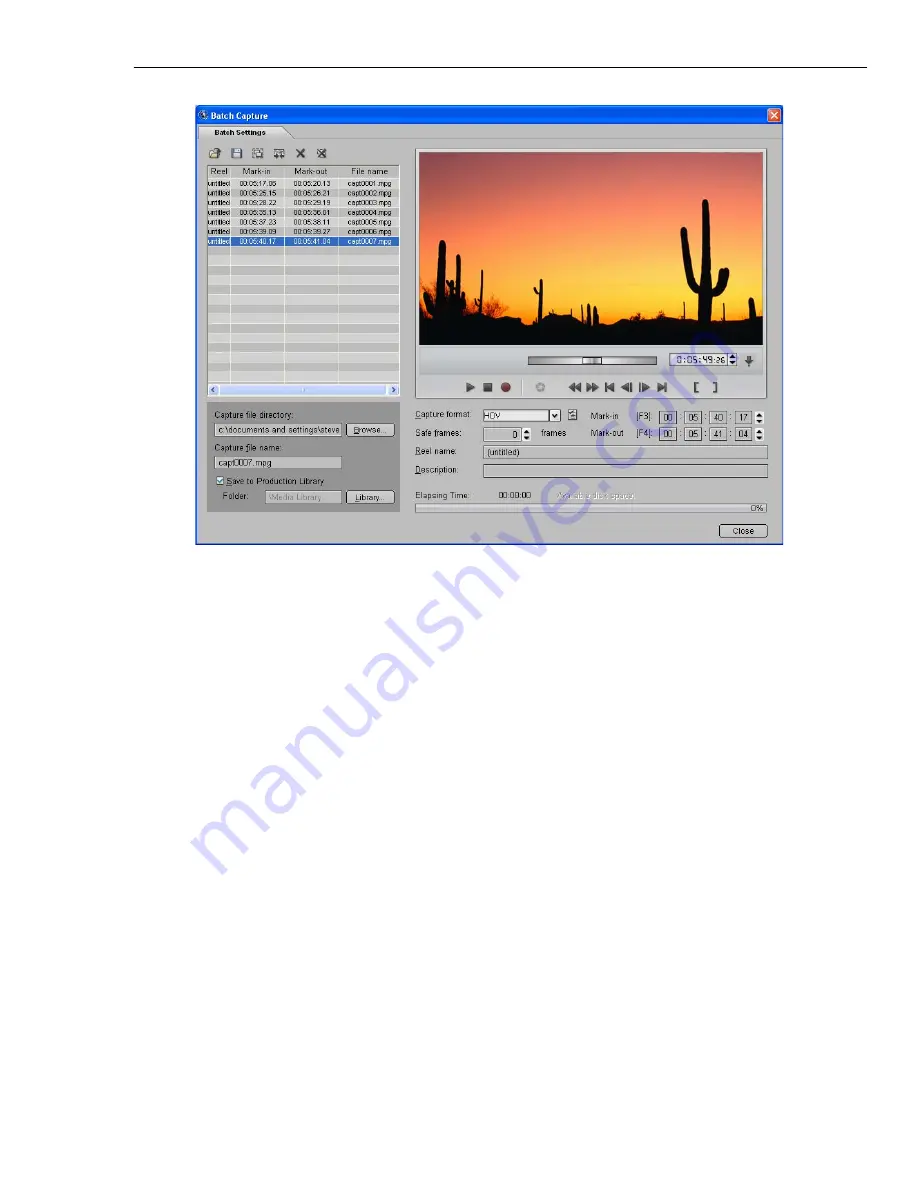
4. Enter a
Reel name
and
Description
. (You can specify any reel name, but be
sure to change the name when you change the source tape or disc).
5. In
Safe frames
, specify the number of frames to capture before and after the
specified capture duration to make sure that all frames within that capture
timecode are included. For example, if you set a value of 5 frames and the
mark-in and mark-out times of a segment are 01:02:10:20 and 01:04:10:10,
capturing will start from 01:02:10:15 and will end at 01:04:10:15. (You can
trim out unnecessary frames later when you are editing).
6. Specify a
Capture file name
.
During batch capture, the captured files will be named sequentially. For
example, if the file name you specify is "
batch
", captured files will be named,
batc0001
,
batc0002
and so on.
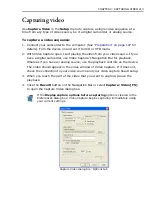
7. When you are ready to start marking video sequences, click the
Batch
Settings
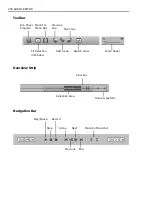
tab. Use the Navigation Bar to roll the footage to the location where
you want to begin marking video clips to capture.
8. Click the
Play
button to play the footage.
9. Click the
Mark-In
button on the Navigation Bar or press
F3
whenever you see
the video you want to select for capture.
Summary of Contents for MEDIASTUDIO PRO 8
Page 1: ...User Guide Ulead Systems Inc September 2005 P N C22 180 110 0A0001 ...
Page 17: ...PART I VIDEO EDITOR ...
Page 44: ...44 VIDEO EDITOR ...
Page 94: ...94 VIDEO EDITOR ...
Page 138: ...138 VIDEO EDITOR ...
Page 172: ...172 VIDEO EDITOR ...
Page 193: ...PART II VIDEO CAPTURE ...
Page 200: ...200 VIDEO CAPTURE DV mode MPEG 2 mode ...
Page 234: ...234 VIDEO CAPTURE ...
Page 235: ...PART III AUDIO EDITOR ...
Page 246: ...246 AUDIO EDITOR ...
Page 267: ...PART IV MORE PROGRAMS ...
Page 296: ...296 MORE PROGRAMS ...
Page 297: ...INDEX ...
Page 308: ...308 ULEAD MEDIASTUDIO PRO X X Axis unit 245 Z Zooming 240 Zooming in out 54 ...

