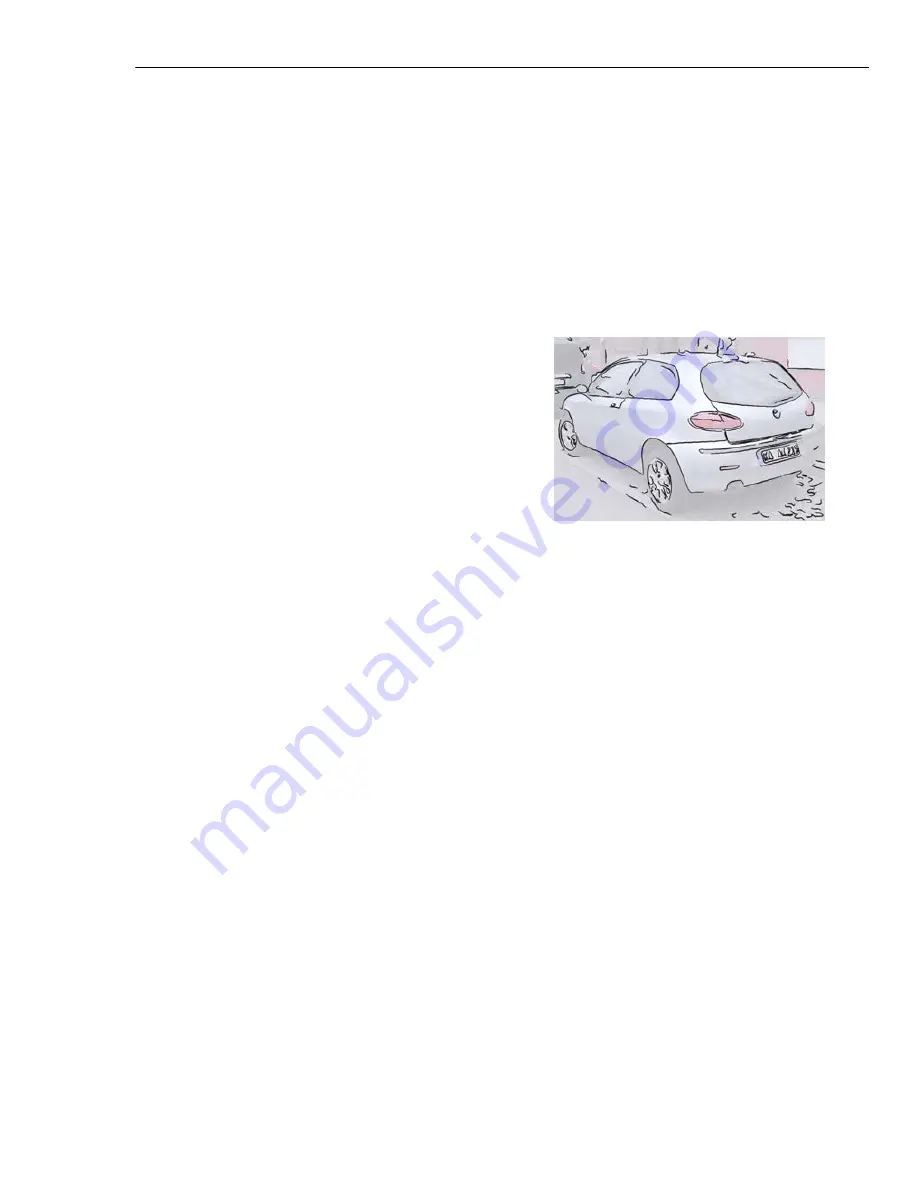
CHAPTER 6: SPECIAL EFFECTS 223
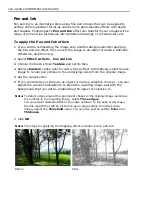
To draw more contours on the subject, drag the right clipping tab of the slider to
the right.
4. Another setting that you can adjust to reduce background noise and draw more
contours on the subject is the
Edge length range
.
If you set a wide range, various lengths of contours will be drawn. To reduce
unwanted background noise, drag the left clipping tab of the
Edge length
range
slider to the right.
To draw longer contours on the subject, drag the right clipping tab of the slider
to the right.
5. Choose a
Color
for the drawing canvas.
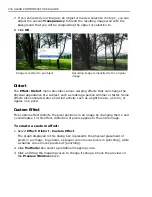
Tip:
To make the source image show through
the canvas, increase the
Transparency
level.
6. Set the brush stroke color, smoothness,
width, and texture to use for drawing the
contours.
7. Click
OK
.
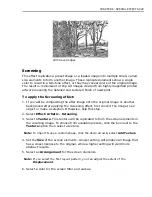
Engraving
Engraving is a traditional graphical technique where an image is scratched into a
metal surface. The surface is coated with ink, and then paper is applied to it. When
the paper is pulled away, it bears an impression of the original image.
PhotoImpact’s
Engraving
effect replicates this technique, providing three detailed
layers of filters and settings to enable maximum fine tuning.
To apply the Engraving effect:
1. Select
Effect: Artistic - Engraving
.
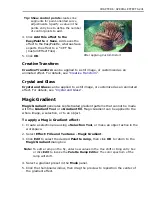
2. There are three layers that can be activated to achieve various depths of this
effect. The settings available are the same for all three layers. By default, only
the bottom layer is selected. To enable the other layers, click the layer tabs and
select
Enable layer
.
Note:
The
Merge
mode option is enabled only in the middle and top layers. This
sets how the current layer blends with the underlying layer.
3. When customizing each layer, first choose a
Pattern
to simulate a certain
engraving. Preset patterns include
Line
,
Circle
,
Ellipse
, and
Sine Wave
.
Adjust the available settings for the selected pattern.
Summary of Contents for PHOTOIMPACT 11
Page 1: ...User Guide Ulead Systems Inc August 2005 ...
Page 295: ...9 Appendix COMMANDS ...

