CHAPTER 8: ALL FOR THE WEB 265
Creating object-based image maps
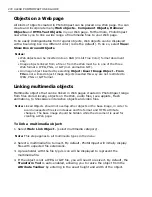
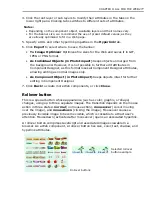
All types of PhotoImpact objects can have image maps assigned to them.
Assigning hyperlink properties to an object creates an
object-based image map
.
A semi-transparent shadow will be shown over the area to indicate the image map.
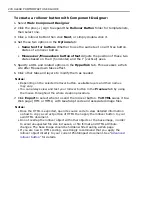
To create an object-based image map:
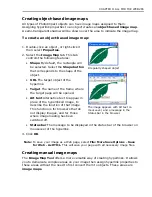
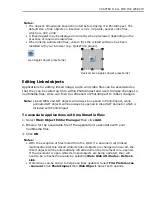
1. Double-click an object, or right-click it
then select
Properties
.
2. Select the
Image Map
tab. This tab
controls the following features:
•
Shape
By default, the rectangle will
be selected. Select the
Shape button
that corresponds to the shape of the
object.
•
URL
The target object of the
hyperlink.
•
Target
The name of the frame where
the target page will be opened.
•
Alt text
Alternative text to appear in
place of the hyperlinked image, to
describe the function of that image.
This function is for browsers that do
not display images, and for those
where image loading has been
switched off.
•
Status bar
The message to be displayed in the status bar of the browser on
mouseover of the hyperlink.
3. Click
OK
.
Note:
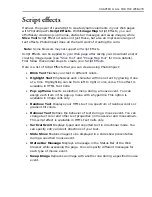
To save your image as a Web page, select
File: More Save Options - Save
for Web - As HTML
. This will save your page with all necessary image files.
Creating manual image maps
The
Image Map Tool
offers a more versatile way of creating hyperlinks. It allows
you to demarcate complex areas on your image then assign hyperlink properties to
these areas without the need to first convert them to objects. These areas are
image maps
.
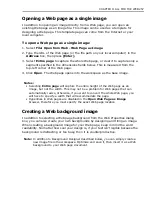
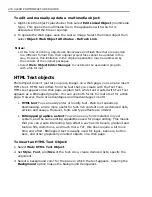
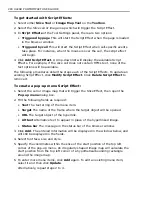
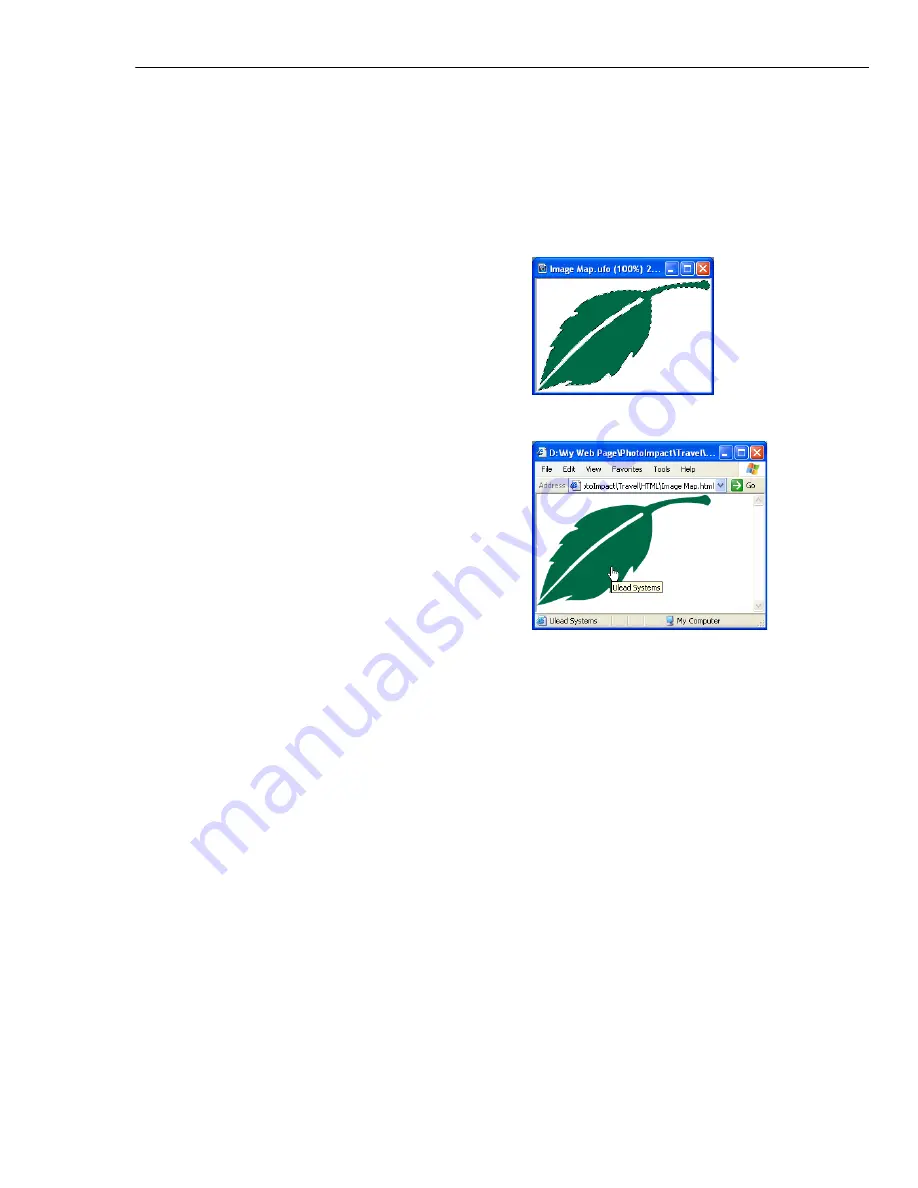
Irregularly shaped object
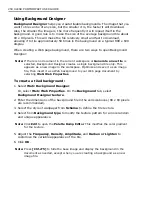
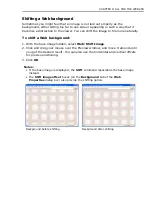
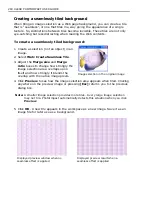
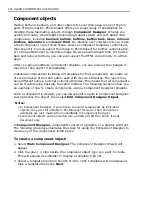
The image appears with Alt text on
mouseover, and a message in the
Status bar in the browser.
Summary of Contents for PHOTOIMPACT 11
Page 1: ...User Guide Ulead Systems Inc August 2005 ...
Page 295: ...9 Appendix COMMANDS ...


