276 ULEAD PHOTOIMPACT USER GUIDE
Component objects
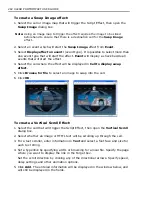
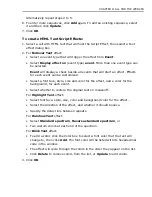
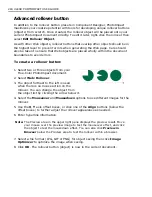
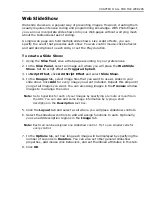
Making buttons, banners, and other objects for your Web page is one of the fun
parts of Web creation. PhotoImpact offers you a vast range of possibilities for
creating these fascinating objects through
Component Designer
. It helps you
quickly and easily create eight stunning high-quality path- and text-based Web
components, including
banners
,
bullets
,
buttons
,
button bars
,
icons
,
rollover
buttons
,
separators
, and
lower-third
. Its intuitive user interface lets you make
a Web component in just three steps: select a component template, customize it,
then export it. You can export the image to PhotoImpact for further customization,
or to Image Optimizer to minimize image file size and download time. For button
bars and rollover buttons, you can even export the HTML code directly to a Web
page.
After you have modified a component template, you can preview the changes in
real-time, then export it immediately.
Individual components (including all templates for that component) are made up
of several layers of text and paths, each with its own attributes. The layers may
have different names, but share similar attributes. This means that all components
can be created using basically the same method. The following sections show you
an example of how to create components using a Component Designer template.
Once a component is created, you can always edit it again in Component Designer.
Just right-click the object, then select
Edit Component Designer Object
.
Notes:
• In Component Designer, if you choose to export components as individual
objects, they are still editable in PhotoImpact. However, their Component
attributes are lost, making them uneditable in Component Designer.
• Component objects can be inserted into an RGB (24-bit True Color) format
document only.
In
Component Designer
, components consist of a graphic, or a graphic with text.
The following procedure illustrates the steps for using the Component Designer to
create any of the components listed above.
To create a component object:
1. Select
Web: Component Designer
. The Component Designer Wizard will
appear.
2. Click the plus (+) sign beside the component object type you want to create.
This will expand its subfolder to display a template type list.
3. Select a template type from the list. On the right, templates will be displayed.
Click a template then click
Next
.
Summary of Contents for PHOTOIMPACT 11
Page 1: ...User Guide Ulead Systems Inc August 2005 ...
Page 295: ...9 Appendix COMMANDS ...


