10 GB/IE/NI
Set up / FAQs / Troubleshooting / Cleaning / Storage
Set up
Charging the jump start aid
Plug in the power pack with vehicle start-up
aid
9
.
Plug the power supply adaptor
12
cable into
the charging port (5 V /1A)
2
of the
power pack with vehicle start-up aid.
Charging the 12 V
vehicle battery
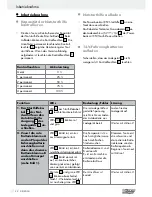
Make sure that the charger
9
has no less
than 3 illuminated indicator lights
5
.
Function
LEDs
Meaning/Error
Solution
1. Connect the
jumper cable
8
of
the jump start aid
to the car's start-
up aid output
6
of the charger
9
.
LED
11
on the jumper
cable
8
glows red contin-
uously
The voltage detected
in the charger is not
sufficient to charge
the car battery
Charge the charger.
LEDs
10
,
11
flash red and
green
Charger ready
Carry on to step 2
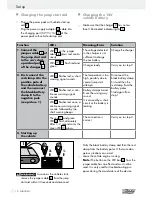
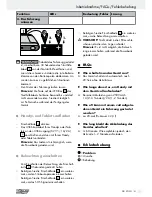
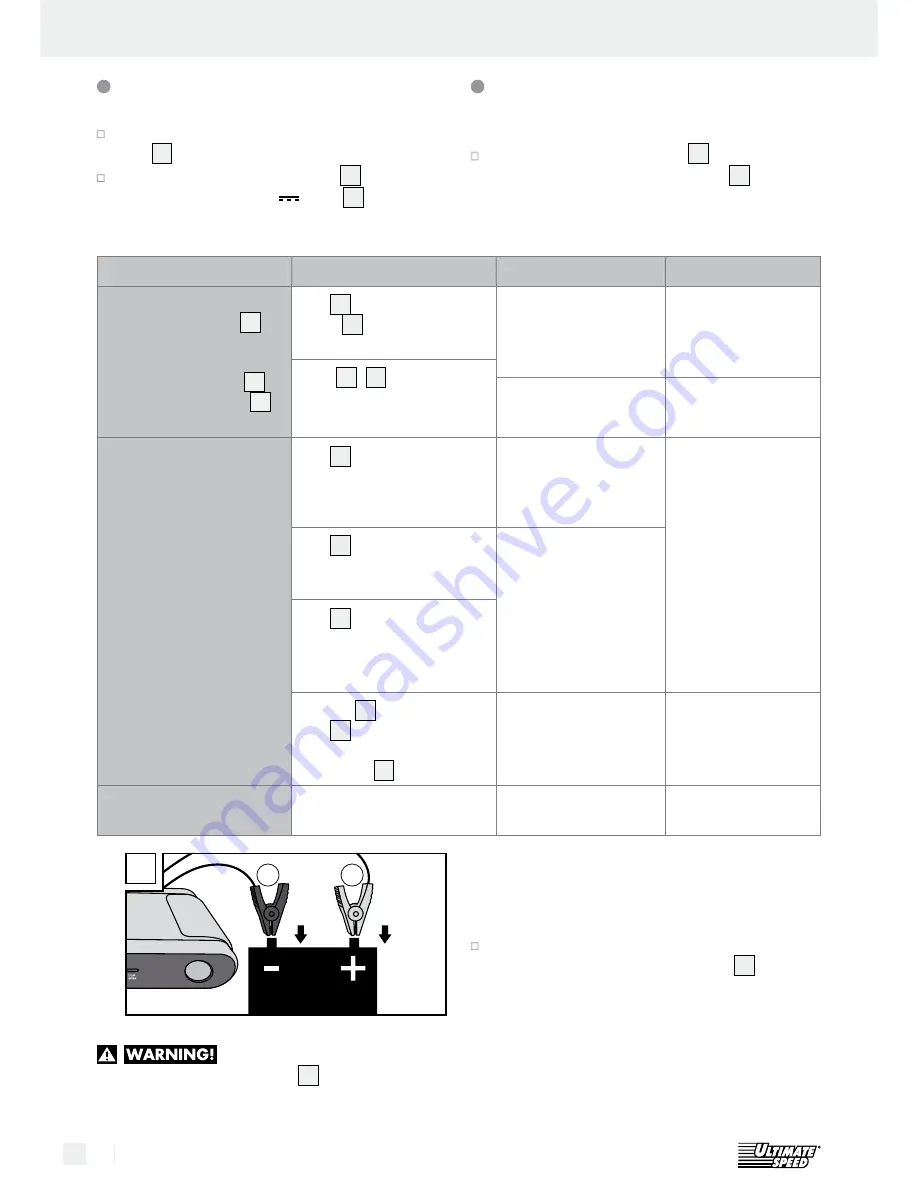
2. First connect the
red clamp A to the
positive pole of
the vehicle battery
and then connect
the black battery
clamp B to the
negative pole
(see picture 1).
LED
11
flashes red, a short
warning signal sounds
The temperature is too
high, possibly due to
several jump start
attempts
Disconnect the
black battery clamp
first and then the
red clamp from the
battery poles.
Start again from
step 1
LED
11
flashes red, a con-
tinuous warning signal
sounds
Battery clamps A and
B are the wrong way
round.
It is caused by a short-
circuit or the battery is
leaking
LED
11
flashes red once, a
continuous warning signal
sounds, followed by two
short warning beeps
The red
11
and green
LED
10
flash alternately.
After 1–2 seconds only the
green LED
10
glows
The connection is
correct
Carry on to step 3
3. Starting up
the vehicle
B
2.
1.
A
1
As soon as the vehicle starts,
remove the jumper cable
8
from the jump
start aid within 30 seconds and disconnect
firstly the black battery clamp and then the red
clamp from the battery poles. Otherwise dan-
gerous situations can arise!
Leave the vehicle engine running.
Note:
The button on the LED box
13
from the
jumper cable has no effect and must not be
used. It is only used for troubleshooting pur-
poses during the manufacture of the device.
Summary of Contents for UPBS 8000 A1
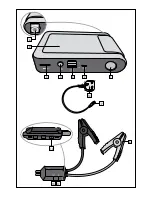
Page 3: ...7 9 8 11 10 1 12 2 3 4 5 6 13 ...
Page 4: ......


