Version 1.05 March 2020
24
6.2.2 THE FIRST CUT
– A PRELIMINARY TABLE
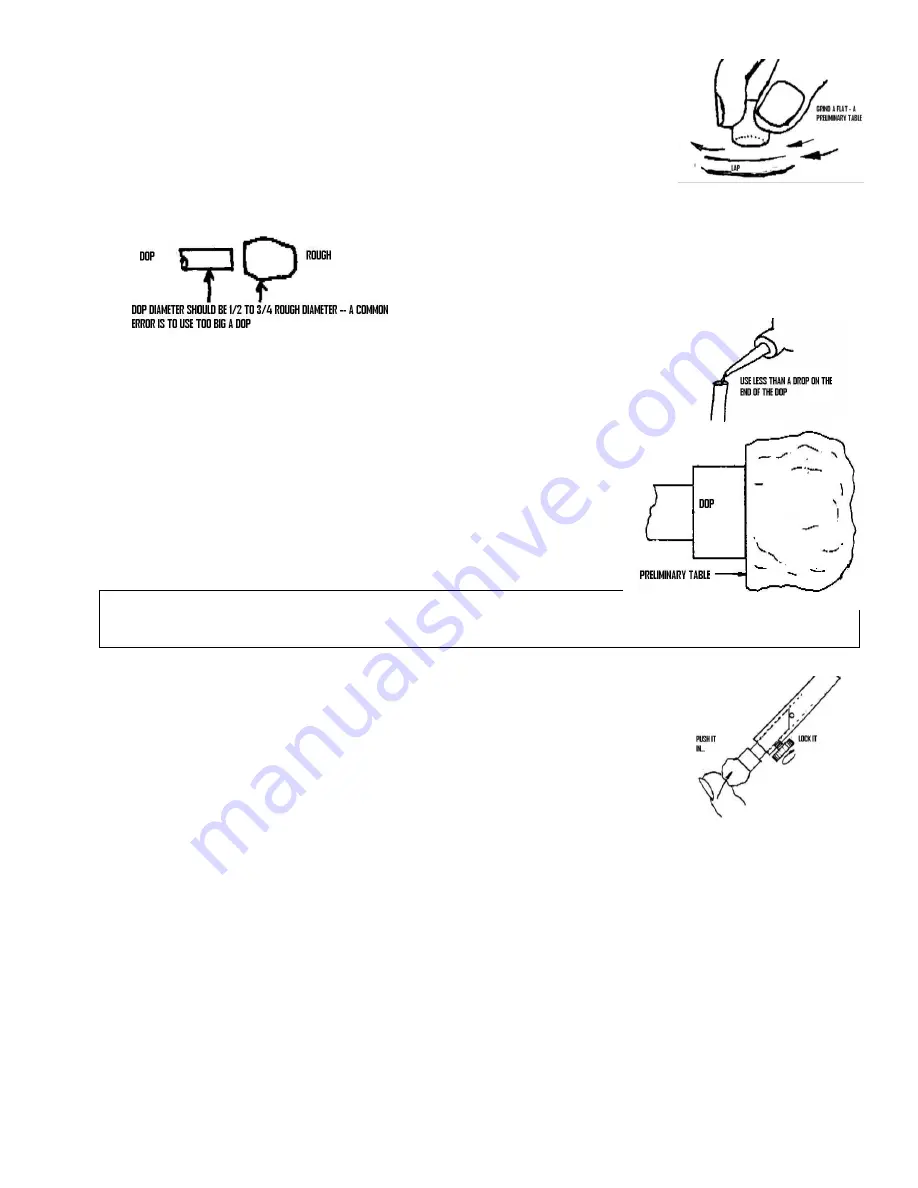
Having determined where the table should be, hold the stone in your fingers and
using a 360 grit lap
(or a 600 Lap if that’s coarse enough to remove the material
you want to remove), grind a "preliminary" table--you need a surface large enough
for attaching the dop. This surface will provide you with a reliable reference surface
for the cutting of the stone.
6.2.3 DOPPING THE STONE
The stone is cemented to a dop--the process is called "dopping". Select a flat dop which ranges between 1/2
and 3/4 of the projected diameter of the stone. Clean both the
stone and the end of the dop in denatured alcohol (obtainable
at your hardware store). Wipe these items dry with a lint-free
paper towel. Place just enough adhesive on the end of the dop
to coat the surface (*see the note below). Bring the preliminary
table in contact with the end of the
dop. The adhesive we recommend
gives you about 30 seconds to position the stone--that is plenty of time and you will
find you can position the dop by eye surprisingly well. In your first attempt you may
use more adhesive than needed; you need less than a drop. Too much will cause the
setting up process to take a longer--if you have applied too much, you can wick it off
onto a bit of paper.
Hold the stone and dop together under finger pressure for approximately 30
seconds. Run a very light bead of adhesive around the stone and set it aside
for at least five minutes to assure a good bond. Not very difficult. (Do be
sure to observe the caution notes on the bottle--this type of adhesive bonds
skin very effectively). After the waiting time, tug a bit on the stone to satisfy
yourself it has adhered well.
We recommend is
a “super glue”, specifically Loctite 404, available from
Industrial suppliers. It is expensive compared to others, but we found it more reliable, and still only a few
pennies per dopping. If you don't have an Industrial supplier nearby, you can get Loctite 404 from us.
Insert the Dop into the Spindle, so that the chamfer on the dop engages the
alignment pin in the Spindle--push it in snugly. Tighten the Dop-retention Set screw
(it tightens with a normal CW action).


