background image

KCMU000004

06/08/01

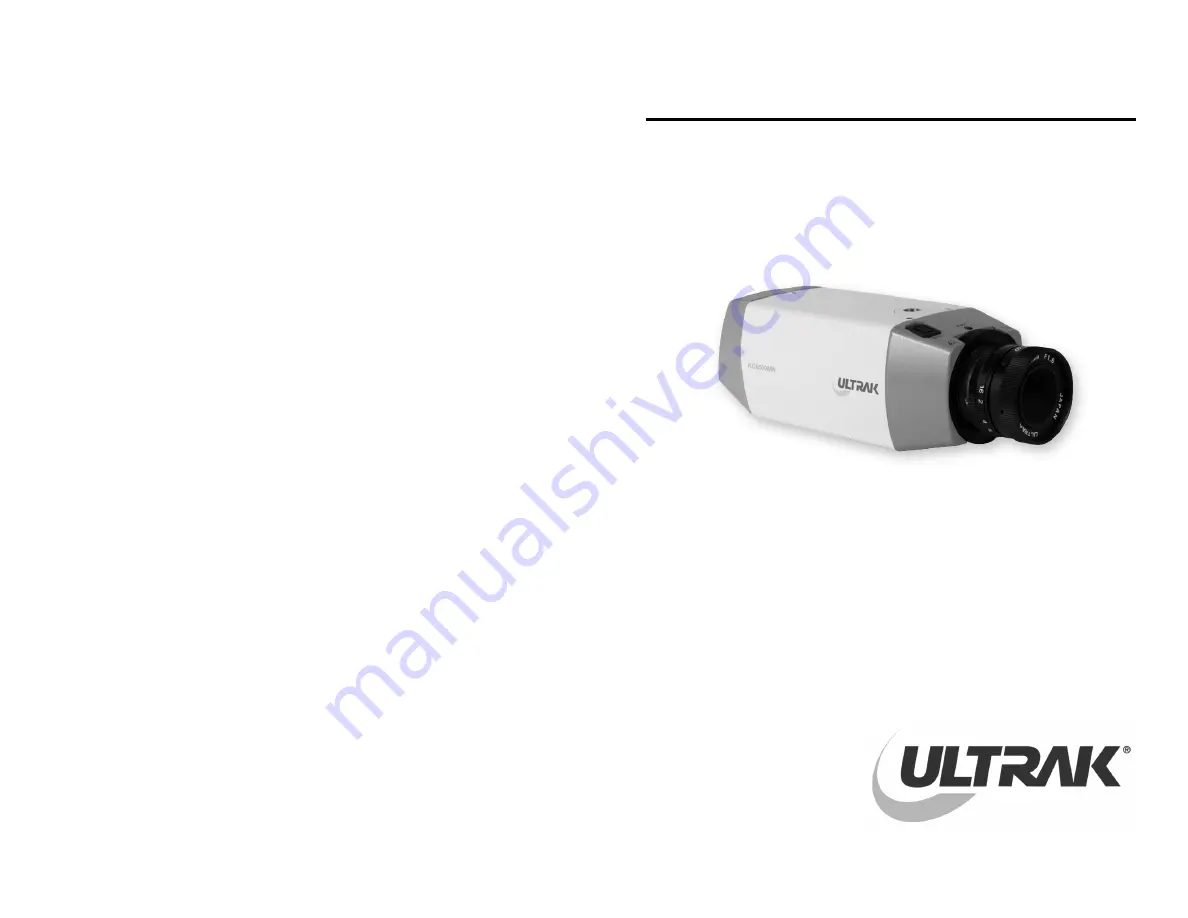
KC452xMx/KC652xMx

1/3" BLACK-AND-WHITE

CCD CAMERA

USER
MANUAL

Ultrak Worldwide Support Center
Sales & Technical Support
1301 Waters Ridge Drive • Lewisville, TX  75057
(800) 796-2288 • (972) 353-6400 • FAX (972) 353-6670

Summary of Contents for KC452xMx Series

Page 1: ...6 08 01 KC452xMx KC652xMx 1 3 BLACK AND WHITE CCD CAMERA USER MANUAL Ultrak Worldwide Support Center Sales Technical Support 1301 Waters Ridge Drive Lewisville TX 75057 800 796 2288 972 353 6400 FAX 9...

Page 2: ...N MAY BE REPRODUCED BY ANY MEANS WITHOUT WRITTEN PERMISSION FROM ULTRAK THE INFORMATION IN THIS PUBLICATION IS BELIEVED TO BE ACCURATE IN ALL RESPECTS HOWEVER ULTRAK CANNOT ASSUME RESPONSIBILITY FOR A...

Page 3: ...USER IS ENCOURAGED TO TRY TO CORRECT THE INTERFERENCE BY ONE OR MORE OF THE FOLLOWING MEASURES REORIENT OR RELOCATE THE RECEIVING ANTENNA INCREASE THE SEPARATION BETWEEN THE EQUIPMENT AND RECEIVER CON...

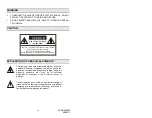
Page 4: ...U T I O N RISK OF ELECTRIC SHOCK DO NOT OPEN EXPLANATION OF GRAPHICAL SYMBOLS The lightning flash with arrowhead symbol within an equilateral triangle is intended to alert the user to the presence of...

Page 5: ...only when used with approved camera housing 8 INSTALLATION Do not place this product on an unstable cart stand or table The product may fall causing serious injury to a child or adult and damage to th...

Page 6: ...it contact your electrician to replace your obsolete outlet Do not defeat the safety purpose of the polarized plug 13 OVERLOADING Do not overload wall outlets and extension cords as this can result in...

Page 7: ...t the camera at the sun This could damage the camera whether it is operating or not Do not install the camera in extreme temperature conditions Be sure that the ambient temperature is less than 104 F...

Page 8: ...viii KCMU000004 06 08 01 THIS PAGE INTENTIONALLY LEFT BLANK...

Page 9: ...NSTALLATION 9 INSTALLING C MOUNT OR CS MOUNT LENS 10 INSTALLING AUTO IRIS LENS 11 INSTALLING VIDEO TYPE AUTO IRIS LENS 11 ADJUSTING ALC 12 ADJUSTING LEVEL 12 ADJUSTING AGC 13 INSTALLING DC TYPE AUTO I...

Page 10: ...x KCMU000004 06 08 01 THIS PAGE INTENTIONALLY LEFT BLANK...

Page 11: ...igh sensitivity design for a horizontal resolution of 420 TV lines for the KC452xMx and 570 TV lines for the KC652xMx Backlight compensation When strong light enters the scene background such as from...

Page 12: ...2 KCMU000004 06 08 01 THIS PAGE INTENTIONALLY LEFT BLANK...

Page 13: ...female connector allows the user to connect an auto iris lens The connector supplies the power and a video signal or DC control signal to the auto iris lens A 4 pin male connector is supplied 2 Camera...

Page 14: ...4 KCMU000004 06 08 01 CAMERA BOTTOM 3 Camera Mounting Bracket This threaded 1 4 20 hole is used to mount the camera onto a mounting bracket or tripod...

Page 15: ...A screw that allows the user to secure the back focus setting 5 Back focus Adjust Ring A ring that allows the user to adjust the back focal length or picture focus of the lens by rotating it clockwise...

Page 16: ...lling of the video during the switch interval The vertical phase adjustment allows the camera s line lock sync to be adjusted from 0 to 360 degrees with zero line crossing the AC power source To effec...

Page 17: ...control switch allows the video signals to maintain a constant level This switch is useful when using the camera at low light levels and when lighting levels change over time A I Switch The auto iris...

Page 18: ...8 KCMU000004 06 08 01 CAMERA BACK continued 11 Video Out Connector This BNC connector outputs a 1 0 Vp p 75 ohms composite video signal...

Page 19: ...User Manual BASIC INSTALLATION After unpacking and identifying the package contents perform the following steps to connect the camera to an observation system 1 Locate the following items which may be...

Page 20: ...of the camera and the mount such as a wall stud shelf ceiling rafter etc The maximum recommended load rating for the bracket is 11 pounds 5 The KC452xMx KC652xMx observation cameras have a 1 4 20 UNC...

Page 21: ...deo type auto iris lenses to adjust for changing light levels Perform the following steps to install and adjust a video type auto iris lens 1 Thread the video type auto iris lens onto the lens mount o...

Page 22: ...e for most applications Adjusting ALC AVG To slow the reaction of the lens to changing light set the range on the AVG setting to average the video level from the camera Use this when there are bright...

Page 23: ...install and adjust a DC type auto iris lens 1 Thread the DC iris lens onto the lens mount on the front of the camera 2 If using an Ultrak lens skip to step 4 3 If using a non Ultrak lens use the manuf...

Page 24: ...not substitute a telephone cable as it could damage the camera and or the monitor Contact your authorized Ultrak dealer distributor to purchase longer cables Connecting the Cable 1 Plug the cable into...

Page 25: ...ocus Adjustment Although the camera lens was back focused by the manufacturer prior to shipping it may be necessary to make modifications For best results perform back focus adjustments at night or wh...

Page 26: ...point readjust the focus for a clear picture If a clear picture is not visible set the focus ring to midrange 5 Loosen the back focus lock screw Back focus Screw Back focus Adjust Ring 6 Adjust the b...

Page 27: ...in front of the lens 3 Adjust the focus to stop on the far range 4 Adjust the zoom on the lens to obtain the widest picture 5 Loosen the back focus lock screw 6 Adjust the back focus ring for the cle...

Page 28: ...18 KCMU000004 06 08 01 THIS PAGE INTENTIONALLY LEFT BLANK...

Page 29: ...er information PROBLEM CHECK There is no power Make sure the system is plugged in Check the outlet for power There is power but no picture Make sure the power switch on the front of the monitor is ON...

Page 30: ...s detection and correction of minor faults before they become serious and cause equipment failure Every three months perform the following 1 Inspect all connecting cables for deterioration or other da...

Page 31: ...cal 60Hz for KCx520MN Vertical 50Hz for KCx52xMP Minimum Illumination 0 4 Lux for KC452xMx 0 8 Lux for KC652xMx Resolution KC452xMx 380 TV 420 apparent lines KC652xMx 570 TV lines Video Output 1 Vp p...

Page 32: ...ient Humidity 0 96 non condensing Dimensions 2 4W x 2 1H x 5 5D in 62W x 54H x 140D mm Weight KCx520Mx 12 2oz 345g KCx521MP 18 5oz 525g NOTE If used continuously be sure to operate at temperatures les...

Reviews: