SonixMDP/SP/OP Service Manual 00.053.205, Revision A
Chapter 3: System Installation
3-23
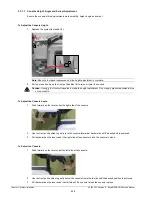
To Attach the Peripheral Tray Basket to the Peripheral Tray
1.
From underneath the back of the peripheral tray, fasten the two thumbscrews (
1
) through the holes provided
into the two "threaded standoffs" (
2
) (already attached to the base of the USB printer.
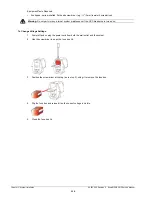
2.
The USB (
1
) and Power cable (
2
) are pre-installed and will only need to be connected.
3.
To help prevent cable clutter, the power cable is held in place with self-adhesive cable clips with enough slack
to connect it to the system. If desired, during use, excess slack in the system power cable can also be secured
(
1
).
3.3.7.5 Barcode Reader
To connect the barcode reader, plug the reader's USB connector into one of the USB ports on the system. Refer to
or
for USB port locations.
Note:
and
for a detailed view of the installation.
Note:
The system will arrive with the power cable already connected as shown above (
1
).
1
2
1
Summary of Contents for Sonix MDP
Page 1: ...Analogic Ultrasound Service Manual SonixMDP SP OPQ Ultrasound System...
Page 2: ......
Page 4: ......
Page 14: ...Chapter 2 System Specifications 00 053 205 Revision A SonixMDP SP OP Service Manual 2 2...
Page 46: ...Chapter 5 Software 00 053 205 Revision A SonixMDP SP OP Service Manual 5 4...
Page 120: ...Chapter 8 DICOM 00 053 205 Revision A SonixMDP SP OP Service Manual 8 24...
Page 147: ......

