SonixMDP/SP/OP Service Manual 00.053.101, Revision C
Chapter 7: Field Service Components
7-13
7.3
ACCESSING THE MODULO
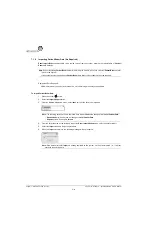
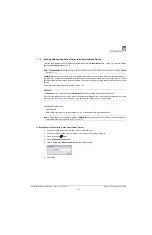
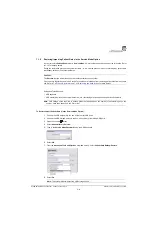
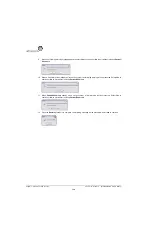
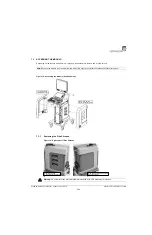
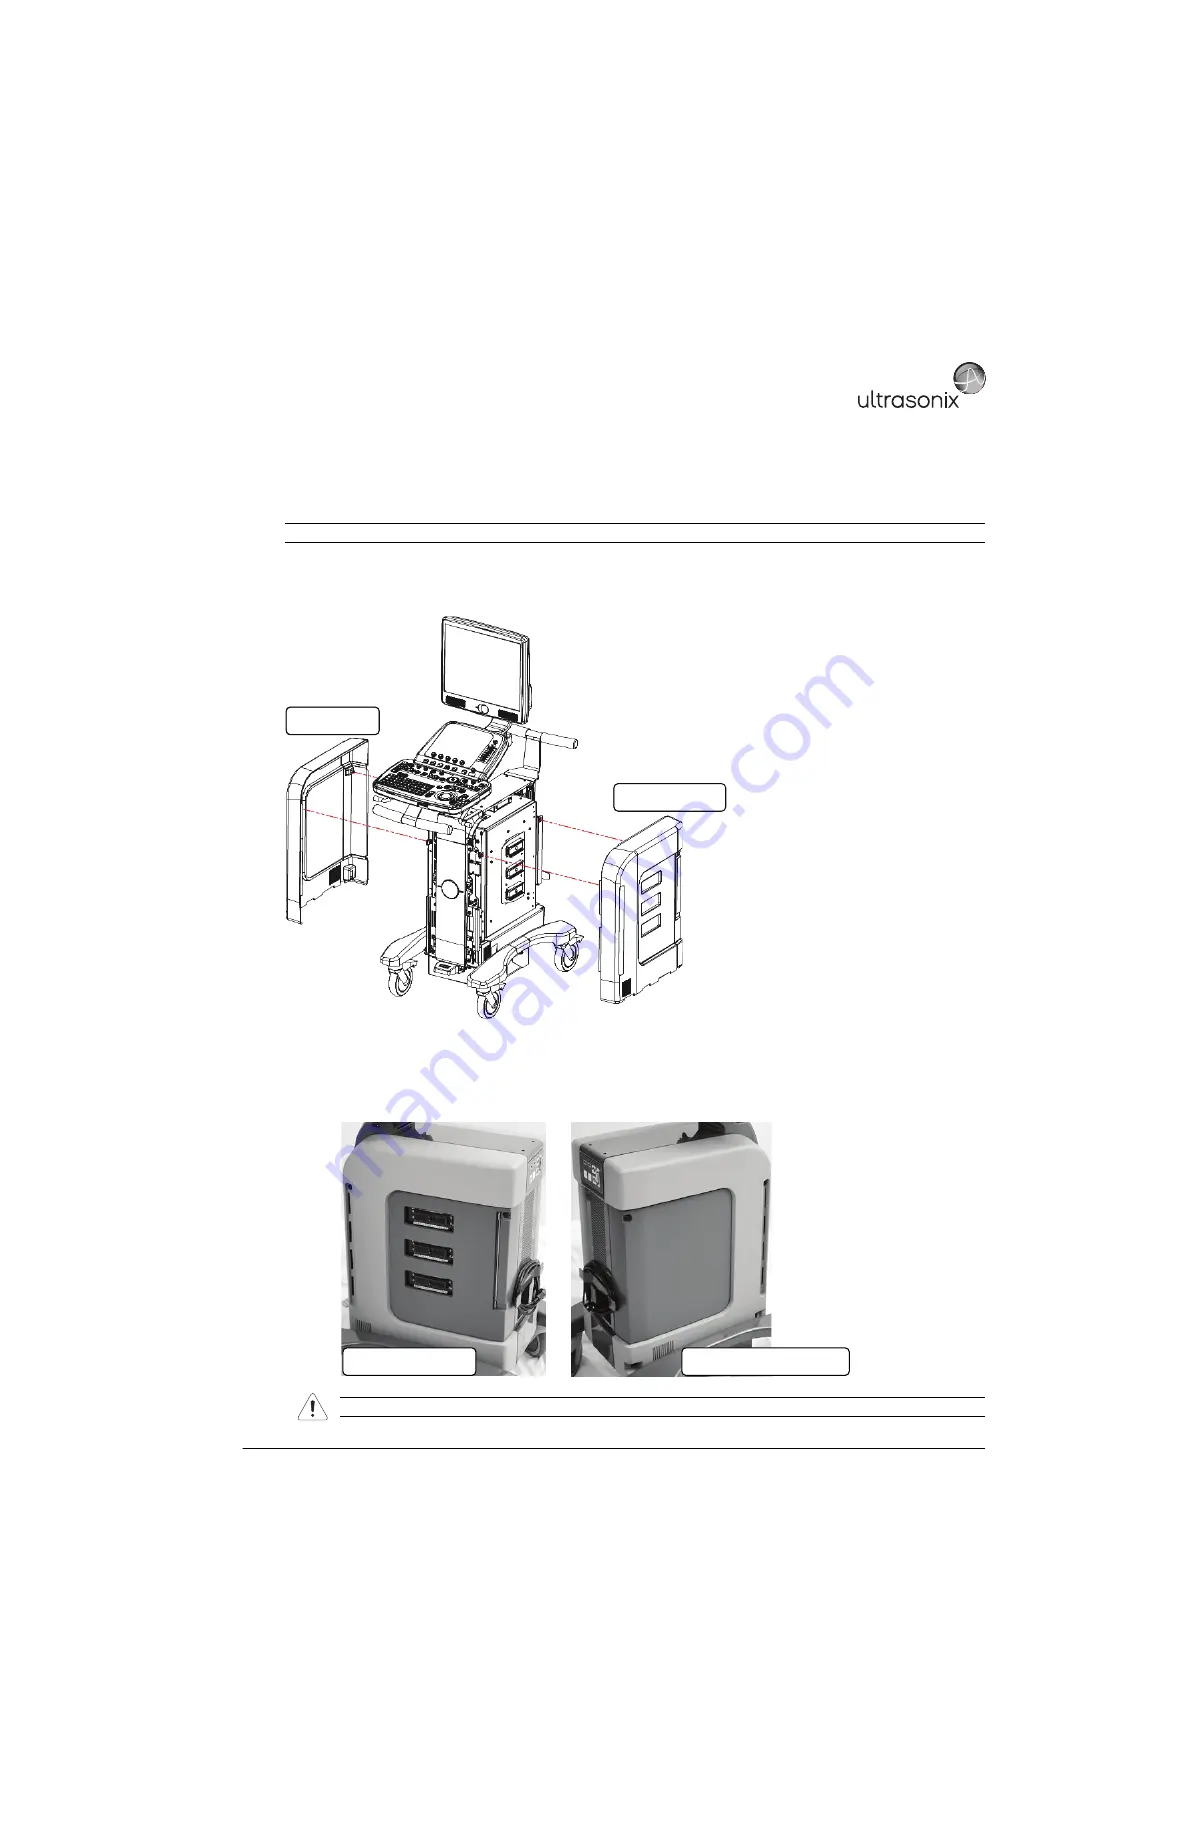
Depending on the tasks to be performed, it may only be necessary to remove one (1) side shroud.
Figure 7-2: Accessing the Modulo (Exploded View)
7.3.1
Removing the Side Shrouds
Figure 7-3: Right and Left Side Shrouds
Note:
Because the modulo is accessible from the side of the system, not all service tasks necessitate its removal.
Warning:
Do not perform any internal system maintenance if the UPS breakers are turned on.
Left Side Shroud
(with UPS access)
Right Side Shroud
(with transducer ports)
Left
ff Side Shroud
(with UPS access)
Right Side Sh
(with transduc
Right Side Shroud
with transducer connectors
Left Side Shroud with UPS access
(when applicable)
Summary of Contents for SonixMDP
Page 1: ...SonixMDP SP OP Ultrasound System Service Manual...
Page 2: ......
Page 4: ......
Page 10: ...Table of Contents 00 053 101 Revision C SonixMDP SP OP Service Manual vi...
Page 12: ...List of Service Drawings 00 053 101 Revision C SonixMDP SP OP Service Manual ii...
Page 44: ...Chapter 4 Performance Testing 00 053 101 Revision C SonixMDP SP OP Service Manual 4 4...
Page 48: ...Chapter 5 Software 00 053 101 Revision C SonixMDP SP OP Service Manual 5 4...
Page 124: ...Chapter 9 Network Configuration 00 053 101 Revision C SonixMDP SP OP Service Manual 9 8...
Page 142: ...Chapter 11 Maintenance 00 053 101 Revision C SonixMDP SP OP Service Manual 11 16...
Page 150: ...Chapter 12 Troubleshooting Issues 00 053 101 Revision C SonixMDP SP OP Service Manual 12 8...
Page 166: ...Appendix C Ultrasonix Limited Warranty 00 053 101 Revision C SonixMDP SP OP Service Manual C 2...
Page 168: ...Appendix D Service Drawings 00 053 101 Revision C SonixMDP SP OP Service Manual D 2...

