Chapter 7: Field Service Components
00.053.101, Revision C SonixMDP/SP/OP Service Manual
7-20
7.4.2
Installing the Modulo
Equipment/Tools Required:
• 4mm Allen key
• 10mm wrench
• 7mm wrench
• #2 Phillips screwdriver
• cable ties.
To Install the Modulo:
1.
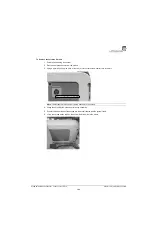
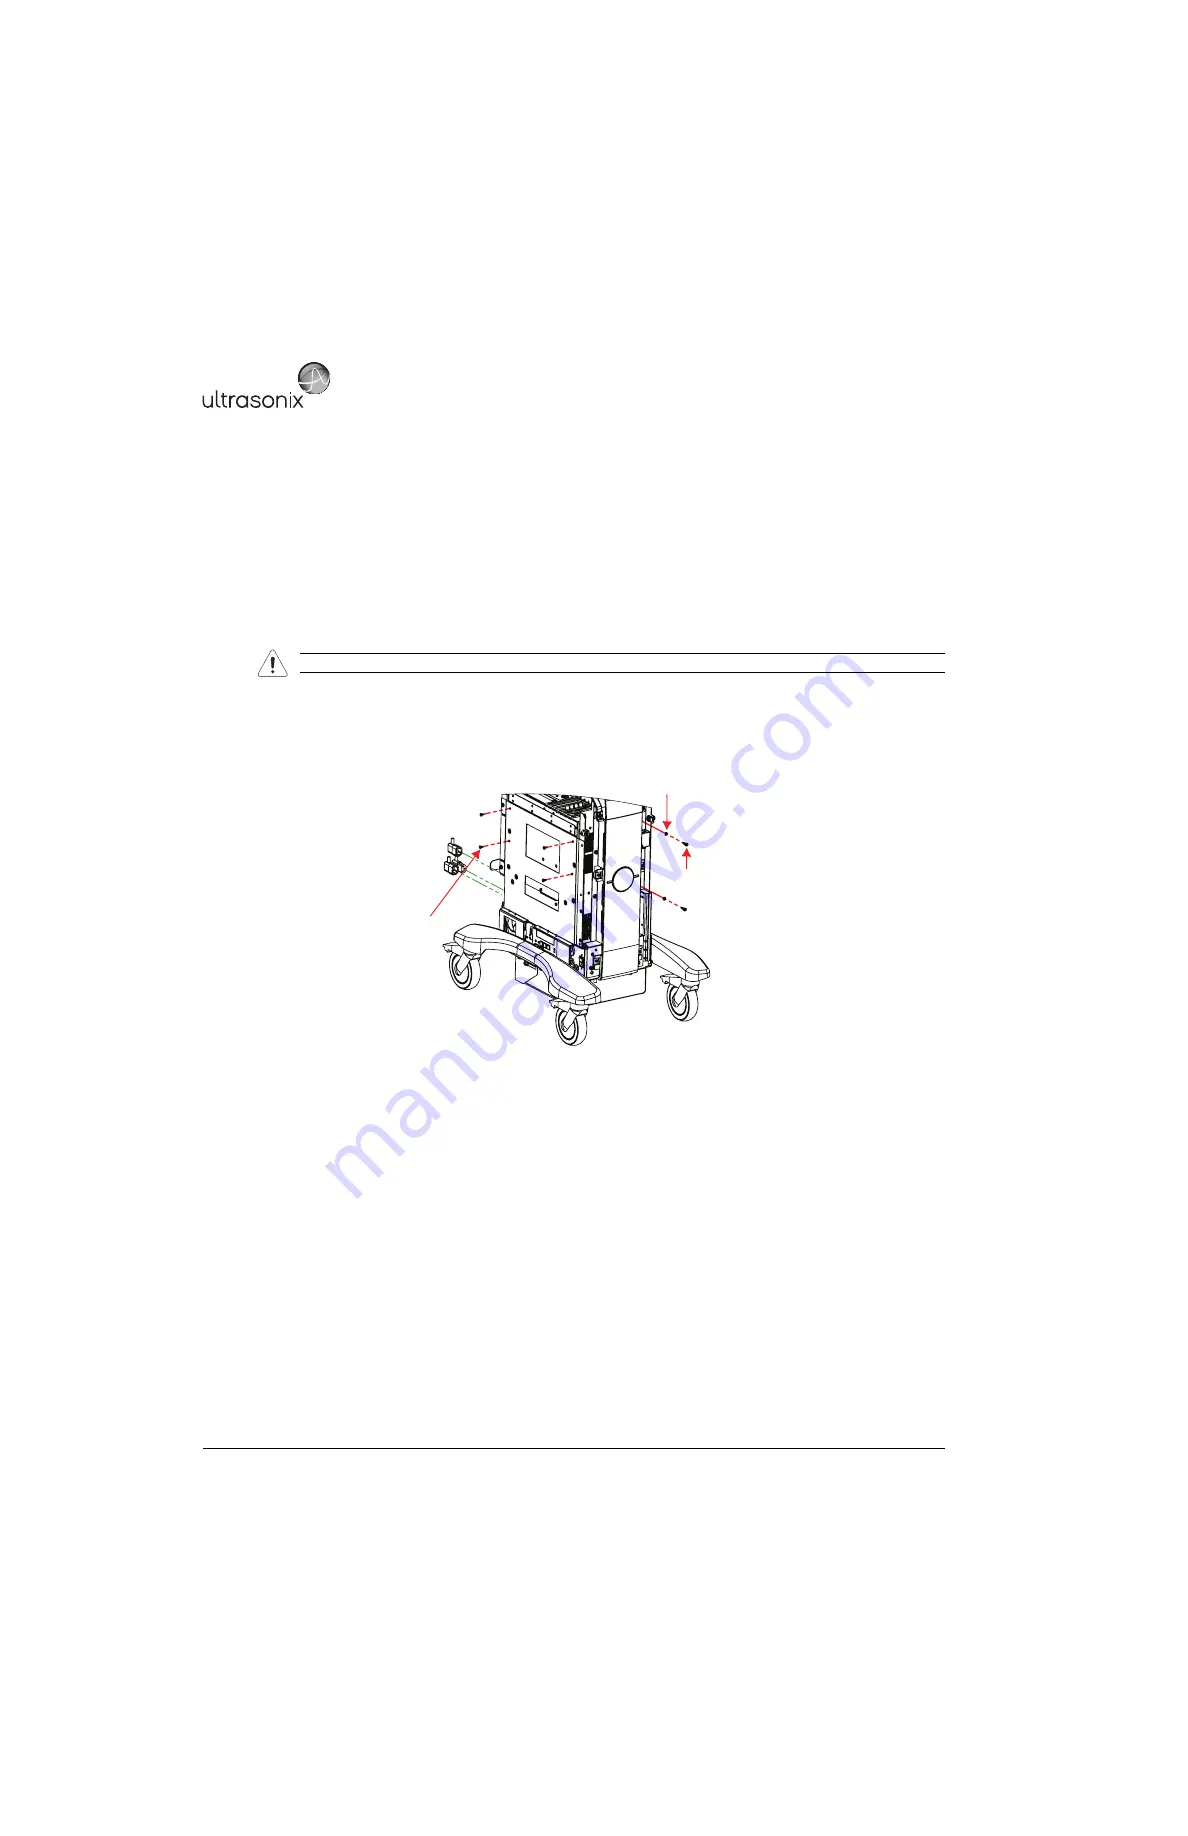
Slide the modulo into the side opening with the transducer connectors facing right.
2.
Push the modulo into position so the four (4) bolt holes line up, then, using the #2 Phillips screwdriver, fasten
the four (4) screws securing the modulo to the side system frame.
3.
Using the 4mm Allen key, fasten the two (2) screws and washers securing the modulo to the front of the
system frame.
Warning:
Do not perform any internal system maintenance if the UPS breakers are turned on.
M4x8 Pan Head Screw (x4)
Tool: #2 Phillips screwdriver
M5 Split Lock Washer (x2)
M5x12 Socket Head Screw (x2)
Tool: 4mm Allen key
Summary of Contents for SonixMDP
Page 1: ...SonixMDP SP OP Ultrasound System Service Manual...
Page 2: ......
Page 4: ......
Page 10: ...Table of Contents 00 053 101 Revision C SonixMDP SP OP Service Manual vi...
Page 12: ...List of Service Drawings 00 053 101 Revision C SonixMDP SP OP Service Manual ii...
Page 44: ...Chapter 4 Performance Testing 00 053 101 Revision C SonixMDP SP OP Service Manual 4 4...
Page 48: ...Chapter 5 Software 00 053 101 Revision C SonixMDP SP OP Service Manual 5 4...
Page 124: ...Chapter 9 Network Configuration 00 053 101 Revision C SonixMDP SP OP Service Manual 9 8...
Page 142: ...Chapter 11 Maintenance 00 053 101 Revision C SonixMDP SP OP Service Manual 11 16...
Page 150: ...Chapter 12 Troubleshooting Issues 00 053 101 Revision C SonixMDP SP OP Service Manual 12 8...
Page 166: ...Appendix C Ultrasonix Limited Warranty 00 053 101 Revision C SonixMDP SP OP Service Manual C 2...
Page 168: ...Appendix D Service Drawings 00 053 101 Revision C SonixMDP SP OP Service Manual D 2...

