Chapter 3: System Installation
00.053.206, Revision A
SonixOne Service Manual
3-8
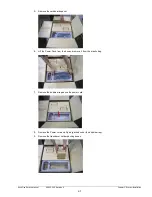
10.
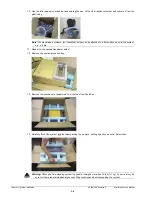
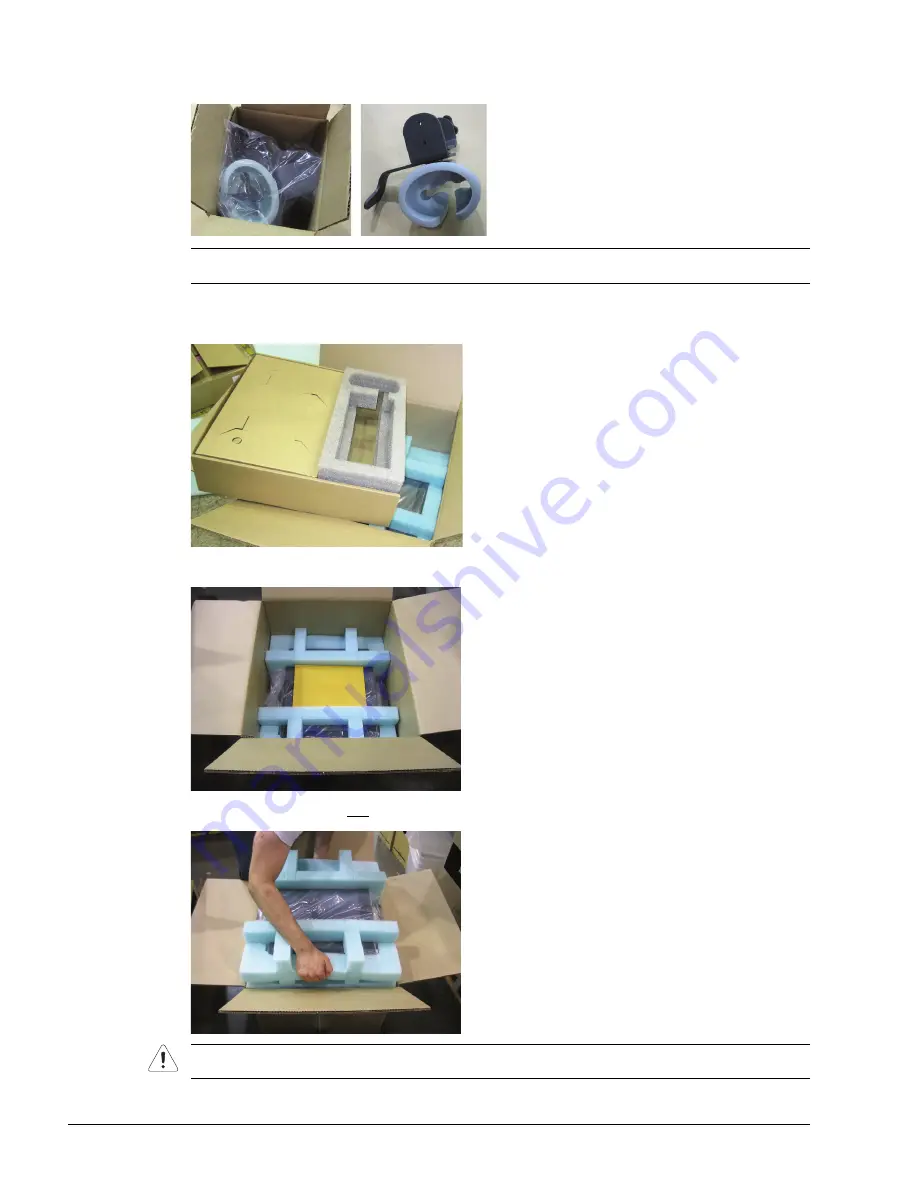
Use the letter opener to break the tape sealing the box. Lift out the transducer holder and remove it from the
plastic bag.
11.
Repeat for the second transducer holder.
12.
Remove the now empty carton tray.
13.
Remove the second set of paperwork from the top of the SonixOne.
14.
Carefully lift out the system and the foam packing in one piece, setting it gently on a solid, flat surface.
Note:
For stand-alone systems, the transducer holder can be attached to a flat surface close to the system,
e.g., a table.
Warning:
Although a free-standing system is portable, it weighs more than 30 lbs (13+ kg). To avoid injury, be
sure to follow proper workplace/ergonomic lifting techniques when transporting the system.
Summary of Contents for SonixOne Q+
Page 1: ...Analogic Ultrasound Service Manual SonixOne Q Ultrasound System...
Page 2: ......
Page 4: ......
Page 8: ...Table of Contents 00 053 206 Revision A SonixOne Service Manual iv...
Page 14: ...Chapter 1 General Information 00 053 206 Revision A SonixOne Service Manual 1 6...
Page 16: ...Chapter 2 System Specifications 00 053 206 Revision A SonixOne Service Manual 2 2...
Page 42: ...Chapter 4 Performance Testing 00 053 206 Revision A SonixOne Service Manual 4 4...
Page 46: ...Chapter 5 Software 00 053 206 Revision A SonixOne Service Manual 5 4...
Page 54: ...Chapter 6 Peripherals and Accessories 00 053 206 Revision A SonixOne Service Manual 6 8...
Page 119: ......

