background image


7


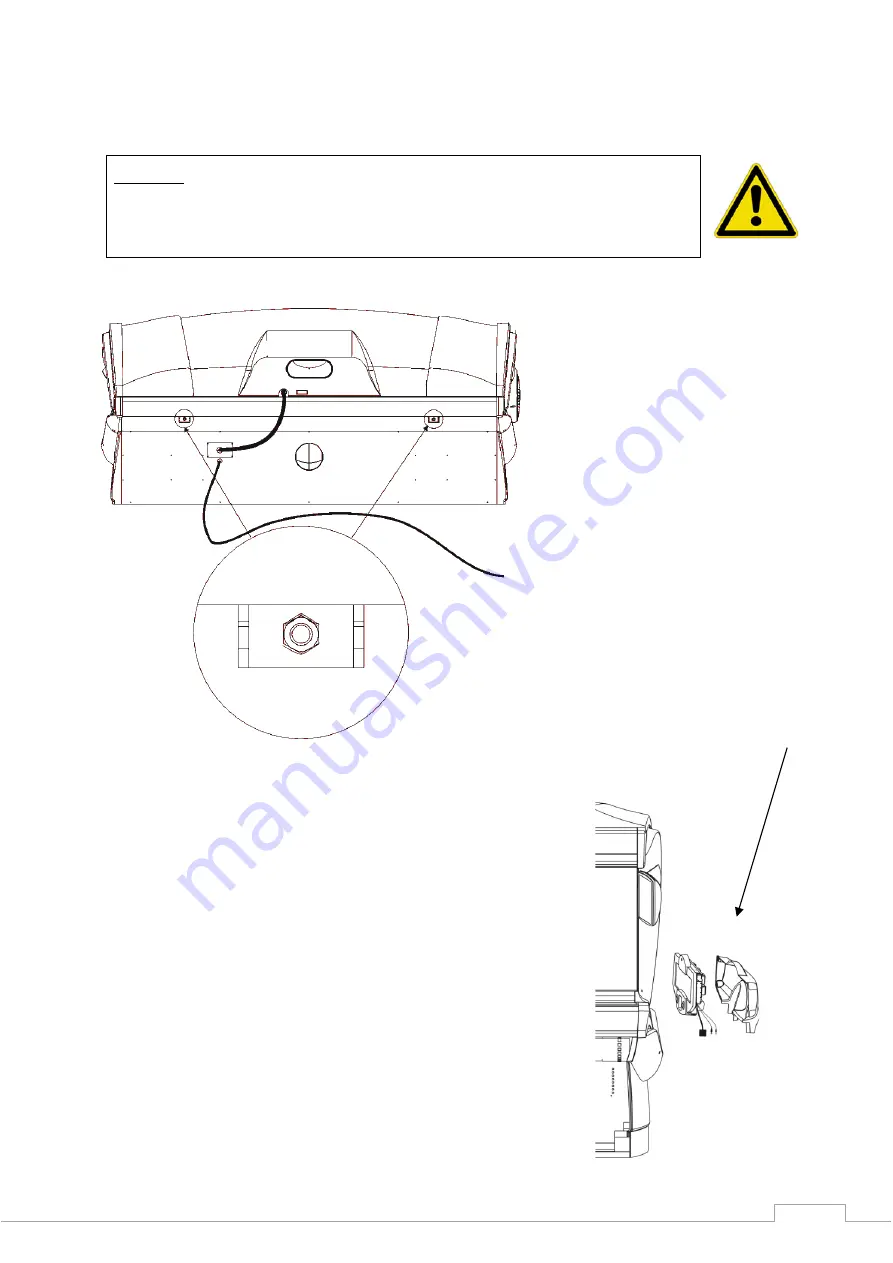
the 2 pipes of the bed (Fig. D:8). Make sure that the pipes of the top do not slide out of the bed 

pipes. 


  Attention: You must secure the pipes of the roof/bed with the 2 Allen bolts 

         provided.

 At the backside of the base, right below each pipe, a little 


hole is situated where you can secure the Allen bolts in the pipes  

         (Fig. D:S) with the use of a Hex key (not provided) Fig. E.  


Disassemble the backside of the shouldertanner by 

unscrewing the four screws. Attach the shouldertanner to 

the right side of the sunbed (Fig. F:SB) with the already 

assembled bolts (you need to take these out first). 

Connect the plug of the shouldertanner to the build-in 

female plug, which is situated in the right side of the bed. 

Connect the audioconnections* and assemble the 

backside to the shouldertanner.  


  Fig. E  


SB 

  Fig. F 


Summary of Contents for TSU EDITION Q10 MAGNUM POWER

Page 1: ......

Page 2: ...s machine may not be operated if the temperature inside the tanning cabin is 30o C 86o F or higher Always use the protective sunglasses provided In order to keep your Ultrasun machine in compliance wi...

Page 3: ...letely and have been checked fully after manufacturing We advise you to carefully read through this user manual so you can use the sunbed safely and with many years of pleasure During the development...

Page 4: ...an skip the chapters indicated as option The options are indicated with an in the texts The user manual of your Q10 consists of this user manual and a separate user manual for the IQ Touch Control tim...

Page 5: ...two provided Allen bolts Fig E S For easier transportation to its final location the top part and the ballast trays can be disassembled in the following way Note Always disconnect the power supply bef...

Page 6: ...D 7 to its maximum position You can now lift off the roof with four people one at each corner Only lift up the roof gripping the large aluminium profile parts Do not lift up the roof by the plastic si...

Page 7: ...en bolts in the pipes Fig D S with the use of a Hex key not provided Fig E Disassemble the backside of the shouldertanner by unscrewing the four screws Attach the shouldertanner to the right side of t...

Page 8: ...be obstructed and that sufficient fresh air can get in Your sunbed is now ready for use The position of the top open or closed is preinstalled at a certain height In case you would like to change this...

Page 9: ...to use The 220 230V connection is only intended as an exit for connecting the electronics in a remote control for example a Paytronic coin box with a maximal current consumption of 1 0 ampere The exi...

Page 10: ...ioprint The input sensitivity can be arranged with the potentiometer which is located next to this connection Read the manual of the IQ Touch Control for more information Connect the audioconnections...

Page 11: ...he control display Read the user manual of the IQ Touch Control timer for more information Voice Guide Wellness Sound And Bluetooth Option Fig M 230 V AC ONLY FOR AUDIO NOTE It is advisable to adjust...

Page 12: ...ediate color selection the other buttons have the following functions Brightness up speed up and Brightness down speed down if a static color is selected the brightness can be changed to more or less...

Page 13: ...d stop point to attain this position Any other position may result in overexposure Always use the protective sunglasses provided Remove cosmetics well in advance of exposure and do not apply any sunsc...

Page 14: ...l advice if persistent lumps sores or pigmented moles develop on the skin Ultraviolet radiation from the sun or UV machines can cause injury to skin or eyes These biological effects depend upon the qu...

Page 15: ...n the acrylics from the inside Read the chapter about the dis assembly of the Q10 for more details The facials When changing bulbs the right side of the top on the outside must be disassembled By remo...

Page 16: ...Control first Hereafter check the switch of the facials on the bed If the top does not stay in the required positions or it moves up and down by itself the spring coils need to be adjusted in the com...

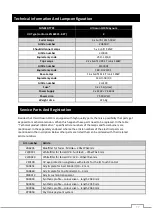
Page 17: ...ion specific article numbers of the lamps and facial burners are mentioned In the separately enclosed scheme the article numbers of the electrical parts are mentioned in the inscription Below other pa...

Page 18: ...page Do not register messages that appear on the IQ Touch Control these are stored in the timer memory and can be read out in parameter 180 Enter all information as completely as possible in the tabl...

Page 19: ...19...

Page 20: ...20...

Page 21: ...21...

Page 22: ...ves the right to change the content of this manual at any time Though Ultrasun strives to always display the correct texts and images in her manuals errors can occur We cannot be held responsible for...

Page 23: ...he actual version of the following normative documents Applied harmonized Standards Safety EN 60335 1 Safety EN 60335 2 27 EMC EN 55014 1 and EN 55014 2 EMC EN 61000 3 2 and EN 61000 3 3 following the...

Page 24: ...24...

Reviews:

Related manuals for TSU EDITION Q10 MAGNUM POWER