SECTION 5
27
(7)
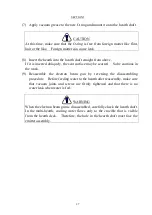
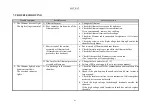
Apply vacuum grease to the new O-ring and mount it onto the hearth shaft.
CAUTION
At this time, make sure that the O-ring is free from foreign matter like flint,
hair or the like. Foreign matter can cause leak.
(8)
Insert the hearth into the hearth shaft straight from above.
If it is inserted obliquely, the seat surface may be scarred. So be cautious in
the work.
(9)
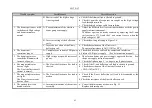
Reassemble the electron beam gun by reversing the disassembling
procedure. Before feeding water to the hearth after reassembly, make sure
that vacuum joints and screws are firmly tightened and that there is no
water leak when water is fed.
WARNING
When the electron beam gun is disassembled, carefully check the hearth shaft.
In the multi-hearth, cooling water flows only to the crucible that is visible
from the hearth deck. Therefore, the hole in the hearth shaft must face the
emitter assembly.
Summary of Contents for EGL-206M
Page 2: ...EB0007 03e...
Page 3: ...EB0007 03e...
Page 10: ......
Page 13: ...SECTION 1 3 Fig 1 1 Dimensional Drawing for EGL 206M EGL 406M...
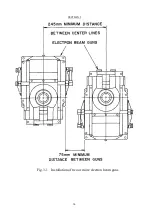
Page 24: ...SECTION 3 14 Fig 3 1 Installation of two or more electron beam guns...
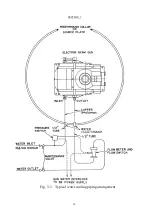
Page 26: ...SECTION 3 16 Fig 3 3 Typical water cooling piping arrangement...
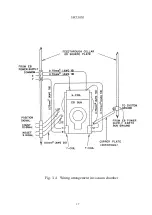
Page 27: ...SECTION 3 17 Fig 3 4 Wiring arrangement in vacuum chamber...
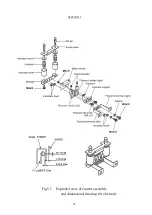
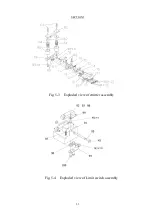
Page 38: ...SECTION 5 28 Fig 5 1 Exploded view of emitter assembly and dimensional drawing for electrode...
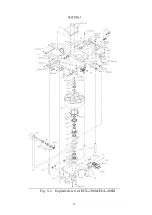
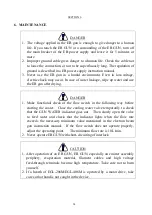
Page 42: ...SECTION 5 32 Fig 5 2 Exploded view of EGL 206M EGL 406M...

