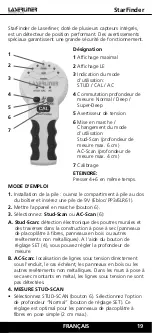
• Select “Super-Deep” (SET button) for thick wooden panels
and floor constructions (parquet etc.), max. measuring
depth 6 cm.
•
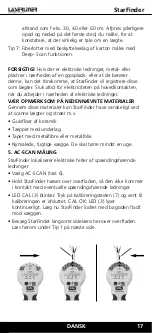
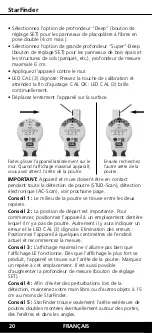
Place the tool against the wall.
•
LED CAL (3) flashes: Press the calibration button (7) and
wait until calibration is completed. CAL OK: LED
CAL
(3)
lights permanently.
•
Move the tool slowly across the surface.
IMPORTANT:
The device must be in contact with the wall all
the time while measuring in StudScan-Mode. AC-Mode see
next page.
Tip 1: The position between the two markings is the mid-
point of the stud.
Tip 2: The position where you start is important: First place
the tool in a position where you know there is no stud.
Otherwise, the LED CAL (3) will blink. To verify: Move
the tool to another position a few centimetres away
and start measuring again.
Tip 3: The maximum display does not light up, even though
the LE display shows a reading. As soon as the most
intense display appears, the tool is over the edge of the
stud. Mark this point. Alternatively, increase the measu-
ring depth (SET button).
Tip 4: To avoid interference while scanning, keep your free
hand and other objects at least 15 cm away from the
StarFinder.
Tip 5: The StarFinder will only find the outside edge of double
studs and headers which may be fitted around doors,
windows and corners.
StarFinder
ENGLISH
8
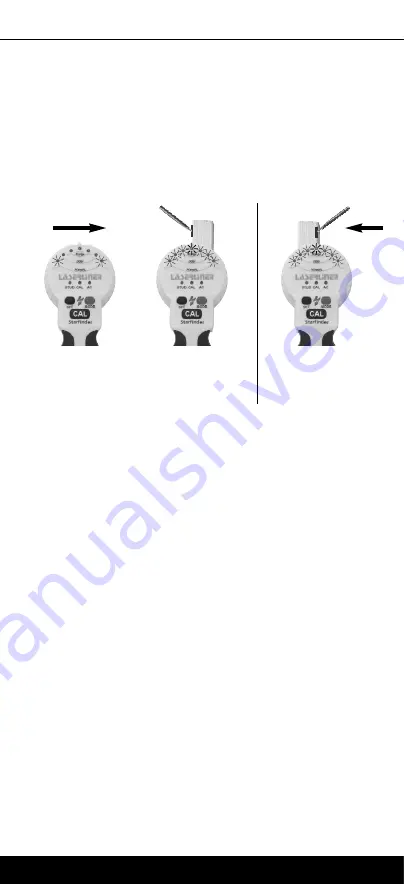
Then scan for the
other edge of the
stud.
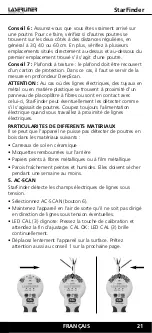
Slide the tool sideways across the wall.
When the maximum display appears, you
have reached the edge of the stud.
Summary of Contents for LaserLiner StarFinder
Page 2: ......


