5. Click the icon that most closely represents the item you are going to scan in the Click To Scan area of
the VistaScan Beginner window.
The item is scanned, and VistaScan automatically closes. After a moment the VistaShuttle E-Card
window appears with the scanned item in the default E-Card template.
6. Click on the scanned item to display the image handles. Drag one of the image handles outward to
enlarge the image, or inward to reduce the image.
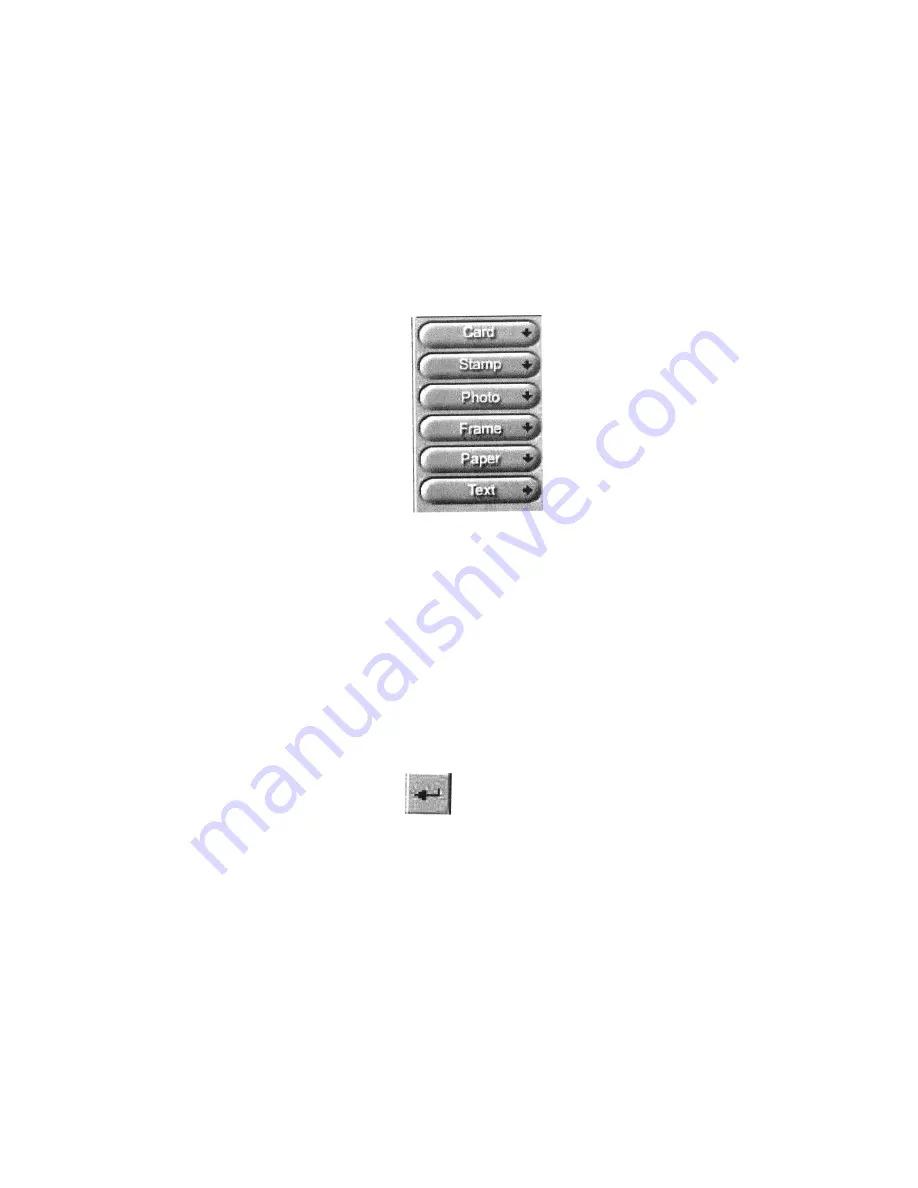
You can customize the E-Card template frame that surrounds the scanned item, the stamp graphic, or
the paper type by clicking the desired option from the buttons in the left column.
7. Click and drag any of the E-Card template elements to move them around, creating your own E-Card
style.
8. Choose the Add text command from the Text menu (or click on the Text button from the left-hand
column). The Text Setting window opens.
9. Enter the E-Card greeting text in the text box.
10. You can modify the font type, font size, font style (bold, italic, underlined), text alignment (left, right,
or centered), and text color by selecting an option from the drop-down lists or by clicking on the
associated icon from the button bar at the top of the E-Card window.
11. Click the
Finish
button to place the text on the card.
12. Click the
Close
button in the upper right corner to close the Text Setting window. You can move the
text box around the E-Card until you find the right spot. Click outside the text box to anchor the text to
the chosen spot.
13. Click the Mail button from the E-Card window. The Send dialog box appears.
14. Choose your e-mail application from those listed (only Microsoft Exchange and Lotus cc:Mail are
supported), and click the Send button to open the application and attach your E-Card to the message.
15. Send your e-mail message.
33


