IMPORTANT NOTE. Occasionally we may release new software/firmware
upgrades/enhancements for this television. Please check the ‘firmware
upgrade’ section of the website regularly.
9
9
DETACHING THE STAND
fi g 1
fi g 2
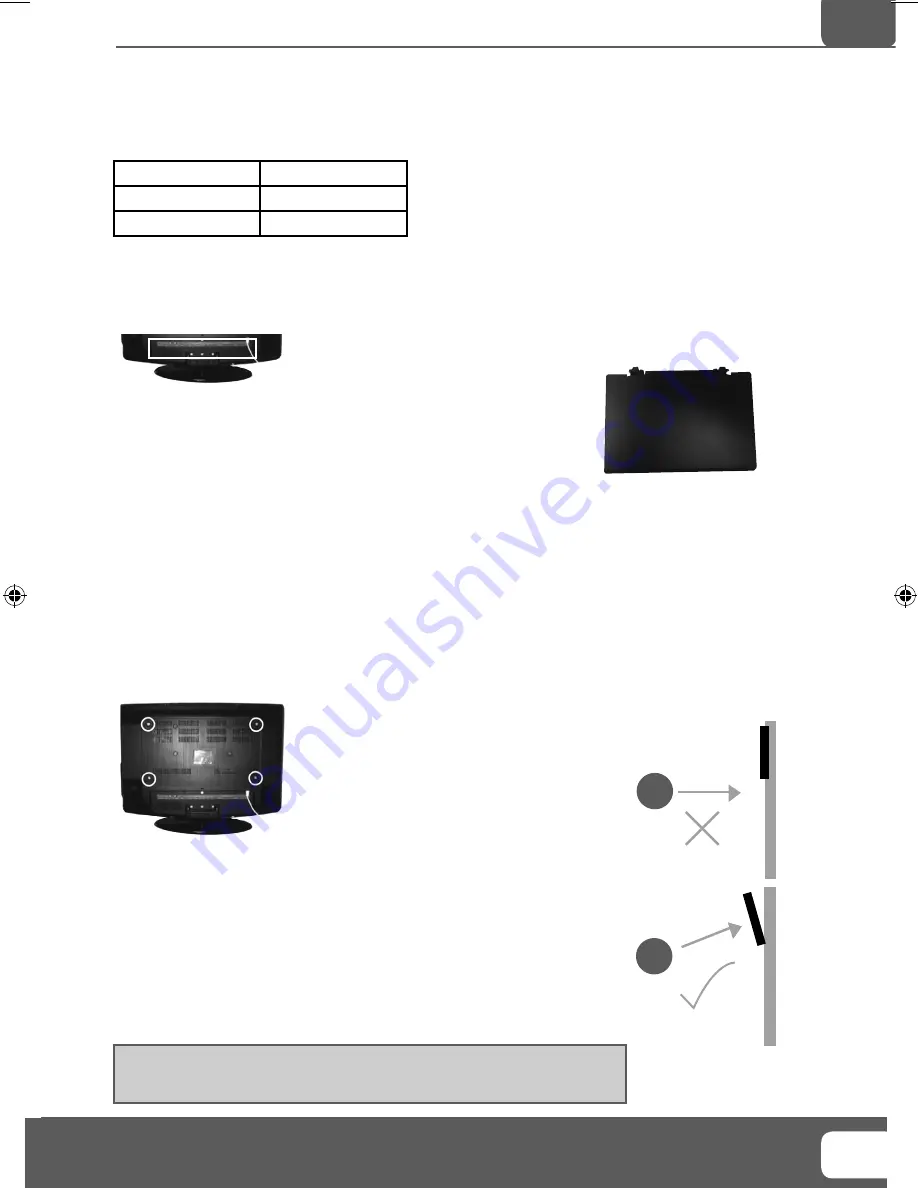
For optimum viewing, if wall mounting the TV higher than eye level, the TV
should be tilted downwards so that the TV’s screen is ‘face on’. See fi g 1 and 2
These TVs requires the following wall mount.
Detaching the Stand
1) Remove the screws highlighted
IMPORTANT - Before drilling any holes in the wall ensure you are not drilling
where there could be any electric wires, water or gas pipes.
Wall mounting the TV
1) Remove the four screws highlighted below.
2) The wall mount can now be easily attached to the mounting holes on the rear of the TV. These holes
are indicated in the picture below.
Important – If wall mounting this TV, only use the screws already provided
in the wall mounting holes. Using other screws which are longer could cause
irreparable damage to internal parts.
TV
TV
Viewing angle
Viewing angle
Detaching the stand and wall mounting
2) Although there are no live parts exposed when removing the stand,
(in the event of wall mounting the TV) for aesthetic purposes, included
in the accessory pack is a cover plate which can be clipped into the
underside of the TV.
26”
VESA 200x100
32”
VESA 400x200
40”
VESA 400x200
E-motion Manual No.3 M-star (CR).indd Sec1:9
E-motion Manual No.3 M-star (CR).indd Sec1:9
9/20/2010 2:39:50 PM
9/20/2010 2:39:50 PM


