4
MOUNTING AND INSTALLATION
Installing the Novo
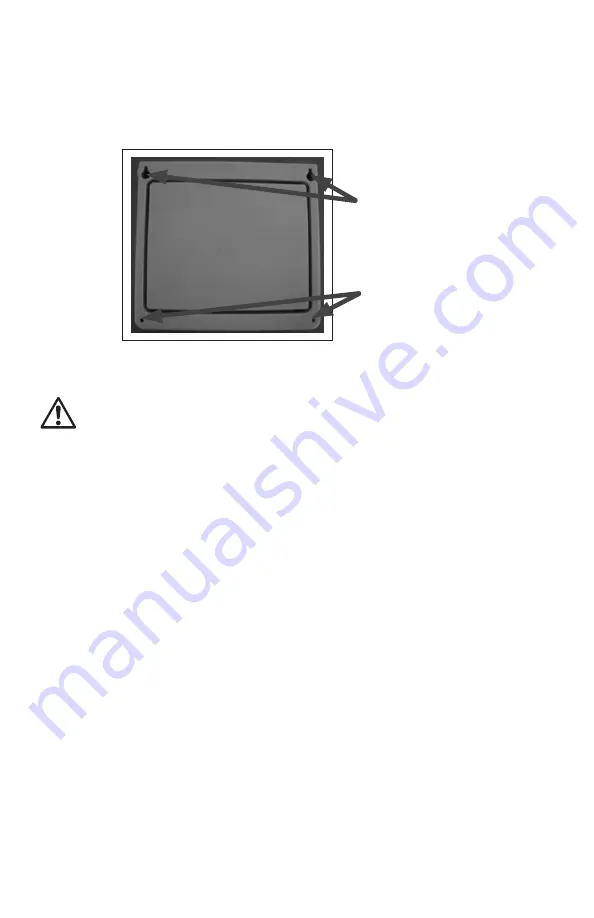
The Novo installs to any vertical surface by using the upper 2 (qty) keyholes and
two lower holes (accessible inside the product) located on the back of the case.
See Figure 4-1.
MOUNTING KEYHOLES ON THE BACK CASE OF THE NOVO
Figure 4-1
Note: The Novo is not intended for outdoor applications without
protection from a weather-resistant enclosure. An outdoor
enclosure to accommodate the Novo and transformer can be
ordered separately p/n TW3-PLC.
1. Confirm the Novo is level horizontally. Locate and mark the center point
of the upper mounting holes. Drill 2 (qty) ¼” x ½” deep holes. Tighten the
fasteners so that approximately 1/8” of threads remain exposed. Hang the
Novo 2Wire Converter and confirm it is secure. Locate and drill the lower
mounting holes, then securing w/ 2 additional #6 fasteners.
Wiring the Novo
1. Opening the Case
Press the two left and right thumb tabs located on the underside of the
Novo case. The case will swing upward revealing several terminal blocks.
2. Connecting the Novo to a Host Controller
Locate the 9-conductor, multiple-colored wire that is included with the
Novo. Four (qty) x 36” lengths of wire are included providing connection
between a host controller and the Novo for up to 32 stations.
The 9th conductor is white and represents the valve common wire for that
specific terminal block only. All common wires need to be tied together as
shown in Figures 2-1 & 3-1.
Locate the four terminal blocks underneath the display cover of the Novo,
See Figures 5-1 and 5-2.
2 (qty) keyhole
upper mount
2 (qty) lower
mounting holes


