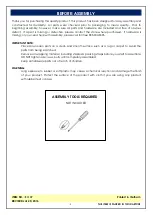
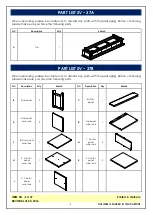
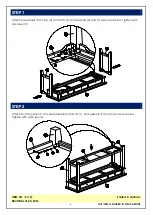
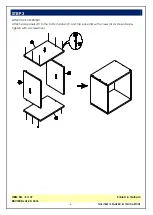
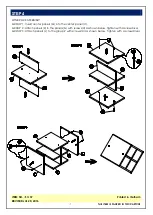
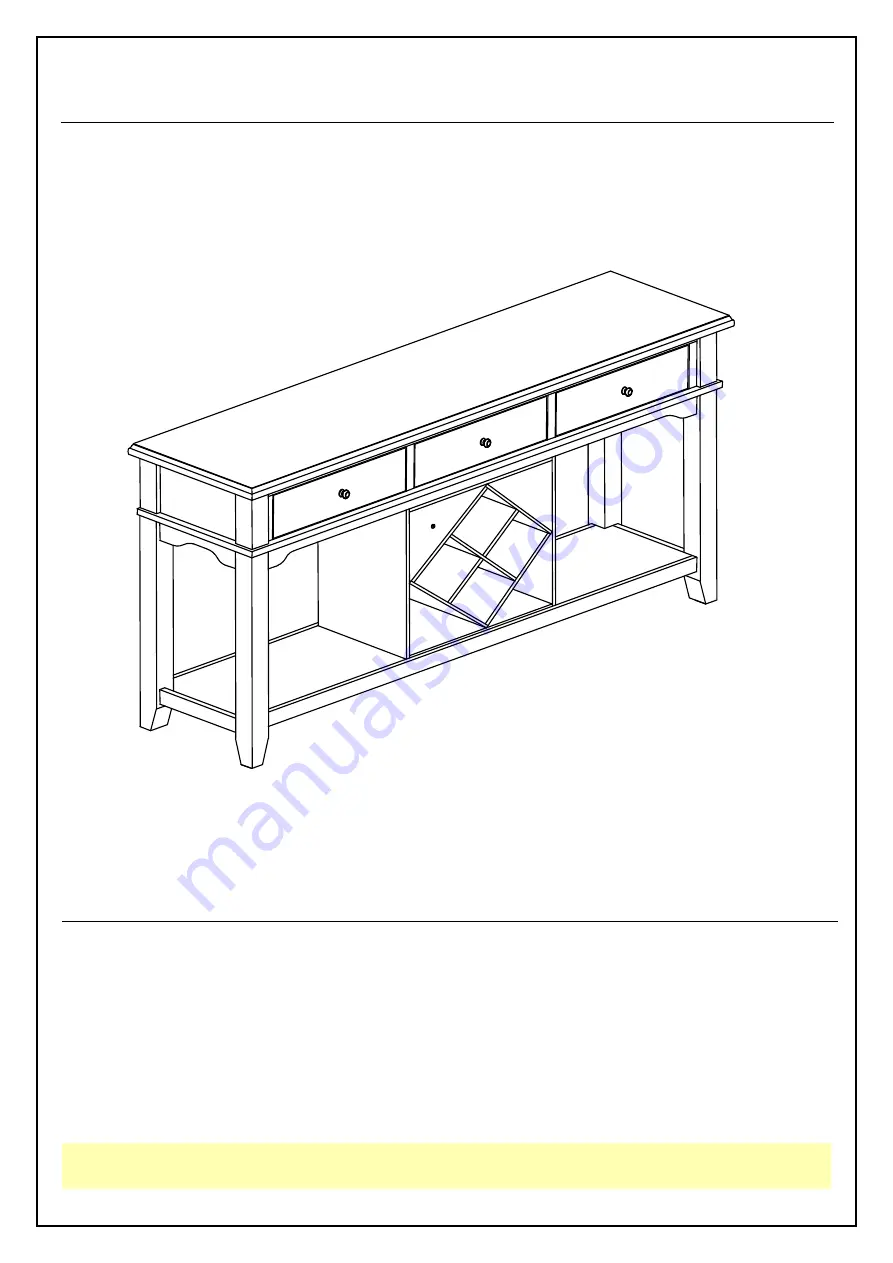
background image

ITEM NO. : SV-37 
REVISED JUL 20, 2016 

Printed in Vietnam 


 - 1 - 

THIS ITEM IS PACKED IN TWO CARTONS


Description 
Item No. 
 

:   CANYON SERVER           
:   SV - 37 


ASSEMBLY INSTRUCTIONS 

Summary of Contents for CANYON SV-37

Page 1: ...ITEM NO SV 37 REVISED JUL 20 2016 Printed in Vietnam 1 THIS ITEM IS PACKED IN TWO CARTONS Description Item No CANYON SERVER SV 37 ASSEMBLY INSTRUCTIONS ...

Page 2: ...s missing or you need help with assembly please call toll free 888 944 8396 IMPORTANT NOTE Place all wooden parts on a clean and smooth surface such as a rug or carpet to avoid the parts from being scratched Remove all wrapping material including staples packing straps before you start to assemble DO NOT tighten all screws bolts until completely assembled Keep all hardware parts out of reach of ch...

Page 3: ...ption Qty Sketch A Top 1 PART LIST SV 37B When unpacking please be careful not to discard any parts with the packaging Before continuing please make sure you have the following parts NO Description Qty Sketch NO Description Qty Sketch B Side panel 2 C Bottom panel 1 D Side panel wine rack 2 E Top panel wine rack 1 F Bottom panel wine rack 1 G 1 Center panel wine rack 2 H 2 Center panel wine rack 1...

Page 4: ...ontinuing please make sure you have all of the following hardware NO Description Qty Sketch NO Description Qty Sketch 1 Bolt M6 x 35mm 12 2 Lock washer 6 5 x 11mm 12 3 Flat washer 6 5 x 19mm 12 4 Long screw M4 x 30mm 22 5 Short screw M3 5 x 15mm 4 6 Steel band 2 7 Pan head screw M4 x 28 mm 3 8 Wooden knob φ35 x 30mm 3 9 Allen key M4 x 30 x 120mm 1 NOTE HARDWARE IS PACKED IN CARTON SV 37B ...

Page 5: ...S ITEM IS PACKED IN TWO CARTONS STEP 1 Attach side panels B to top A with bolts 1 and washers 2 and 3 as shown below Tighten with Allen key 9 Attach bottom panel C to side panels B with bolts 1 and washers 2 and 3 as shown below Tighten with Allen key 9 STEP 2 ...

Page 6: ...REVISED JUL 20 2016 Printed in Vietnam 6 THIS ITEM IS PACKED IN TWO CARTONS WINE RACK ASSEMBLY Attach side panels D to the bottom panel F and top panel E with screws 4 as shown below Tighten with a screwdriver STEP 3 ...

Page 7: ...O CARTONS WINE RACK ASSEMBLY GROUP 1 Insert center panels G into the center panel H GROUP 2 Attach panels K to the panels G with screws 4 as shown below Tighten with a screwdriver GROUP 3 Attach panels L to the group 2 with screws 4 as shown below Tighten with a screwdriver STEP 4 ...

Page 8: ...3 as shown below STEP 6 Attach knobs 8 to front of drawers with pan head screws 7 Tighten with a screwdriver Insert the wine rack into the unit as shown below Attach steel bands 6 to the unit with screws 5 and attach the steel bands to the wall with screws 4 as shown below to secure the product and prevent tipping Tighten with a screwdriver STEP 5 ...

Reviews: