ITEM NO.: WC-7
REVISED SEP 25, 2012
Printed in Vietnam
- 3 -
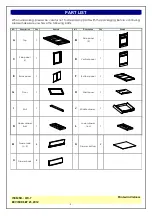
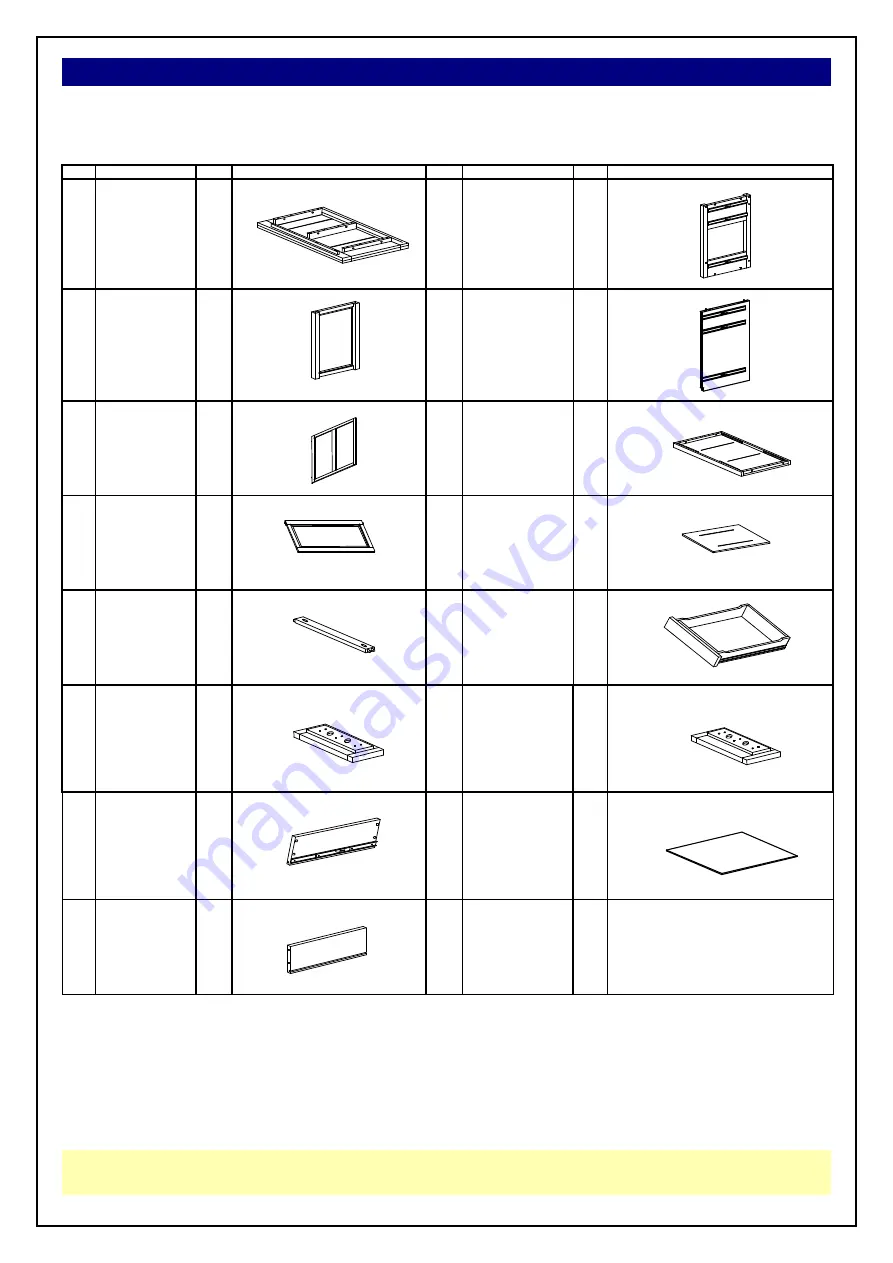
PART LIST
When unpacking, please be careful not to discard any parts with the packaging. Before continuing,
please make sure you have the following parts:
NO
Description
Qty
Sketch
NO
Description
Qty
Sketch
A
Top
1
B
Side panel
(R)
1
C
Side panel
(L)
1
D
Vertical panel
1
E
Back panel
1
F
Bottom panel
1
G
Door
1
H
Shelf panel
1
I
Rail
1
J
Middle drawer
1
K
Upper drawer
front
1
L
Lower drawer
front
1
M
Drawer side
(L – R)
4
N
Drawer bottom
2
O
Drawer back
2


