background image

CHARGING THE BATTERIES 


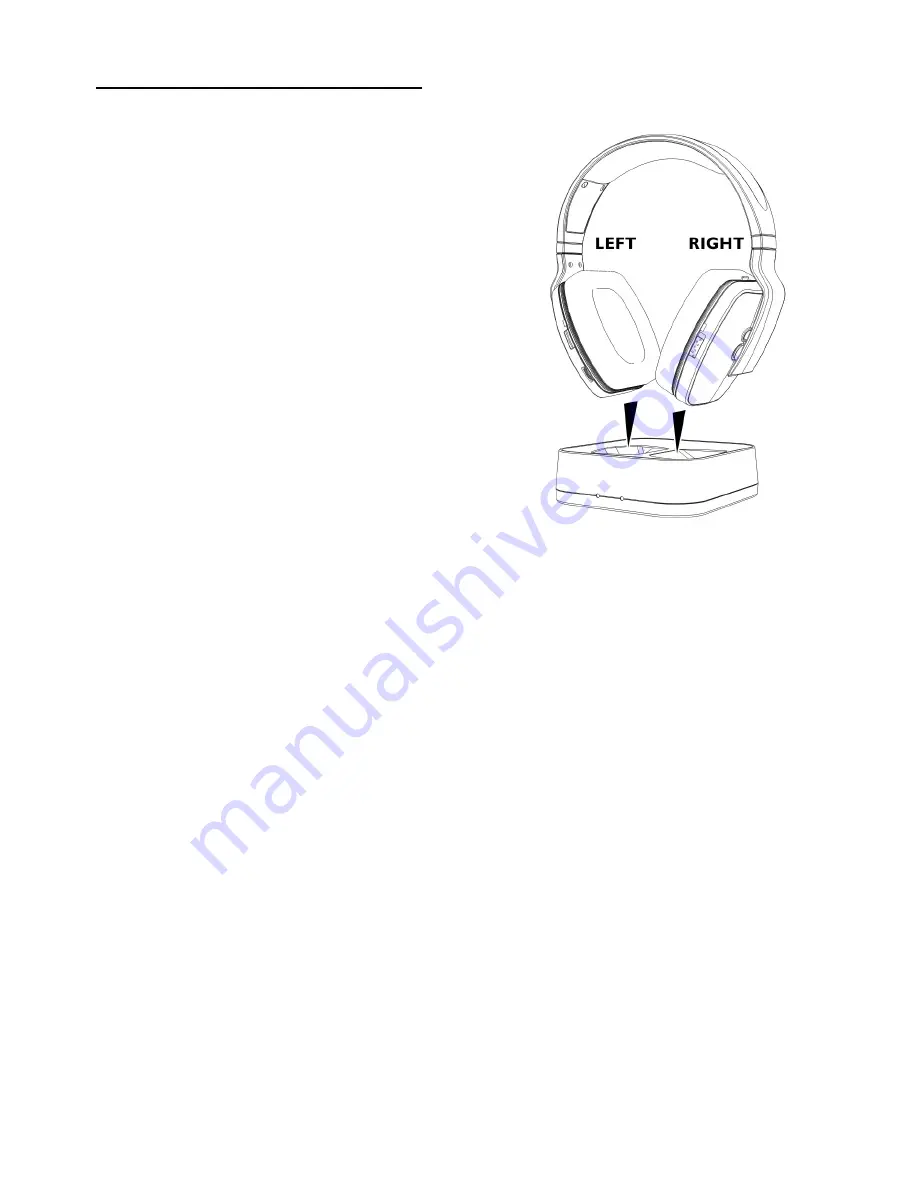
1.  Select the On/Off Switch in the 

Headphone Receiver to OFF position. 

2.  Place the Headphone Receiver on 

the Transmitter, make sure the Charge 

Contact touches the Charge Pins on the 

Transmitter. 

3.  The Charging process starts automatically 

with the Charge/Transmit Indicator LED glows     

in Green constantly; the Transmitter will not 

over-charge the batteries.    The Green 

LED will turn OFF in about 14 hours. 

Make sure to charge new batteries for 

24 hours before using them for the first time in the Headphone Receiver. 


WARNING: 
Never attempt to recharge conventional dry cells.


Batteries  (battery  pack  or  batteries  installed)  shall  not  be  exposed  to  excessive 
heat such as sunshine, fire or the like


Never  use  another  type  of  battery  or  non-rechargeable  batteries  to  replace  the 
rechargeable  (LR03/AAA)  batteries  supplied.    When  the  headphones  are  not  in 
use, move the switch to the OFF position to avoid damaging the batteries. 
The batteries must always be fully charged before first use.    An initial  24 hours 
charge  is  required  to  guarantee  an  acceptable  service  life  for  the  rechargeable 
batteries.    Always  ensure  that  the  Headphone  Receiver  is  switched  to  the  Off 
position while the batteries are charging. 
Excessive  sound  pressure  from  earphones  and  headphones  can  cause  hearing 
loss. 
 
IMPORTANT: 
This unit should be operated with rechargeable batteries only. When replacing the 
batteries or when disposing of the unit, always comply with applicable laws relating 
to the disposal of batteries.    Please place them in a proper disposal container to 
ensure that they are eliminated safely and in an environmentally friendly way. 


Summary of Contents for HP5090A

Page 1: ...HP5090A 900MHz WIRELESS HEADPHONE SYSTEM User Manual...

Page 2: ...er iPod TV set Hi Fi system or Radio FEATURES 1 Auto Tuning system on Headphones Receiver 2 Phase Lock Loop PLL Transmission system 3 Automatic Battery Recharging 4 900 MHz RF Technology 5 RF technolo...

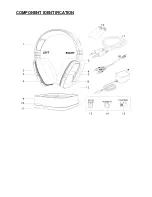
Page 3: ...COMPONENT IDENTIFICATION...

Page 4: ...LED Red 7 Power On Off Switch 8 Charge Contact 9 Wireless Transmitter 10 Charge Transmit Indicator LED Green 11 Power Indicator LED Red 12 Charge Pins 13 DC In Socket 14 3 5mm Audio In Socket 15 Chann...

Page 5: ...connected to the Electrical Outlet Then connect Audio Device with Audio Cable to Transmitter and make sure the Audio Device is switched ON the Green Charge Transmit Indicator LED will turn on RF Trans...

Page 6: ...n the signal press the Auto Tune button once to obtain a better reception channel A For better Stereo Reception stay approximately seven meters away from the Transmitter when you press the Auto Tune b...

Page 7: ...er use another type of battery or non rechargeable batteries to replace the rechargeable LR03 AAA batteries supplied When the headphones are not in use move the switch to the OFF position to avoid dam...

Page 8: ...2 98 912 02 MHz Ch 2 912 48 912 52 MHz Ch 3 912 98 913 02 MHz Operating voltage Transmitter 8V 200mA Receiver 2 4V two rechargeable batteries LR03 AAA size Frequency response 40 Hz 11 KHz Distortion 2...

Page 9: ...quipment may not be in playback mode Start playback on by the equipment The headphones output level is set too low Adjust the volume to a suitable level DISTORTION Ensure that the signal indicator is...

Reviews: