


7
MANUAL - SPRAY GUN CLEANERS - UG5000W SERIES
Revision 2019-3
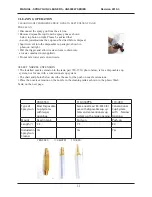
• Nozzle Extension, one installed (left tank); 2 push on nozzle extensions to accomodate different types of spray
guns.
• Trigger Clamp and Plug Kit - 2 Pieces
If any item is missing, contact your supplier.
The filling of each pail is described in turn.
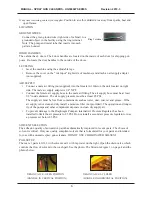
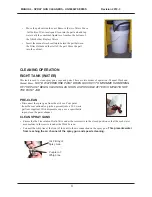
Use protective gloves, eyewear and respirator when filling pails.
PAIL SETUP - SOLVENT RINSE PAIL
Method - To fill the clean solvent pail move the clean pail, second pail from the left,
outside of cabinet.
The procedure follows.
• Open the door to the base cabinet and lift the second pail from
left outside of the cabinet.
• Fill the pail with solvent to the over flow pipe.
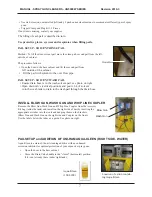
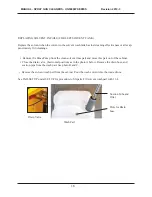
PAIL SETUP - SOLVENT WASH PAIL
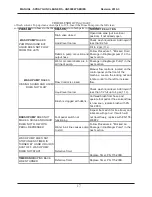
• Ensure drain hose is in the wash solvent pail, see photo on right.
• Open drain valve (vertical position) and pour 16 L of solvent
into the wash tank to drain to the wash pail through the drain hose.
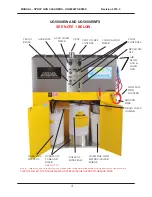
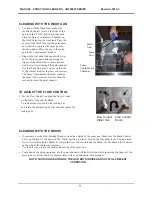
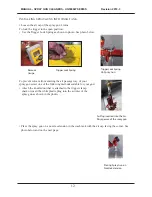
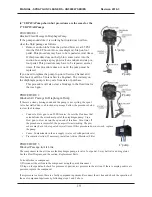
INSTALL BLOW GUN, WASH GUN AND WHIP LINE COUPLER
Remove the Blow Gun, Wash Gun and Whip LIne Coupler from the Acessory
Kit bag (inside the tank) and install on the right side of unit by inserting the
appropriate air tubes into the tools and hanging them on the brackets
(Blow Gun and Wash Gun on the right side and Coupler on the front).
Use the labels below the tubes as a guide. See photo on right.
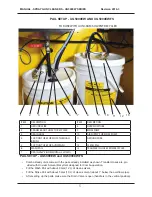
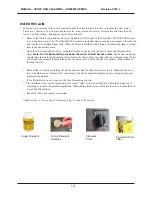
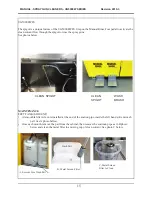
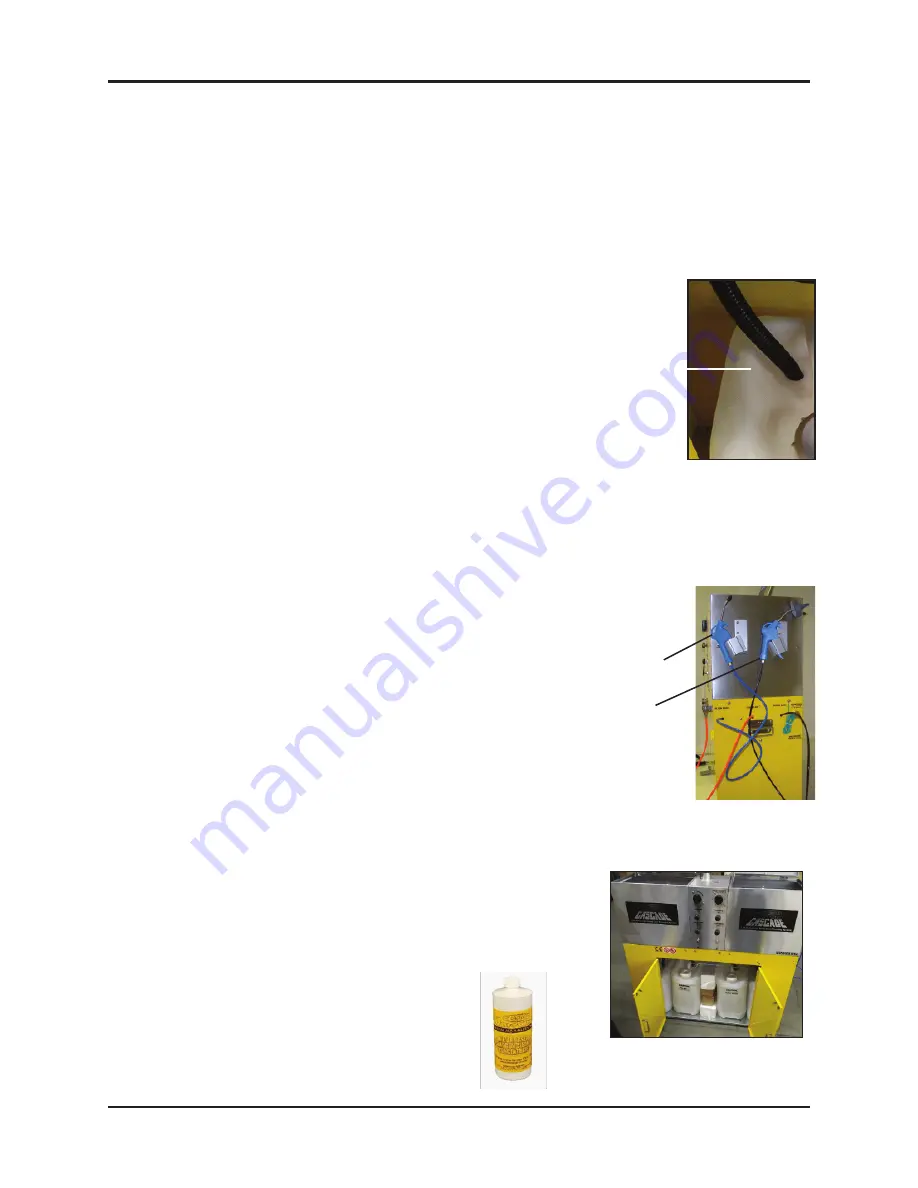
PAIL SETUP and ADDITION OF UNI-RAM AQUA-KLEEN (RIGHT SIDE, WATER)
Aqua-Kleen is a state-of-the-art cleaning additive with an enhanced
corrosion inhibitor for optimal protection of your expensive spray guns.
•
Open the door to the base cabinet
•
Move the Drain Valve handle to the "closed" (horizontal) position
if it is not already there (under right tank.)
Drain Hose
Aqua-Kleen
(102-8200)
Location of carton contain-
ing Aqua-Kleen
Blow Gun
Wash Gun


