background image

28 


Summary of Contents for LT5-H7600-D-N Series

Page 1: ......

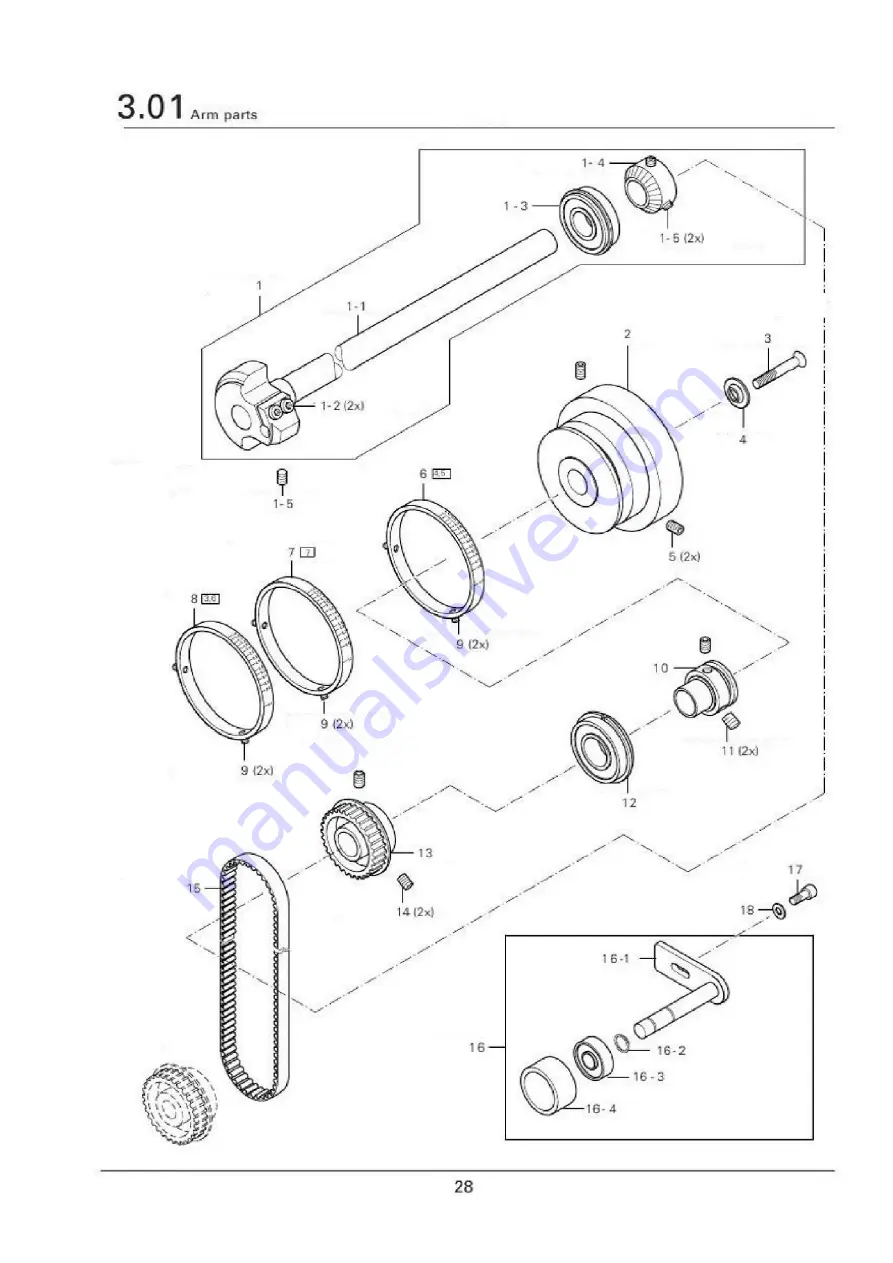
Page 2: ...sing sections 22 2 Needle head parts 23 3 Arm parts 28 4 Bedplate parts 32 5 Hook post left 37 6 Hook post right 39 7 Feed wheel post left 41 8 Feed wheel mounting plate 42 9 Thread trimmer 43 10 Auto...

Page 3: ...1 OPERATION DECLARATION...

Page 4: ...table approx 500mm Bedplate dimensions 518 X 177mm Type Single needle and double needle Model A For sewing lightweight materials Model B For sewing medium weight materials Model C For sewing medium he...

Page 5: ...suitable connections for electric current It must be ensured that the standing surface of the machine site is firm and horizontal and that sufficient lighting is provided for Loosen screws 1 and 2 and...

Page 6: ...cessories using screw 2 Note Do not operate the machine without tilt lock 1 Danger of crushing between sewing head and table top Slide the slots of the lower section of the cover 1 behind the heads of...

Page 7: ...g Remove the wedge from motor shaft 4 Attach angle bracket 5 with screws 6 Fit toothed belt wheel 7 to the motor shaft 4 so that the point of the screw is located in the groove of the motor shaft Scre...

Page 8: ...the tension 2 07 Mounting the belt guard of the flange motor In this position fit toothed belt 1 Swing the bearing plate 2 of the motor so that the toothed belt is tensioned In this position tighten s...

Page 9: ...g the safety switch 2 09 Fitting the reel stand Connect plug 1 of safety switch in Fig Fit the reel stand as shown in Fig Afterwards insert the stand in the hole of the table top and secure it with th...

Page 10: ...1 is pressed during sewing the machine sews in reverse Keys 2 can be used for parameter settings Instruction Manual of Electronic Control About 100 stitches before reaching the preset number of stitc...

Page 11: ...9 3 03 Pedal 3 04 Lever for lifting roller presser 0 Neutral position 1 Sewing 1 Raise roller presser 2 Trim sewing threads The roller presser can be raised by turning lever 1...

Page 12: ...nee lever 3 06 Key for setting stitch length The roller presser can be raised by pressing the knee lever 1 in the direction of the arrow The stitch length is set by pressing key 1 and turning the bala...

Page 13: ...11 3 07 Swing out roller presser When the roller presser is raised it can be swung out by pulling it lightly down wards...

Page 14: ...riate training For all setting up work the machine must be disconnected from its power supply by turning off the on off switch or removing the plug from the electric power socket Raise the roller pres...

Page 15: ...a few times Switch on the bobbin winder while at the same time pressing bobbin winder spindle 2 and lever 3 The bobbin fills up during sewing The tension of the thread on bobbin 1 can be adjusted with...

Page 16: ...bobbin case Open the post cap Raise latch 1 and remove bobbin case 2 Inserting the bobbin case Insert bobbin case 2 Close the latch 1 and close the post cap Insert the bobbin into the bobbin case Pass...

Page 17: ...eedle machine on model single needle Tilt up the eye guard 1 Thread the needle thread as shown in Fig On model left hook the needle is threaded from the right to the left and on model right hook from...

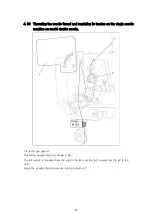
Page 18: ...single needle machine on model double needle Tilt up the eye guard 1 Thread the needle thread as shown in Fig The left needle is threaded from the right to the left and the right needle from the left...

Page 19: ...and fro until the stitch length required is shown on the scale 2 opposite the bottom edge 3 of the belt guard recess Clean daily more frequently if in continuous operation Oil level thread lubricatio...

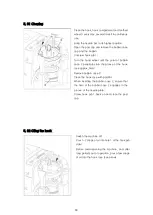
Page 20: ...of bobbin case 2 penetrates into the groove of the hook race approx 5mm Remove bobbin case 2 Clean the hook race with paraffin When inserting the bobbin case 2 ensure that the horn of the bobbin case...

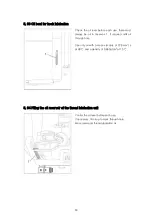
Page 21: ...oil level before each use there must always be oil in reservoir 1 If required refill oil through hole Use only oil with a mean viscosity of 22 0mm2 s at 40 and a density of 0 865g cm3 at 15 Control th...

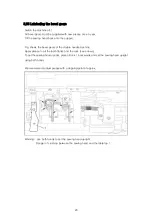
Page 22: ...el gears of the double needle machine Apply grease to all the tooth flanks and the rack see arrows To set the sewing head upright press tilt lock 1 backwards and set the sewing head upright using both...

Page 23: ...21 PARTS LIST...

Page 24: ...22...

Page 25: ...23...

Page 26: ...24...

Page 27: ...25...

Page 28: ...26...

Page 29: ...27...

Page 30: ...28...

Page 31: ...29...

Page 32: ...30...

Page 33: ...31...

Page 34: ...32...

Page 35: ...33...

Page 36: ...34...

Page 37: ...35...

Page 38: ...36...

Page 39: ...37...

Page 40: ...38...

Page 41: ...39...

Page 42: ...40...

Page 43: ...41...

Page 44: ...42...

Page 45: ...43...

Page 46: ...44...

Page 47: ...45...

Page 48: ...46...

Page 49: ...47...

Page 50: ...48...

Page 51: ...49...

Page 52: ...50...

Page 53: ...51...

Page 54: ...52...

Page 55: ......

Reviews: