10
SHB 3 | Version 1.02
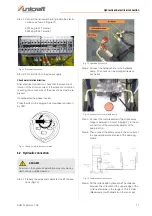
Hydraulic and electrical connection
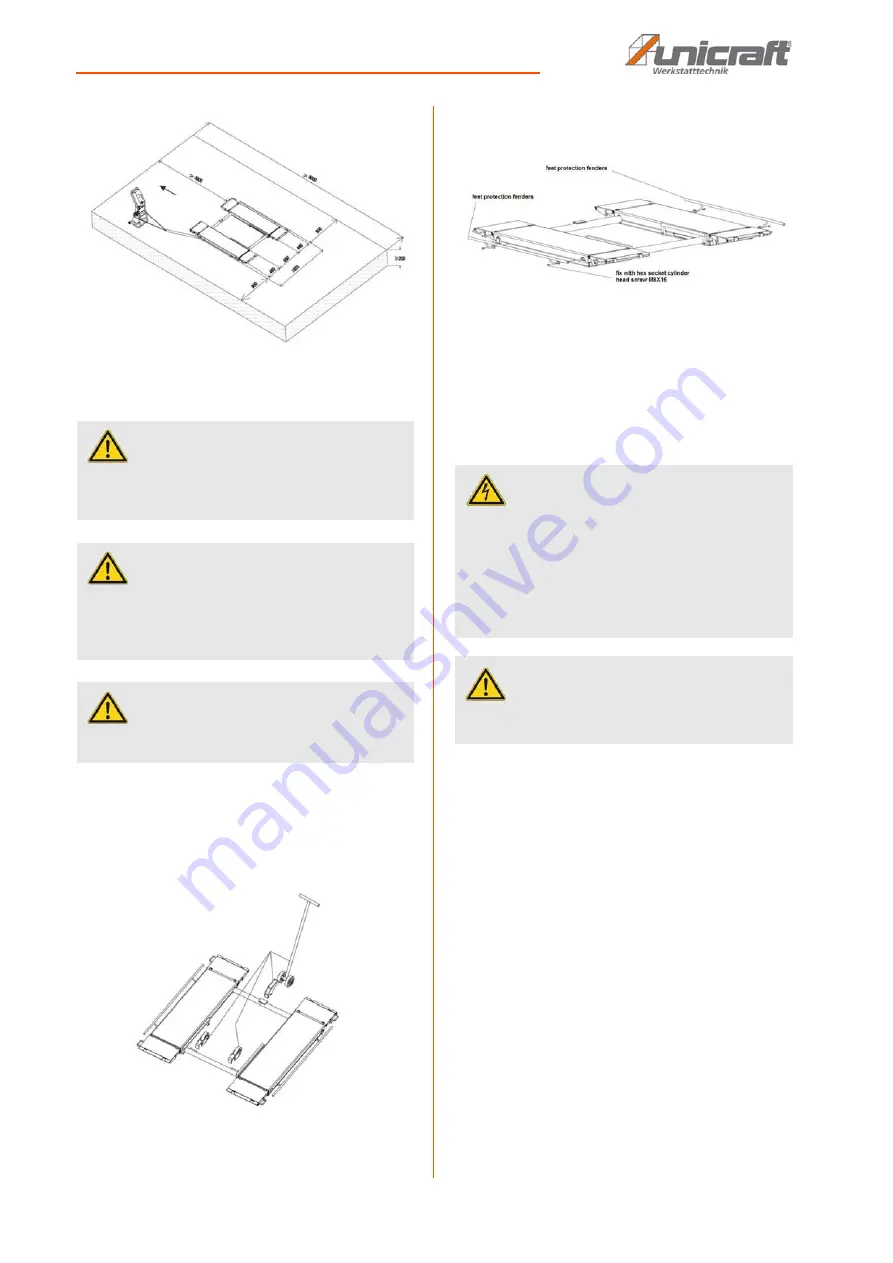
Fig. 7: Installation plan
7.2 Setting up the Scissor lift
Step 1: Unpack the machine and check for damage and
completeness.
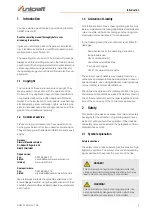
Step 2: Attach the transport rollers and transport the lif-
ting platform to the installation site using the dra-
wbar (Fig.8).
Fig. 8: Driving equipment
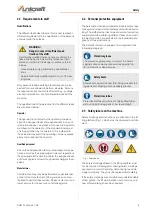
Step 3: Mount the protective cover on both sides using
the Allen screws.
Fig. 9: Driving direction
Step 4: If necessary, fix the lift to the ground.
8 Hydraulic and electrical connection
8.1 Electrical connection
Only use the lift in a dry environment. Operate the lift
only with a power supply that meets the following requi-
rements:
- the mains voltage and the frequency of the power
supply must correspond to the specifications on
the rating plate
- Protection with a residual current circuit breaker
(RCD).
- Use of a grounding contact socket (properly groun-
ded socket).
- Lay the power cable so that it does not interfere
with work and cannot be damaged.
- Protect the power cord from heat, aggressive li-
quids and sharp edges.
CAUTION!
Danger of injury due to an unstably positioned lifting
platform! Check the stability of the machine after set-
ting it up on a stable surface.
CAUTION!
Observe the weight of the lifting platform! The lifting
platform may only be set up by two persons together.
Check that the auxiliary equipment is sufficiently di-
mensioned and has sufficient load capacity.
DANGER!
In case of a test run of the lifting platform no vehicle may
be placed on the lifting platform.
Driving
direction
Driving
equipment
DANGER!
Danger to life through electric
shock!
There is a danger to life when in contact with live
components. Switched-on electrical components can
execute uncontrolled movements and cause serious
injuries.
- Unplug the machine from the mains before making
adjustments to the machine.
DANGER!
All work on the electrical installation may only be car-
ried out by a qualified electrician.


