Friday, November 07, 2008
64
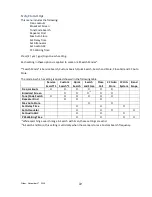
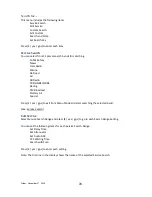
If you select
͞
Set Lockout
͟
:
You can select a CTCSS or DCS for lockout.
Turn [Scroll Control] to select and press [E / yes / gps] key to lock it out. Then the scanner returns to the
previous menu.
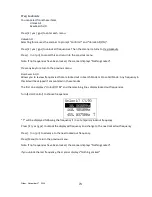
Set Number Tag
The Channel Number Tag can be set in this menu.
Press a number key to input the number tag. Press [. / no / pri] to clear the input.
Press [E / yes / gps] to accept the setting and return to the previous menu.
Note: The valid setting range is from 0 to 999. Blank means a number tag not assigned.
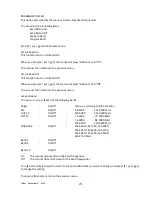
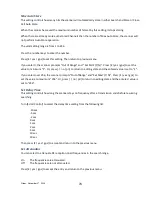
Set Modulation
You can select the modulation from the following settings.
Auto
The scanner uses the modulation normal
ĨŽƌ ƚŚĞĨƌĞƋƵĞŶĐLJ͛ƐďĂŶĚ͘
(See:
Band Defaults
)
AM
The scanner uses AM demodulation.
NFM
The scanner uses Narrowband FM demodulation.
FM
The scanner uses FM demodulation.
WFM
The scanner uses Wideband FM demodulation.
FMB
The scanner uses FM Broadcast demodulation.
Press [E / yes / gps] to accept the entry and return to the previous menu.
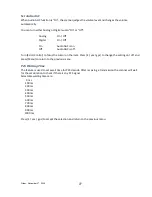
Set Attenuator
You can attenuate RF reception on the frequency.
On
The frequency will be attenuated.
Off
The frequency will not be attenuated.
Press [E / yes / gps] to accept the selection and return to the previous menu.
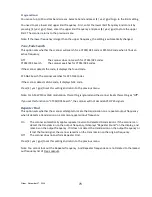
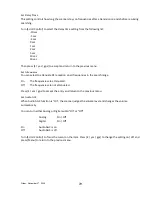
Set Priority
This option sets the Channel as a Priority Channel. You can set this On for each Channel independently. See
PRIORITY SCAN
to see how this works for conventional. See
PRIORITY ID SCAN
to see how this works for
trunking.
On
The Channel is treated with priority.
Off
The Channel is not treated with priority.
Press [E / yes / gps] to accept the entry and return to the previous menu.
Note: Although any conventional frequency can be set as a priority channel, the scanner is unable to scan
over the number of priority channels that was set at menu
MaxCHs/Pri-Scan
. If unlocked priority channels
are over this setting, only that portion of the priority channels will be scanned for priority.


