
User Instructions
This booklet contains important information concerning the proper and safe operation of your new amplifier..
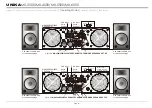
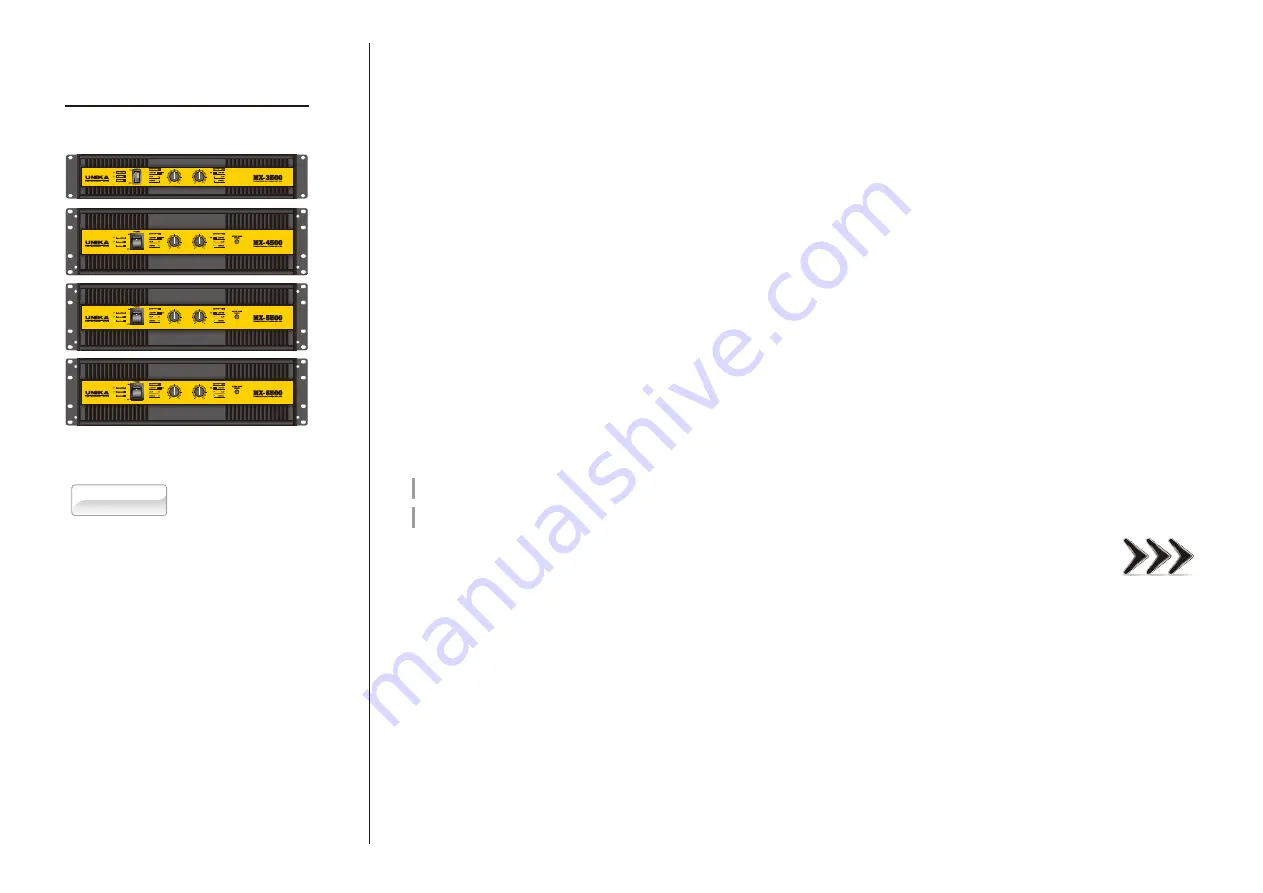
MX-Series
MX-3500 / MX-4500 / MX-5500 / MX-6500
Made in Taiwan
Professional Power Amplif iers
Index
02 Introduction
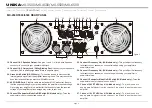
03 Front Panel
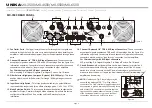
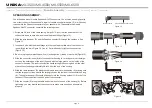
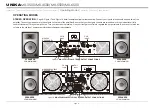
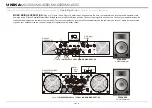
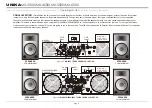
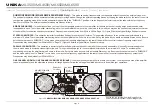
04 Rear Panel
6 Set Up
0
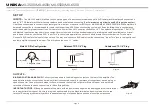
08 Speakon Assembly
09 Operating Modes
14 Protection
15 Features
16 Specifications
UNiK A


