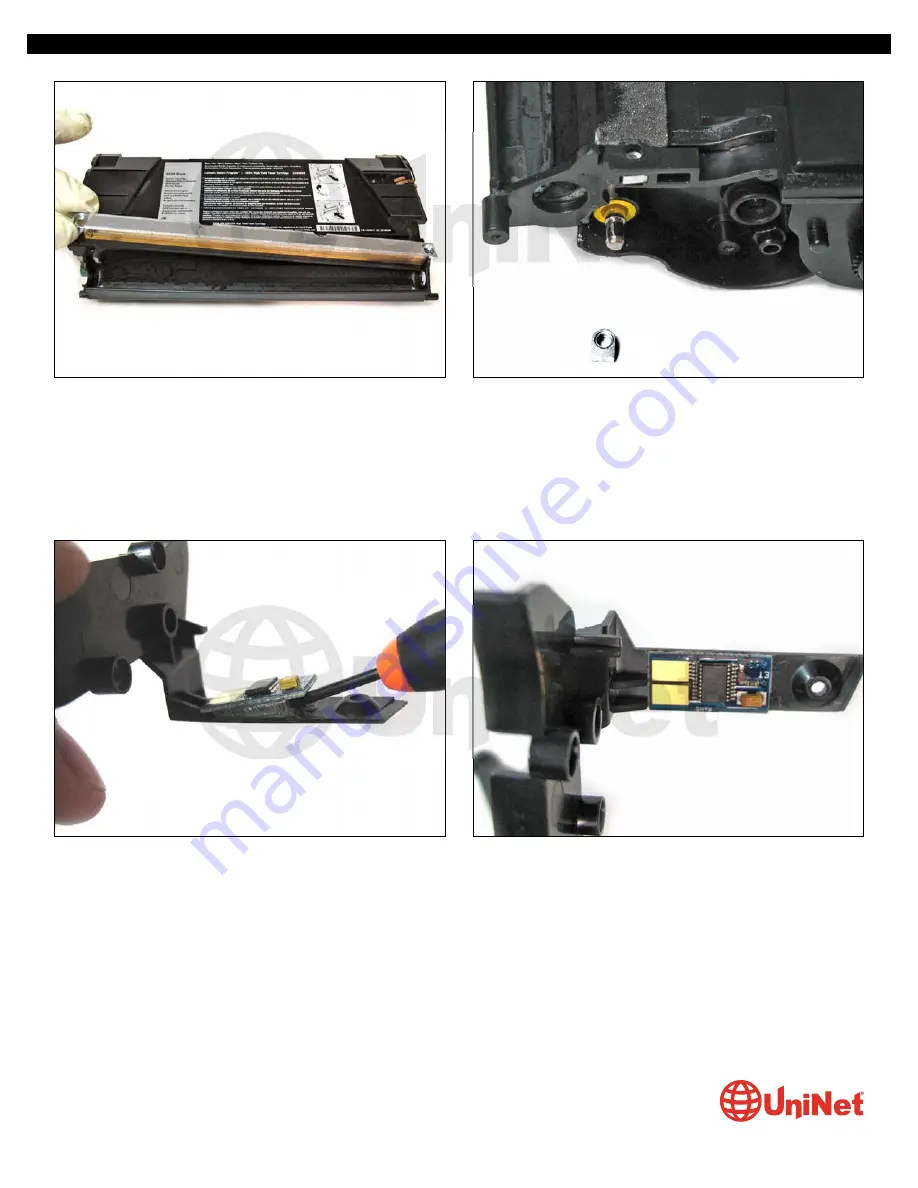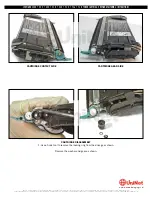
12. Remove the doctor blade. Be careful not to lose the doctor bar screw nuts. With the screws removed and the nuts not
securely fastened, they can easily become misplaced with any movement of the cartridge. Clean the hopper thoroughly using
compressed air and refill through the opening shown with the appropriate amount of toner.
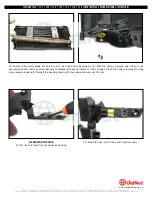
REPLACING THE CHIP
13. Pry the chip loose from its adhesive backing.
14. Install the new chip in the exact manner shown.
LEXMARK C520
•
522
•
524
•
530
•
534
•
734
•
736
•
738 TONER CARTRIDGE REMANUFACTURING INSTRUCTIONS
© 2010 UniNet Imaging Inc. All trademark names and artwork are property of their respective owners. Product brand names mentioned are intended to show compatibility only.
UniNet Imaging does not warrant downloaded information. Unauthorized sale, reproduction or distribution of this article is prohibited. For additional support, please contact techsupport@uninetimaging.com
www.
uninet
imaging.com


