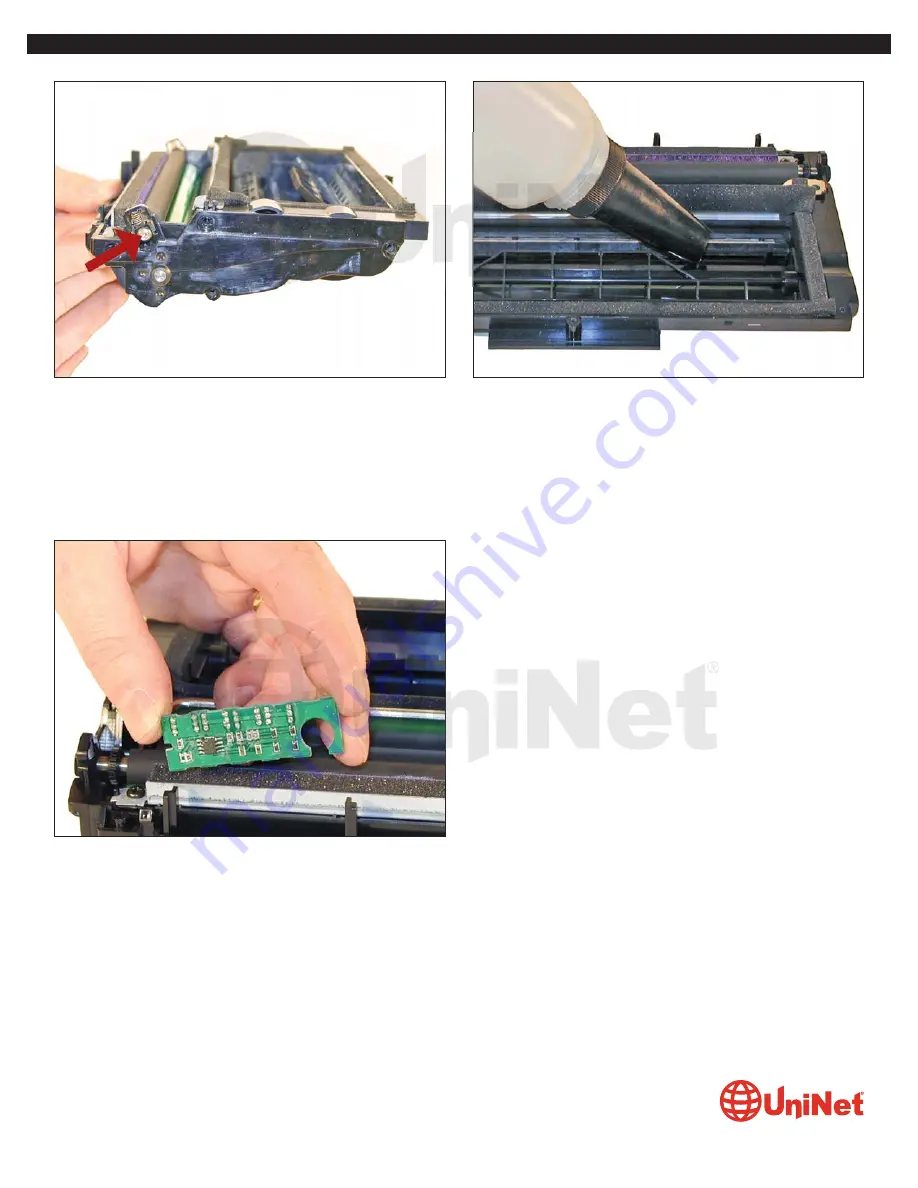
23. Install the right side end cap, and four screws. Make sure
the PCR fits correctly in its holder and all the gears are aligned.
24. Fill the hopper with the appropriate amount of toner. This
can also be done through the fill plug, but the fill plug tends to
leak and will probably have to be sealed with silicon.
25. Replace the chip. Make sure the chip you install is the
correct one for the machine it is to be installed in. New reset
boxes are now available that can change the personality of the
chip across the full line. This will enable you to test the
cartridge in your test machine, and than change the chip to
work in your customer’s machine if different.
XEROX WORKCENTRE PE120
•
CARTRIDGE REMANUFACTURING INSTRUCTIONS
© 2010 UniNet Imaging Inc. All trademark names and artwork are property of their respective owners. Product brand names mentioned are intended to show compatibility only.
UniNet Imaging does not warrant downloaded information. Unauthorized sale, reproduction or distribution of this article is prohibited. For additional support, please contact techsupport@uninetimaging.com
www.
uninet
imaging.com


