Page 24
P O W E R I N G T E C H N O L O G Y
Manual No. PM110-6500-00 rev-2a
PM110-6500-00-rev2a-0117.indd
To connect:
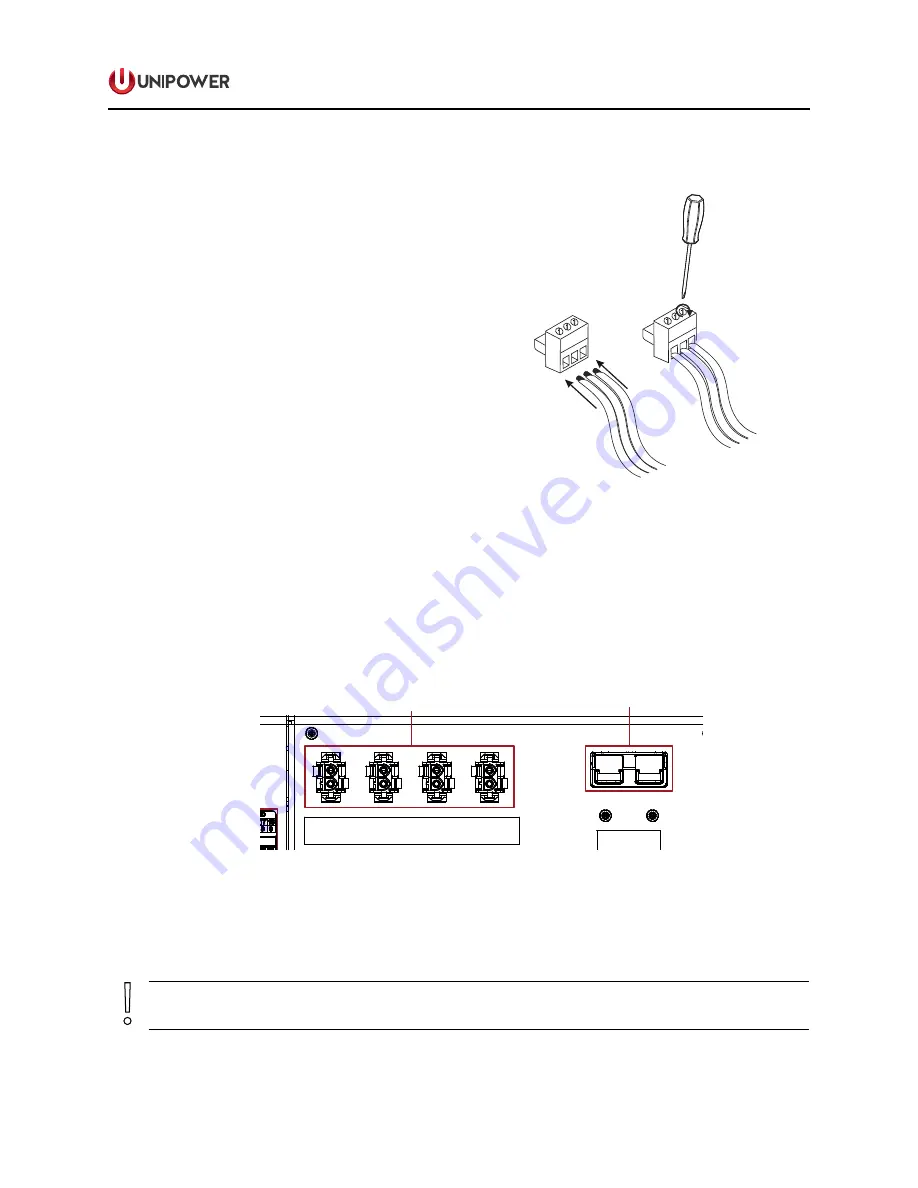
1. Release a connector from the terminal
using needle-nose pliers and pull it out.
2.
Remove sufficient insulation from the
cables and insert stripped cables into the
appropriate connector. Then tighten the
corresponding terminal screw using a flat
screwdriver Figure 4-6.
3. After fastening all the cables, insert the
connector back into the terminal block.
Maximum cable size is 1.5mm
2
.
Maximum torque required for tightening
the screw is 0.25Nm.
Figure 4-6 Signal Connection Detail
4.5.4 DC Load Connections
Load Connections are available at the rear, with connections labeled corresponding to each
load breaker, Figure 4-7.
4
3
2
1
LOAD
+
_
+
_
+
_
+
_
BATTERY
+
_
AC INPUT 2
AC INPUT 1
SIGNAL
CONNECTIONS
BATTERY
AC
INPUTS
DC
OUTPUTS
+
-
+
-
+
-
+
_
Figure 4-7 Load and Battery Connections (Rear View)
For DC load connections, Mate-N-Lock connectors are used. See appendix B for more
details.
CAUTION
For correct electrical polarity of DC loads see connector labels.


