4.CALIBRATION
20
4. CALIBRATION
"Calibration" refers to an operation whereby matching between the F340A and a strain
gauge sensor is obtained. The F340A uses the two calibration methods as described
below.
◇
Equivalent Input Calibration
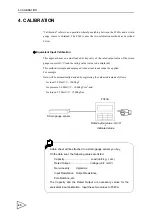
This approach uses no actual loads but key entry of the rated output value of the strain
gauge sensor (mV/V) and the rating value (value to be displayed).
This method is simple and employed when actual loads cannot be applied.
For example
Gain will be automatically decided by registering the values indicated as follows:
for load: 2.001mV/V - 100.0kgf
for pressure: 2.002mV/V - 10.00kgf/cm
2
, and
for torque: 2.502mV/V - 15.00kgf•m.
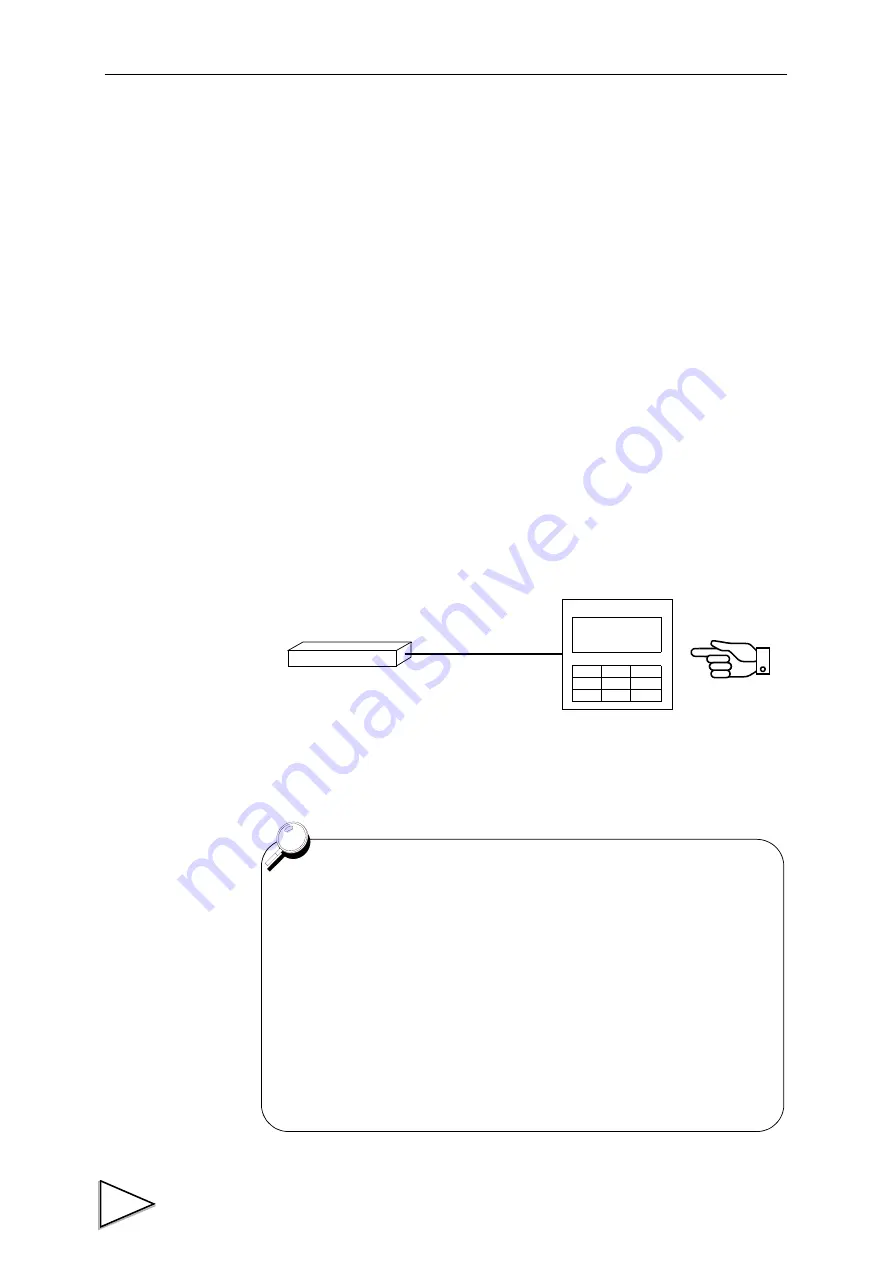
F340A
Strain gauge sensor
Rated output value
(
mV/V
)
+
Indicated value
A data sheet will be attached to a strain gauge sensor you buy.
On the data seat, the following values are listed.
Capacity ................................... Load (unit: kg, t, etc.)
Rated Output............................ Voltage (unit: mV/V)
Non-Linearity
,
Hysterisis
,
Input Resistance
,
Output Resistance
,
Zero Balance, etc.
The Capacity and the Rated Output are necessary values for the
equivalent input calibration. Input these two values to F340A.
Summary of Contents for F340A
Page 1: ...F340A DIGITAL INDICATOR 14 Feb 2012 Rev 1 38 OPERATION MANUAL...
Page 9: ...CONTENTS 15 7 General Specifications 90 15 8 Accessories 91 16 CONFORMITY TO EC DIRECTIVES 92...
Page 92: ...13 SELF CHECK FUNCTION AND INITIALIZATION 83 Self check Visual Check Sequence...
Page 94: ...13 SELF CHECK FUNCTION AND INITIALIZATION 85 Initialization Sequence...


