Do not use thin objects to
either clean or unblock the
injector.
06
•
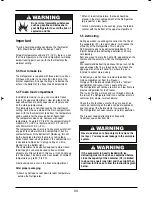
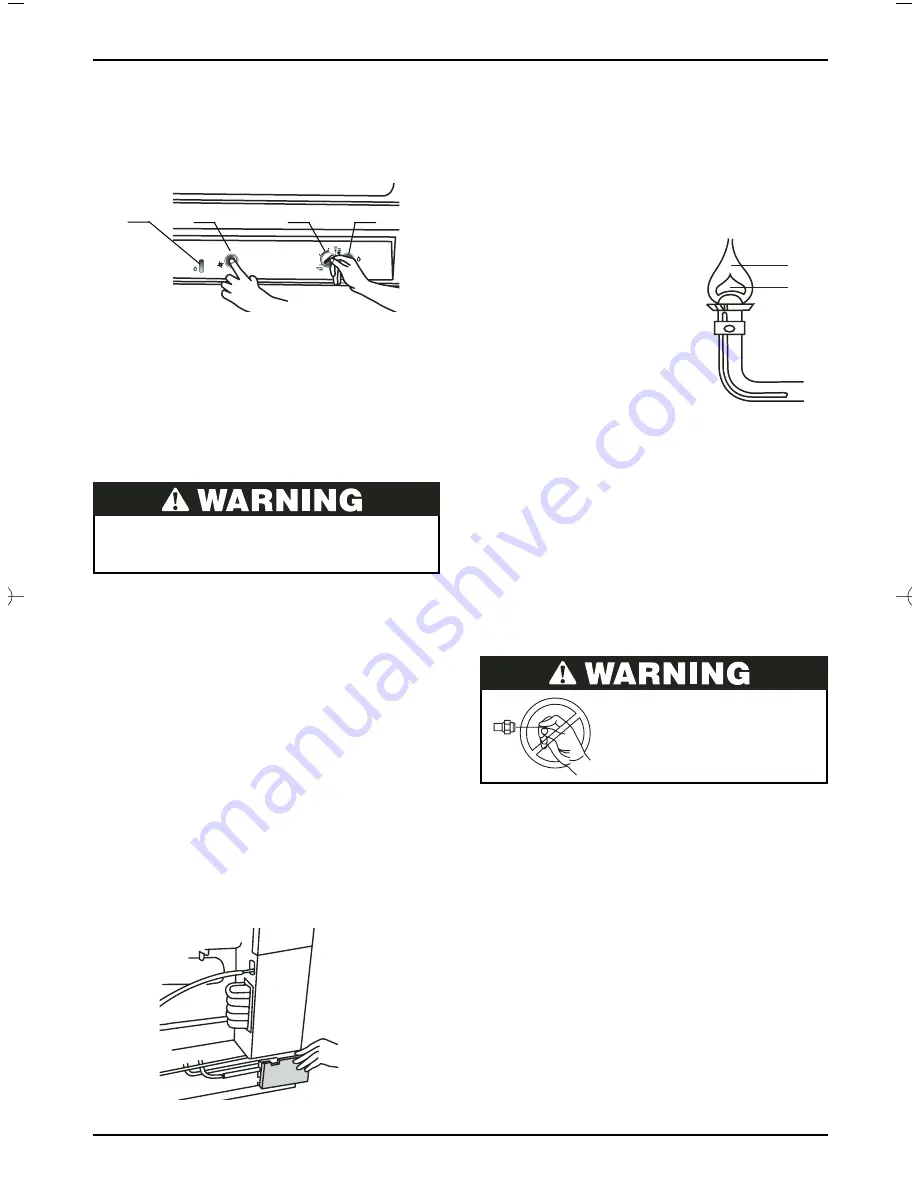
The first time you use your Refrigerator, it is most likely
that there is air in the gas lines. However, keep the
selector valve button pressed for 1 or 2 minutes, and
use the ignite button every 3 to 5 seconds until the
flame is ignited.
•
Keep the valve button pressed for 5 seconds.
If the flame goes out when the button is released,
repeat the operation.
Keeping the selector valve button pressed for 10
seconds and check to see if the flame remains lit
after your release the button.
•
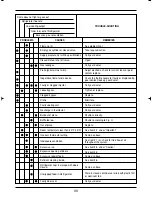
If there are any problems doing this, see the section
on Troubleshooting, on page 9.
•
To test the operation of the appliance, use the
following procedures.
6.3 Testing Operation
For your own safety and that of the appliance, it is
fundamental that you perform the tests described
below, immediately after your first turn on the
appliance.
•
The Refrigerator must be turned on and without the
protection hood on the back (if the protection hood is
still in place and the Refrigerator turned on, turn it off
and remove the hood.
Be careful, as the hood could be very hot.
Turn the Refrigerator back on).
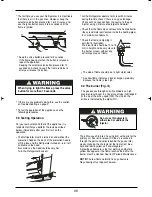
When trying to light the flame, press the valve
button for more than 10 seconds.
•
Let the Refrigerator operate for at least 30 minutes,
during this time check if there is any gas leakage.
Check each connection from the source to the gas
injector using a mixture of detergent and water.
•
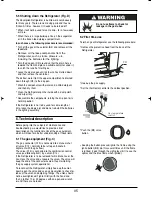
Check that the flame does not touch the heat deflector
(the curved metal part located inside the heating pipe).
It’s normally incandescent.
•
Check the flame, comparing it
with that in illustration.
The blue flame should be 10 to 15
mm in height and be very close to
the burner screen, without any
extra large areas of flame.
VIOLET
BLUE
•
The side of flame should be of a light violet color.
•
A yellow flame indicates a lack of oxygen, probably
because the flame is too high.
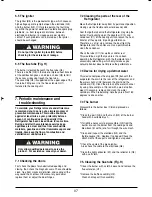
6.4 The burner (Fig. G)
The gas passes through an orifice drilled by a high
precision laser beam in a tiny plate of ruby (G8) lodged
at the tip of the orifice spud (G9). The size on the
orifice is indicated by the digits (G7).
The orifice spud fits into a housing (G4) with ports for the
primary air. Dust or lint present in the air is sucked in
through the ports and collects behind the gauze (G2),
slowly changing the character of the flame from blue,
hard and low to yellow, soft and elongated.
A growing yellow core is the first warning and before
yellow tips appear or the flame reaches the baffle, the
burner must be cleaned. See item Periodic Maintenance.
NOTE:
The low flame normally has a yellow core.
No yellow tips must appear however.
D
A
C
B
Manual 326061824 11/9/06 3:36 PM Page 15
Summary of Contents for UGP 7.8
Page 2: ......
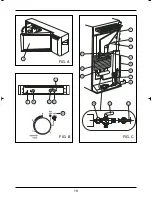
Page 12: ...19 6 1 5 2 3 4 FIG A FIG B FIG C ...
Page 13: ...20 FIG D FIG G FIG F ...
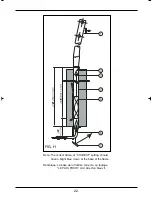
Page 14: ...21 Cut out in order accommodate the lower hinge A découper pour la charnière inférieure FIG E ...
Page 16: ...24 ...


