


DEC20V2
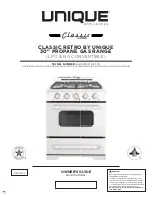
OWNER’S GUIDE
serial number:
CLASSIC RETRO BY UNIQUE
30” PROPANE GAS RANGE
(LPG & NG CONVERTIBLE)
MODEL NUMBER:
UGP-30CR OF1 W,
UGP-30CR OF1 B, UGP-30CR OF1 R, UGP-30CR OF1 LB, UGP-30CR OF1 T, GP-30CR OF1 LG, UGP-30CR OF1 RB, UGP-30CR OF1 BP, UGP-30CR OF1 SC, UGP-30CR OF1 SP, UGP-30CR OF1 AO
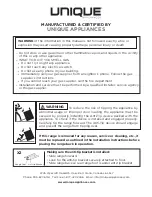
Never Operate the Top Surface Cooking Section of
this Appliance Unattended
•
Failure to follow this warning statement could
result in fire, explosion, or burn hazard that could
cause property damage, personal injury, or death.
•
If a fire should occur, keep away from the appliance
and immediately call your fire department.
DO NOT ATTEMPT TO EXTINGUISH AN OIL/GREASE
FIRE WITH WATER.
WARNING:


