CARE AND MAINTENANCE
(continued)
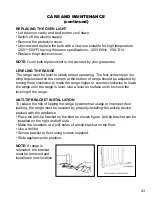
REPLACING THE OVEN LIGHT
• Let the oven cavity and broil burner cool down.
• Switch off the electric supply.
• Remove the protective cover.
• Unscrew and replace the bulb with a new one suitable for high temperature
(200°~ 500°F) having the same specifications: 120V 60Hz, 15W, E14.
• Replace the protective cover.
NOTE:
Oven bulb replacement is not covered by your guarantee.
LEVELING THE RANGE
The range must be level to obtain proper operating. The four screws type lev-
eling legs located on the corners at the bottom of range should be adjusted by
turning them clockwise to make the range higher or counter-clockwise to lower
the range until the range is level. Use a level on surface units to check the
leveling of the range.
ANTI-TIP BRACKET INSTALLATION
To reduce the risk of tipping the range by abnormal usage or improper door
loading, the range must be secured by properly installing the anti-tip device
packed with the appliance.
• Place the anti-tip bracket on the floor as shown figure. Anti-tip bracket can be
installed on the right and left side.
• Make the locations of 2 (x2) holes of ant-tip bracket on the floor.
• Use a drill bit
• Secure bracket to floor using screws supplied.
• Slide appliance into position.
NOTE:
If range is
relocated, the bracket
must be removed and
installed in new location.
Ø
NOTE:
If range is relocated, the bracket must be removed and installed in new location.
43
Summary of Contents for Prestige UGP-24V PC1 B
Page 21: ...21 WALL CLEARANCES continued ...
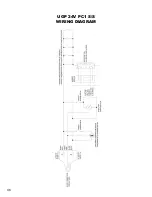
Page 46: ...UGP 24V PC1 S S WIRING DIAGRAM 46 ...
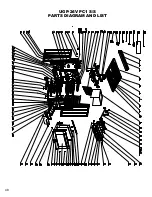
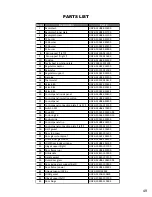
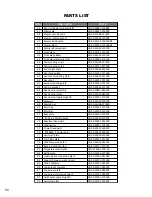
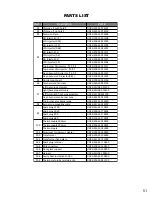
Page 48: ...48 UGP 24V PC1 S S PARTS DIAGRAM AND LIST ...
Page 53: ...NOTES 53 ...

