24
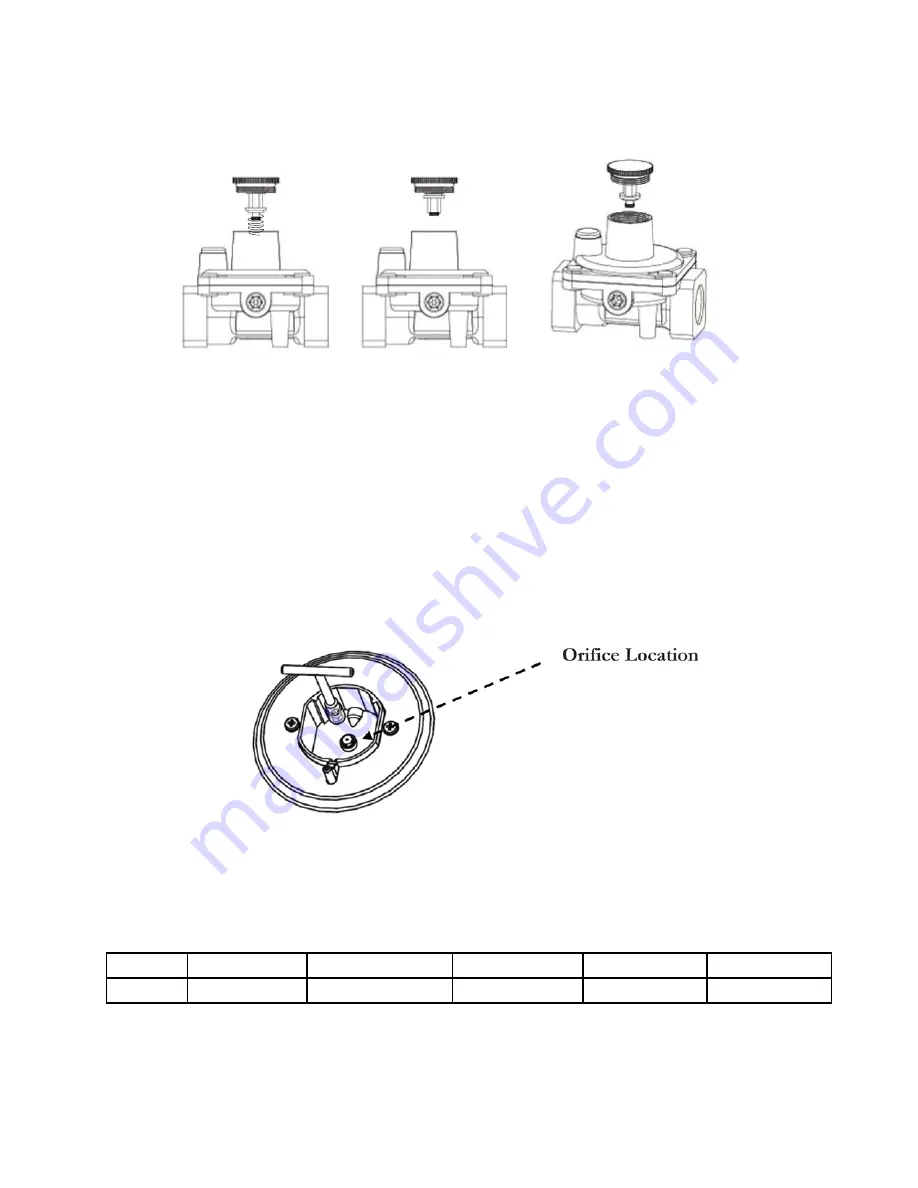
5. Replace the cap back on the regulator
6. Remove the grates, burners and burner caps from the range to
access the orifices.
7. Use a 7mm wrench to remove the orifices. Each orifice can be
accessed easily - the larger burner orifice is located on the burner wall.
Burner Orifice
8. Remove all NG orifices, place in the bag and store in a safe place.
9. Take the LPG orifices provided and install them as shown below.
See below for rating of orifice for each model
Smallest
Medium x 2
Largest
Oven
Broil
LPG
0.53 mm
0.68/0.9 mm
1.00 mm
0.82 mm
0.8 mm
10. Once all the orifices are installed, replace all burners and burner caps, then fire
up the burners to check the minimum flame height.
GAS RANGE CONVERSION
LPG
NG
Summary of Contents for UGP-24V PC1 S/S
Page 21: ...21 WALL CLEARANCES continued...
Page 46: ...UGP 24V PC1 S S WIRING DIAGRAM 46...
Page 48: ...48 UGP 24V PC1 S S PARTS DIAGRAM AND LIST...
Page 53: ...NOTES 53...


