-
20
-
WS
Series
Advanced air conditioning systems
•
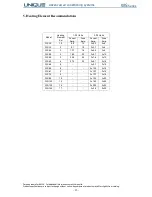
Connect the incoming water to the WATER IN connection and the return water to the
WATER OUT connection. Use adequate thread sealant and also the supplied sealing
ring (3).
•
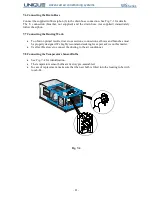
The supplied strainer (2) must be installed on the WATER IN connection. See Fig. 7-1.
Install the strainer with the drain plug facing down, in a location with convenient
service access.
•
Complete the water piping installation and open the two cut-off valves (5). Allow
water to flow in and out the unit.
•
Carefully open the air vent plug (12). Release all air from the system and close the
plug back.
•
Inspect all connections for water leaks. It is common practice to leave open the two
cut-off valves (5) throughout the rest of the installation and occasionally inspect the
piping for leaks.
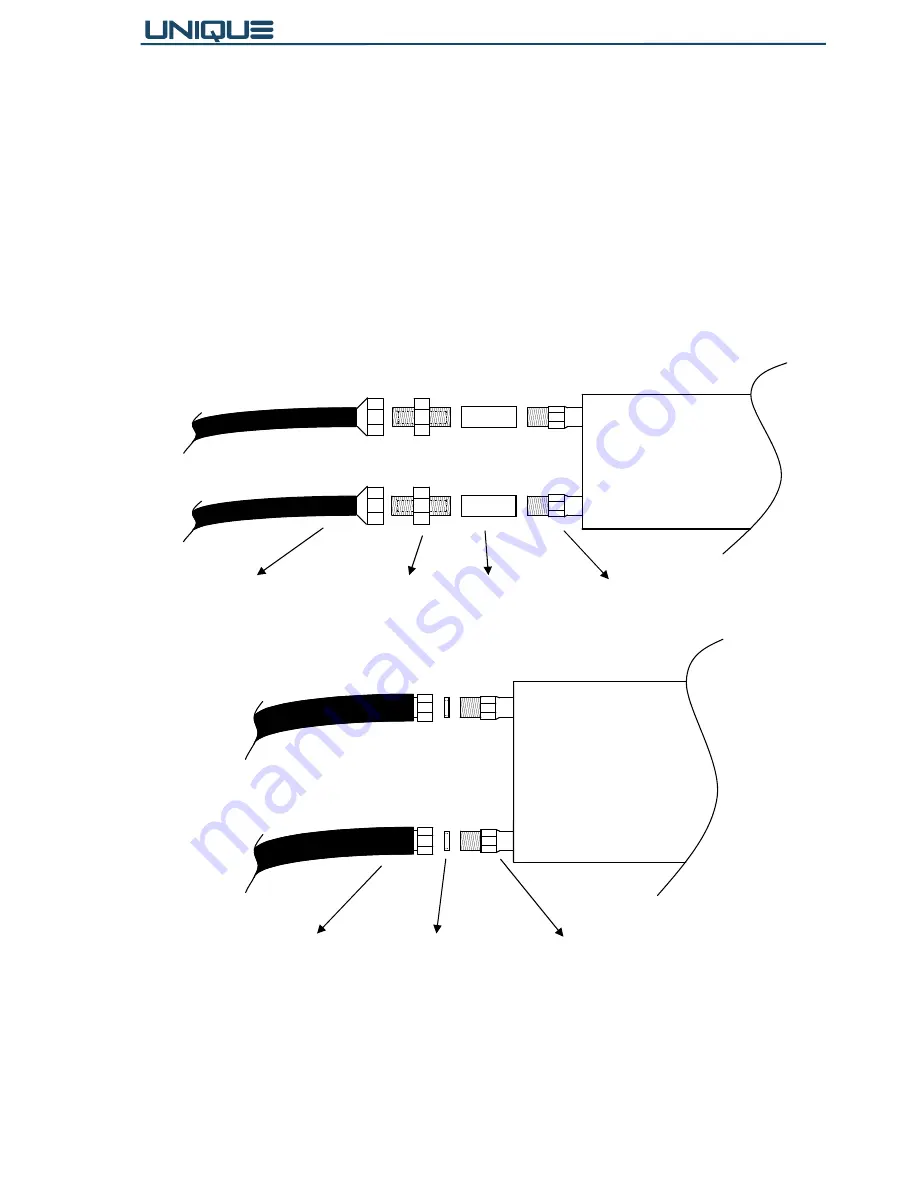
Fig. 7-3
Flexible tube to water
system 1 1/2"
Double fitting
1 1/2"
Connector
1 1/2"
Cupper adaptor
screwing 1 1/2"
WS Unit
120-144
Water out
Water in
Water out
Water in
WS Unit
12-102
Flexible tube to water
system 3/4", 1", 1 1/4"
Rubber seal
3/4", 1", 1 1/4"
Cupper adaptor
screwing 3/4", 1", 1 1/4"
Summary of Contents for WS Series
Page 1: ...Service Manual And Advanced air conditioning systems ...
Page 2: ......
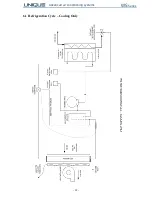
Page 14: ... 14 WS Series Advanced air conditioning systems 6 1 Refrigeration Cycle Cooling Only ...
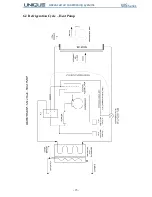
Page 15: ... 15 WS Series Advanced air conditioning systems 6 2 Refrigeration Cycle Heat Pump ...
Page 40: ... 40 WS Series Advanced air conditioning systems NOTES NOTES NOTES NOTES ...
Page 41: ......

